429 Too Many Requests

429 Too Many Requests


nginx

Blog

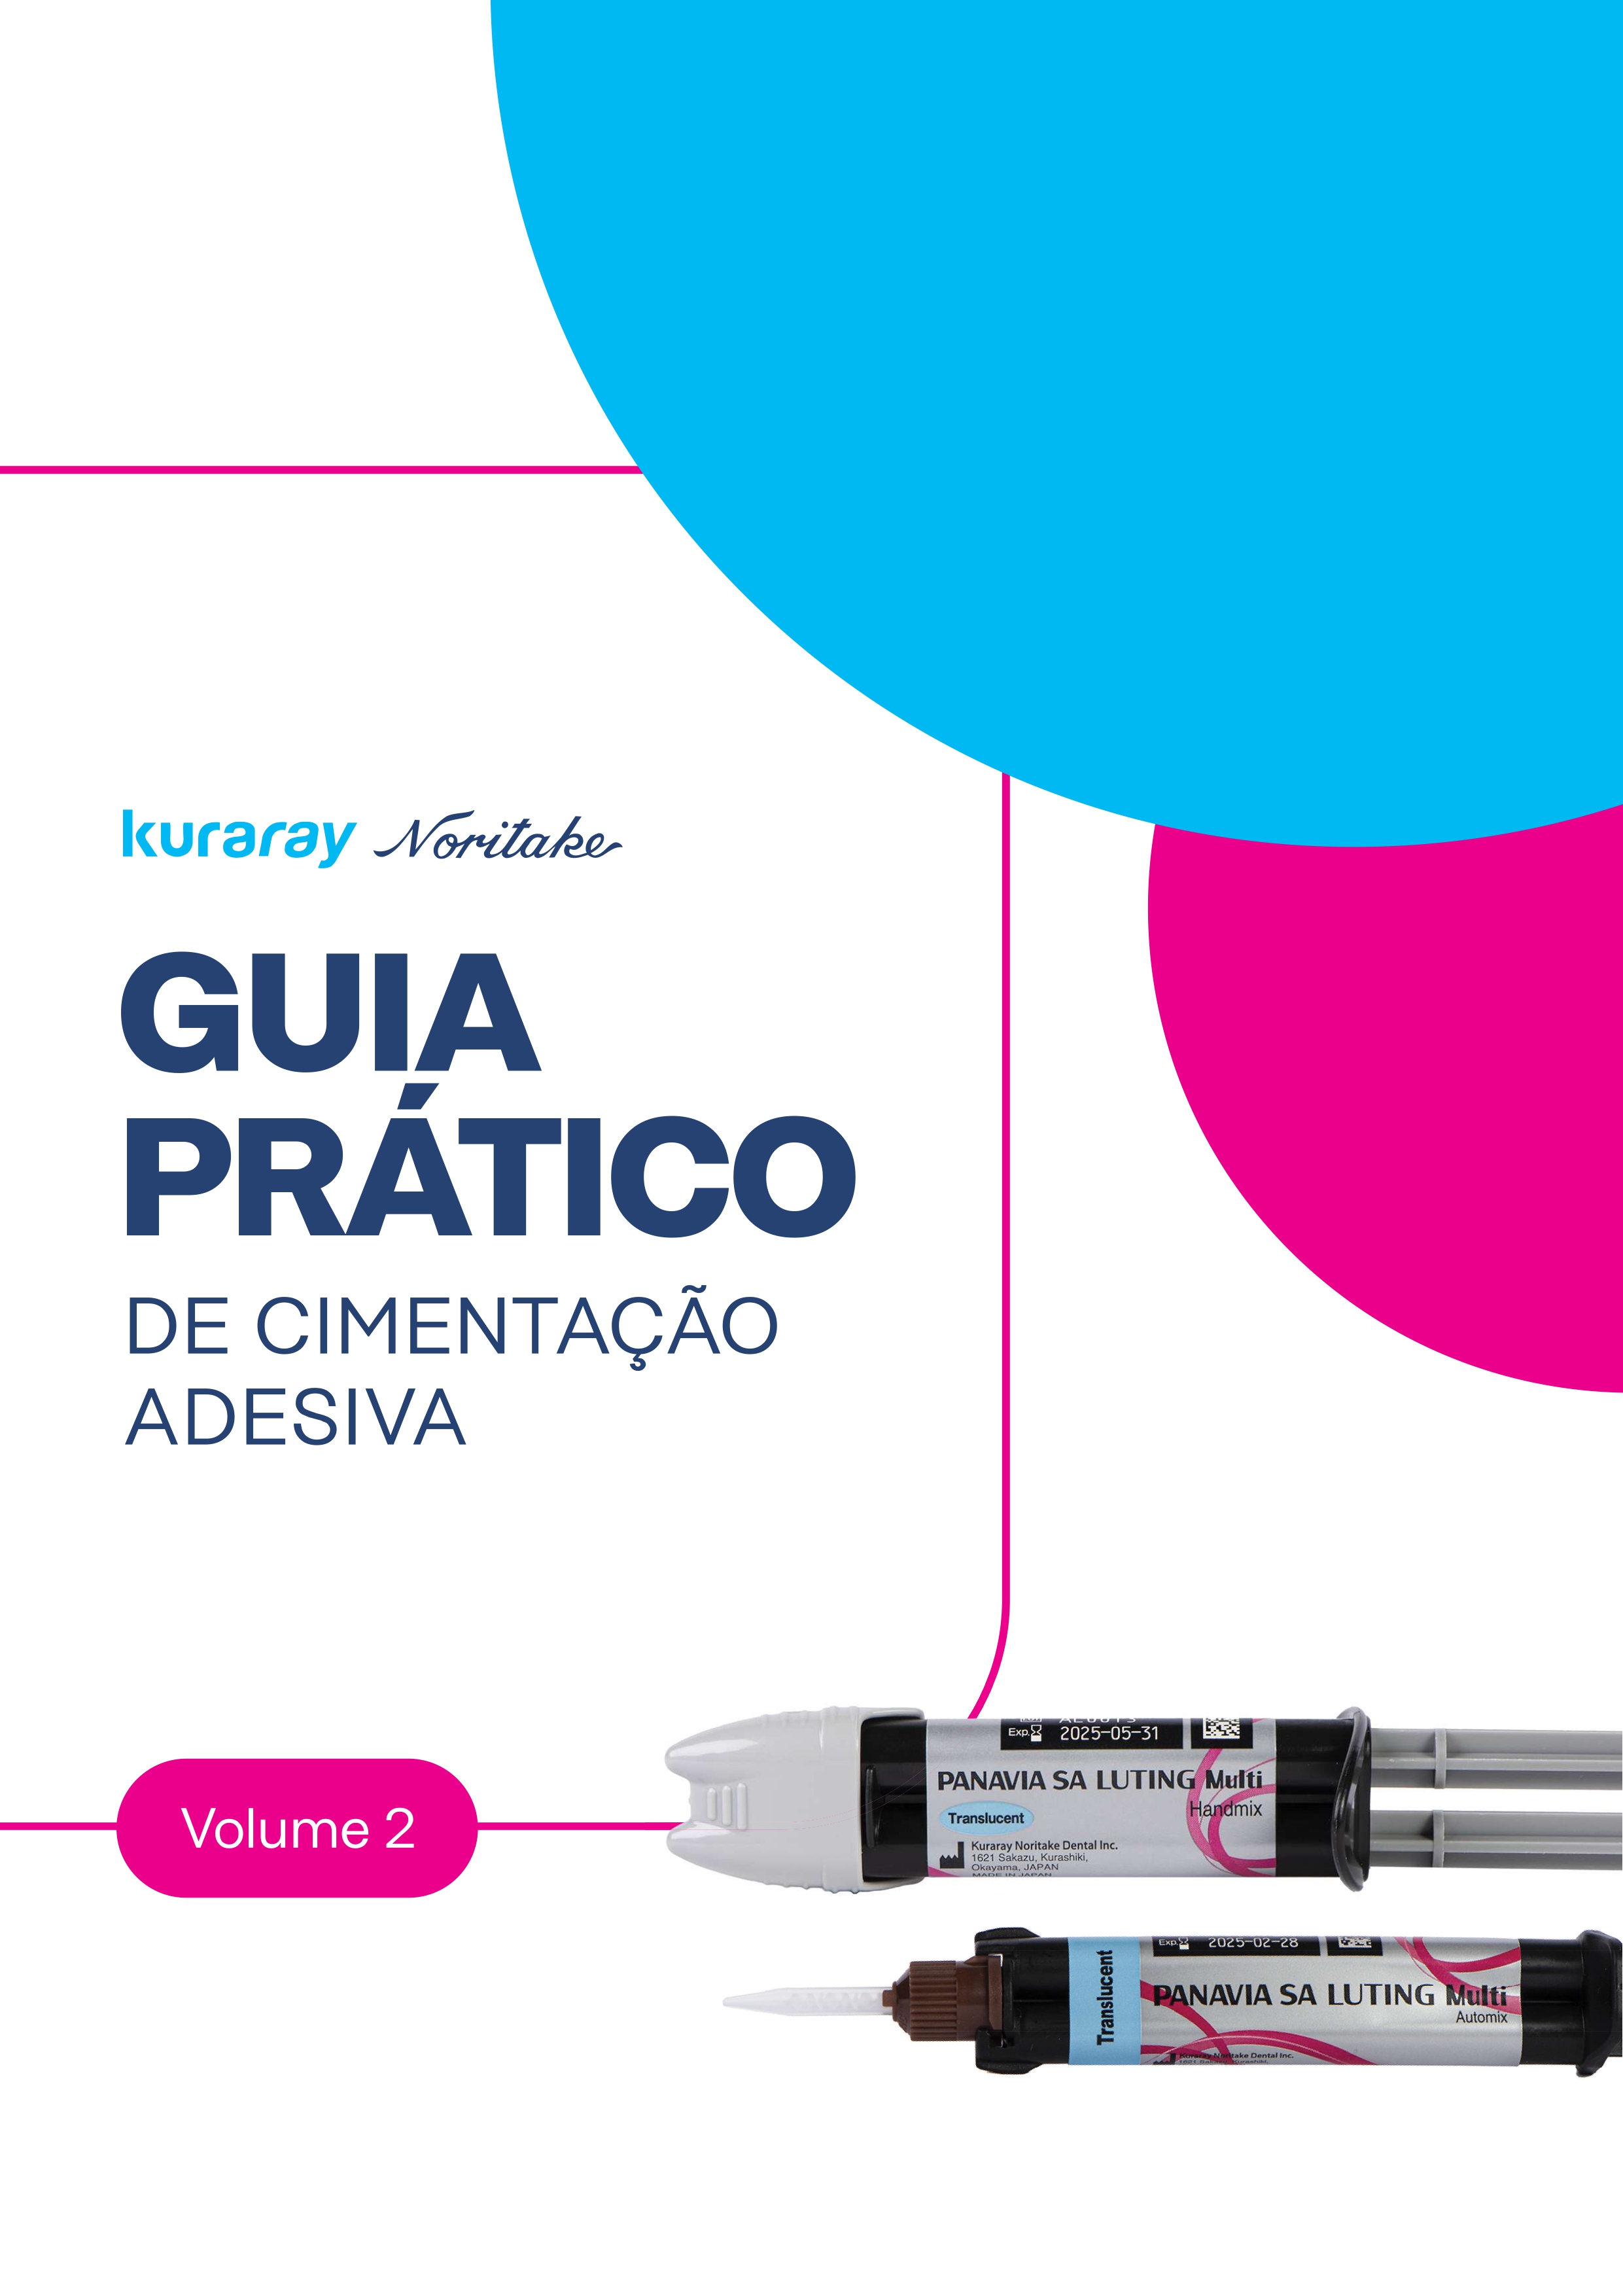
Guia Prático de Cimentação Adesiva – Volume 2

GUIA DE PRÁTICO DE CIMENTAÇÃO ADESIVA


INTRODUÇÃO


A odontologia moderna é marcada por avanços tecnológicos e científicos que tornam os tratamentos cada vez mais precisos, estéticos e duradouros. Nesse cenário, a cimentação adesiva se destaca como uma técnica essencial na reabilitação oral, pois permite tratamentos menos invasivos ou até mesmo não invasivos, ao mesmo tempo em que reforça a estrutura dental remanescente, devido à capacidade de dissipar as forças aplicadas.


Esse processo, por sua vez, contribui para a maior longevidade do tratamento. No entanto, a diversidade de substratos envolvidos nos processos de adesão, bem como a grande quantidade de materiais e técnicas desenvolvidas ao longo dos anos, pode tornar a prática clínica desafiadora, gerando dúvidas entre os profissionais. O objetivo deste material é fornecer um guia clínico de fácil utilização em procedimentos de cimentação adesiva de peças protéticas, focado nos agentes produzidos pela Kuraray Noritake.

Produto apresentado: PANAVIA SA Luting Multi (Cimento resinoso de polimerização dual)

Para mais detalhes sobre o tema, convidamos você a realizar o download do documento completo e aproveitar a leitura.


Year Book

Seleção de casos clínicos de 2023-2024


O "Kuraray Noritake Yearbook" representa um projeto da divisão odontológica da Kuraray South America (KSA), destacando uma ampla gama de produtos, desde os tradicionais até os mais recentemente introduzidos no mercado brasileiro.
O foco principal deste anuário é a apresentação de casos clínicos frequentemente encontrados na prática clínica diária, demonstrados por uma variedade de colaboradores. Os casos são categorizados em soluções diretas e indiretas, cada um
detalhando o uso apropriado e consciente dos materiais envolvidos.

Acreditamos firmemente que o Yearbook será uma ferramenta de grande utilidade, fornecendo soluções simplificadas e seguras para os desafios encontrados na prática clínica cotidiana.
Expressamos nossa sincera gratidão a todo time da KSA por seu apoio neste projeto e, especialmente, aos professores cuja contribuição foi fundamental para a criação deste produto, por meio do compartilhamento de casos clínicos reais. Esperamos que essa colaboração seja duradoura.

Para mais detalhes sobre o tema, convidamos você a realizar o download do documento completo e aproveitar a leitura.


Guia Prático de Cimentação Adesiva – Volume 1

GUIA DE PRÁTICO DE CIMENTAÇÃO ADESIVA


INTRODUÇÃO


A odontologia moderna é marcada por avanços tecnológicos e científicos que tornam os tratamentos cada vez mais precisos, estéticos e duradouros. Nesse cenário, a cimentação adesiva se destaca como uma técnica essencial na reabilitação oral, pois permite tratamentos menos invasivos ou até mesmo não invasivos, ao mesmo tempo em que reforça a estrutura dental remanescente, devido à capacidade de dissipar as forças aplicadas.


Esse processo, por sua vez, contribui para a maior longevidade do tratamento. No entanto, a diversidade de substratos envolvidos nos processos de adesão, bem como a grande quantidade de materiais e técnicas desenvolvidas ao longo dos anos, pode tornar a prática clínica desafiadora, gerando dúvidas entre os profissionais. O objetivo deste material é fornecer um guia clínico de fácil utilização em procedimentos de cimentação adesiva de peças protéticas, focado nos agentes produzidos pela Kuraray Noritake.

Produto apresentado: PANAVIA F2.0 (Cimento resinoso de polimerização dual)


Para mais detalhes sobre o tema, convidamos você a realizar o download do documento completo e aproveitar a leitura.


Catálogo Completo

Catálogo Completo


Esperamos que o catálogo contribua para uma compreensão mais ampla de nosso portfólio e das soluções que colocamos à disposição do mercado. Você pode a realizar o download do material completo por meio do link abaixo e explorar, com mais
profundidade, as informações apresentadas.

Para mais detalhes sobre o tema, convidamos você a realizar o download do documento completo e aproveitar a leitura.

Efficient production of a zirconia overdenture

Case by CDT Mathias Berger, France


Every patient is unique. Their specific backgrounds, functional needs and aesthetic demands need to be respected in any prosthodontic treatment plan. However, the importance of an individual treatment approach increases with the number of teeth to be replaced: After all, the impact of the restorations on facial aesthetics and on the patient’s quality of life is never greater than when all teeth are missing. Fortunately, adequate dental materials and techniques are available for a patient-centered, individual approach, no matter what challenges need to be overcome.


A patient with bruxism


In the present case, an elderly male patient with bruxism was in need of a new maxillary denture. Since the placement of five implants in the maxilla, he had no proprioception in this jaw. This lack of sensation had an impact on the overdenture to be produced: material and design needed to be carefully selected in a way that it would withstand uncontrolled chewing forces. As technical complications are easier to repair than biological complications, the overdenture should not be unbreakable – instead, the replacement of single units should be easily manageable.


Two-part denture design


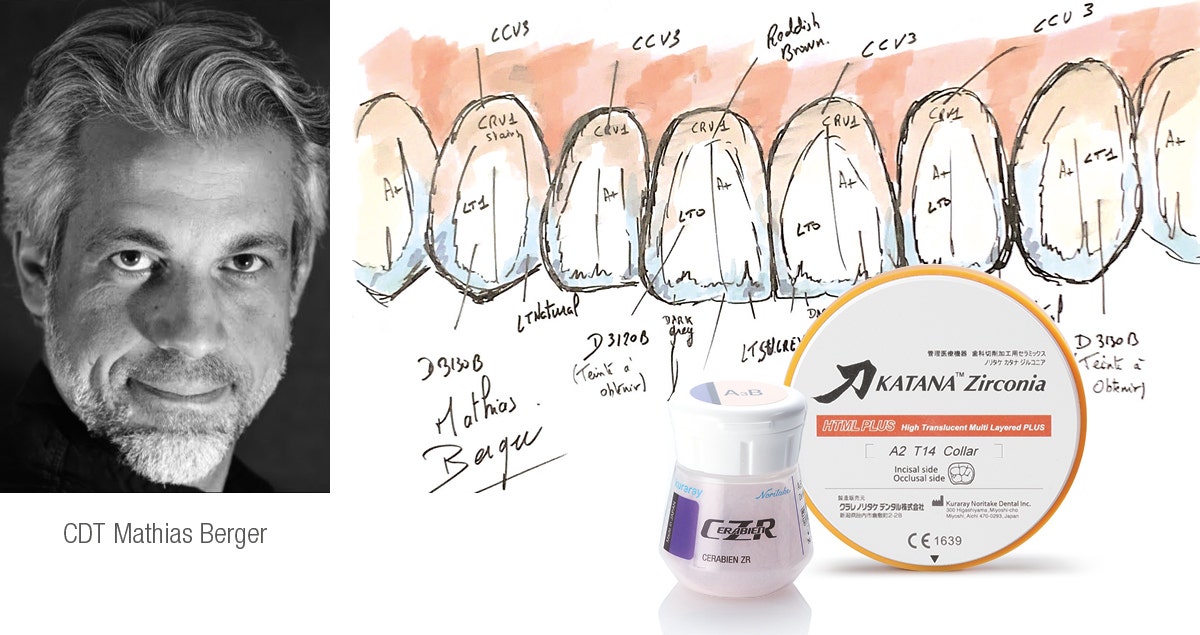
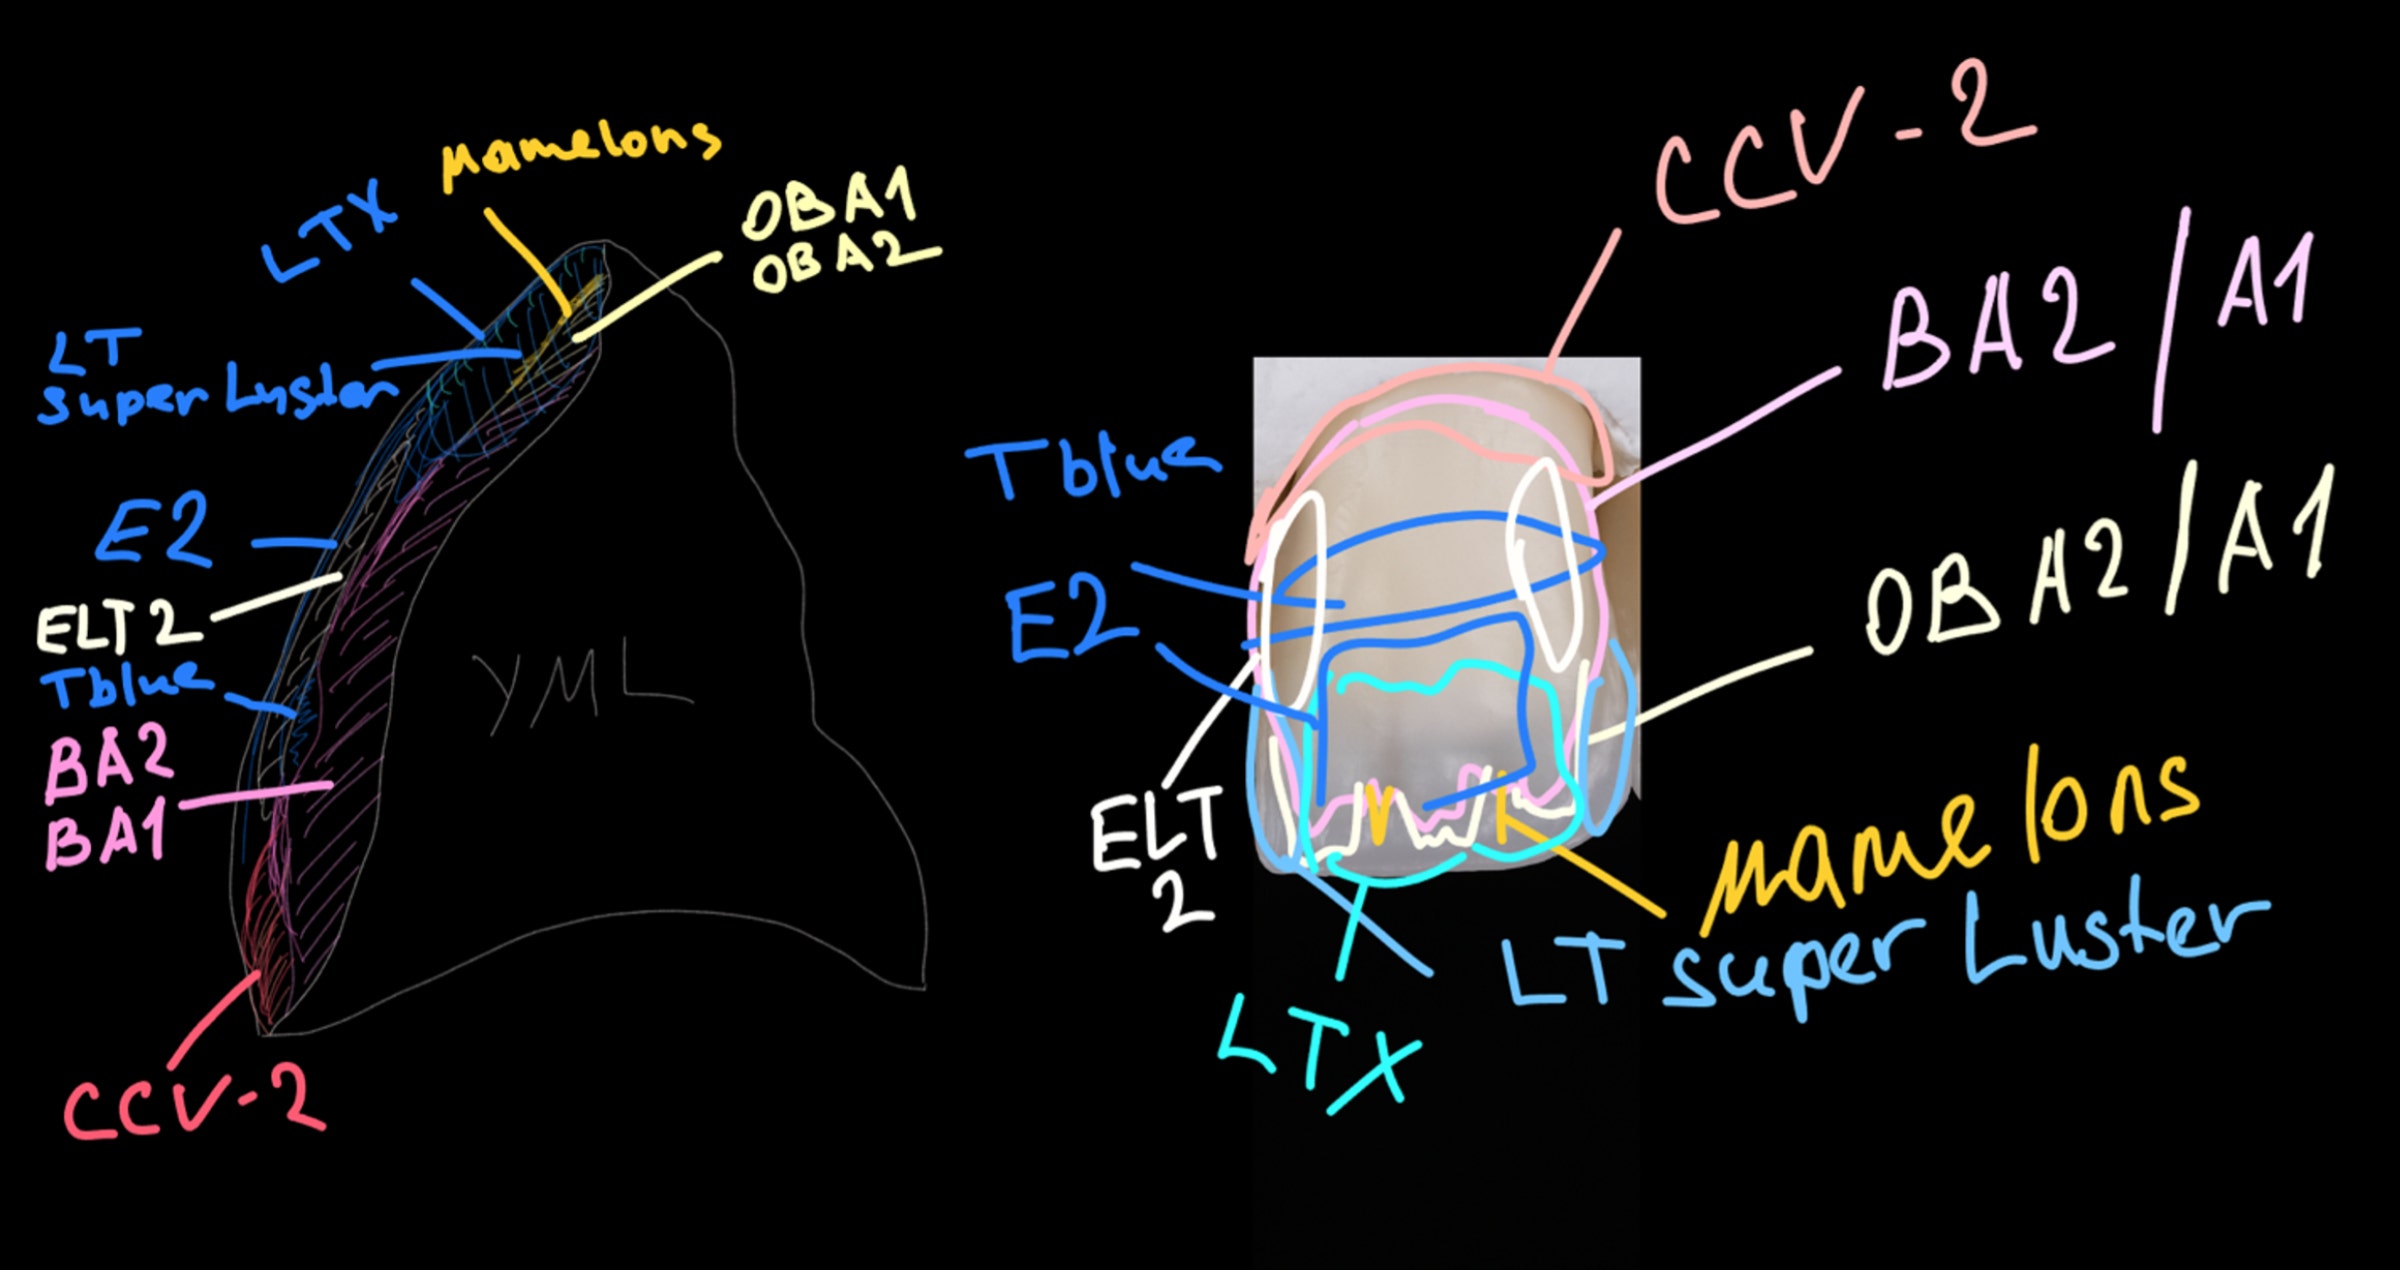
The solution was a two-part design with a milled bar consisting of the gum area and tooth abutments (fig. 1) combined with single crowns. The material of choice for the bar was KATANA™ Zirconia HTML Plus (Kuraray Noritake Dental Inc.) with a uniform flexural strength of 1,150 MPa throughout the disc, while the single crowns were milled from KATANA™ Zirconia YML that offers natural translucency and strength gradation. While a monolithic design was selected for the posterior crowns, the six crowns for the anterior region received a micro-cutback for aesthetic micro-layering with CERABIEN™ ZR Porcelain. The shade scheme for individualization of the anterior crowns is shown in fig. 2. In a nutshell, customization was performed with the Internal Stains Cervical 1, Grayish Blue, Dark Grey and A+. The finishing layer on the incisors was created mainly using LT0 materials with some CCV-3 on the cervical and LT Natural on the mesial and distal lobes. On the canines, LT1 was used instead of LT0. The posterior crowns were merely finished with liquid ceramics (CERABIEN™ ZR FC Paste Stain, Kuraray Noritake Dental Inc.).


Fig. 1. Sintered bar milled from KATANA™ Zirconia HTML Plus.


Fig. 2. Chroma map for micro-layering in the anterior region.


Fig. 3 shows the finished single crowns with their individual, age-appropriate shade effects on the sintered bar. After checking the fit of the crowns, the gum areas of the bar were individualized using CERABIEN™ ZR Tissue Porcelain (fig. 4). Subsequently, the crowns were luted to the zirconia abutments (fig. 5), leaving screw access holes in aesthetically uncritical positions (fig. 6). The final overdenture ready for try-in is shown in fig. 7. Due to an excellent fit on the implants (fig. 8), it was possible to immediately fix the overdenture with the screws, close the access holes with composite and discharge the patient. The final appearance is shown in fig. 9.


Fig. 3. Finished crowns on the sintered bar.


Fig. 4. Bar with individualized gum areas.


Fig. 5. Placement of the central incisor crowns on the bar.


Fig. 6. Occlusal screw access hole in the finished overdenture.


Fig. 7. Overdenture ready for try-in.


Fig. 8. Intraoral try-in of the aesthetic overdenture.


FINAL SITUATION


Fig. 9. Treatment outcome.


CONCLUSION


This patient case is a good example of how important it is to respect the patient’s background, age and specific demands when producing dental restorations. Thanks to the great variety of restorative materials with different mechanical and optical properties available, it is possible to create suitable prosthetics for virtually every patient. However, for this purpose, it is important to stay up to date regarding new products launched and techniques developed. This way, it is often even possible to create beautiful and durable solutions in a simplified and efficient procedure such as micro-layering on innovative zirconia with a high aesthetic potential.


PANAVIA™ Veneer LC: cement for the most challenging esthetic conditions

AWARD WINNING PRODUCT

DENTAL ADVISOR, which annually honors as Top Product or Preferred Products items deemed by the publication’s consultants to deliver the best practice-based performance in their categories, singled out PANAVIA Veneer LC for a Research Award in the Lab Performer: Veneer Cement category in its January/February 2024 edition. This particular award is given to products that performed exceptionally well when tested independently in Dental Advisor Laboratories.


ABOUT THE PRODUCT

PANAVIA™ Veneer LC is a specialized veneer cement designed to provide exceptional bond strength to various substrates, along with outstanding gloss retention and wear resistance. The cement utilizes smaller-diameter spherical filler particles, facilitating easy dispensing from the syringe and excellent flowability for minimal film thickness. All of these attributes contribute to virtually no change in gloss or surface appearance of veneer margins over time.


WHAT WAS RESEARCHED

The basis of PANAVIA Veneer LC’s selection this year was research that compared three esthetic veneer cements, including PANAVIA Veneer LC, for bond strength, adhesion properties, gloss retention, and wear resistance. The investigators’ testing of these attributes reflects the challenges such products must meet – “Ideally, esthetic veneer cements should have a long working time, curing on demand, excellent color stability, and high strength”.


To assess bond strength to multiple substrates, the cements were subjected to six months of artificial aging to dentin, enamel, IPS e.max CAD, and Zirconia using thermocycling. To test wear resistance after toothbrush erosion, the testing method involved measuring depth of wear, change in surface roughness, and change in gloss based on a simulation of about 5.5 years of regular toothbrush use.


EVALUATION RESULTS

The investigators reported that PANAVIA Veneer LC “had the best gloss retention of the three cements tested and a very even wear pattern,” noting further that “having limited surface roughness after toothbrush abrasion can help lower staining and bacterial adhesion.” Overall, they said, “The PANAVIA Veneer LC cement system showed excellent adhesion properties and exceptional gloss retention and wear resistance,” concluding, “Due to its excellent properties, PANAVIA Veneer LC Paste can meet the most challenging esthetic conditions of veneer cementation.”


COMPLETE REPORT

Would you like to read the full report1 shared by Dental Advisor? Download the pdf now!  


ABOUT DENTAL ADVISOR

Awards conferred by US-based DENTAL ADVISOR were originally introduced to help busy practitioners make sense of the numerous new solutions indicated for less invasive techniques and standardized or simplified procedures, ultimately, to achieve better outcomes on a regular basis.


  • To determine items to be named Top Products and Preferred Products, DENTAL ADVISOR conducts practice-based clinical evaluations and product performance tests shortly after product launch. It publishes results annually online in its January/February issue to help potential users identify high-quality new dental materials and determine which among them are best suited to fulfill their individual requirements.


1 Cowen M, Powers JM. Translating the Science: Veneer Cement Bond Strength Durability and Resistance. Dental Advisor. 40:36;2023.


Scientific information

Is it safe to use the single-component PANAVIA™ SA Cement Universal to lute virtually all your indirect restorations?


Did you ever ask yourself how many components are really needed to safely cement your silicate-ceramic, zirconia or resin-based restorations? With PANAVIA™ SA Cement Universal, a single component is usually sufficient. Containing an unreacted silane coupling agent – the LCSi monomer – and the original MDP monomer, the dual-cure, self-adhesive resin cement adheres to tooth structure and to various restorative materials including the popular silica-based ceramics without the need for a separate primer.


For those wondering how it works and if it really works as well as desired, Kuraray Noritake Dental Inc. has created a scientific brochure. It contains in-depth information about the drivers of chemical adhesion contained in PANAVIA™ SA Cement Universal and its characteristic properties. The main part, however, focuses on the results of scientific studies – most of which have been conducted in external laboratories. With the aid of artificial aging, different testing devices and various experimental set-ups, the researchers have checked the resin cement thoroughly. The study results shed light on the behaviour of the material when used in the context of bonding to different restorative materials and different types of tooth structure. Self- and light-curing modes are compared, aging effects investigated and different moisture conditions taken into account.


As a whole, the collected data allows for a precise prediction of the clinical behaviour of PANAVIA™ SA Cement Universal. This valuation has already been confirmed by clinical experience of dental practitioners from all around the world. Moreover, the results of a first clinical study, which is also found in this compilation, are a proof of its exceptional performance.


Download the brochure to learn more about the properties and behaviour of the single-component universal resin cement!


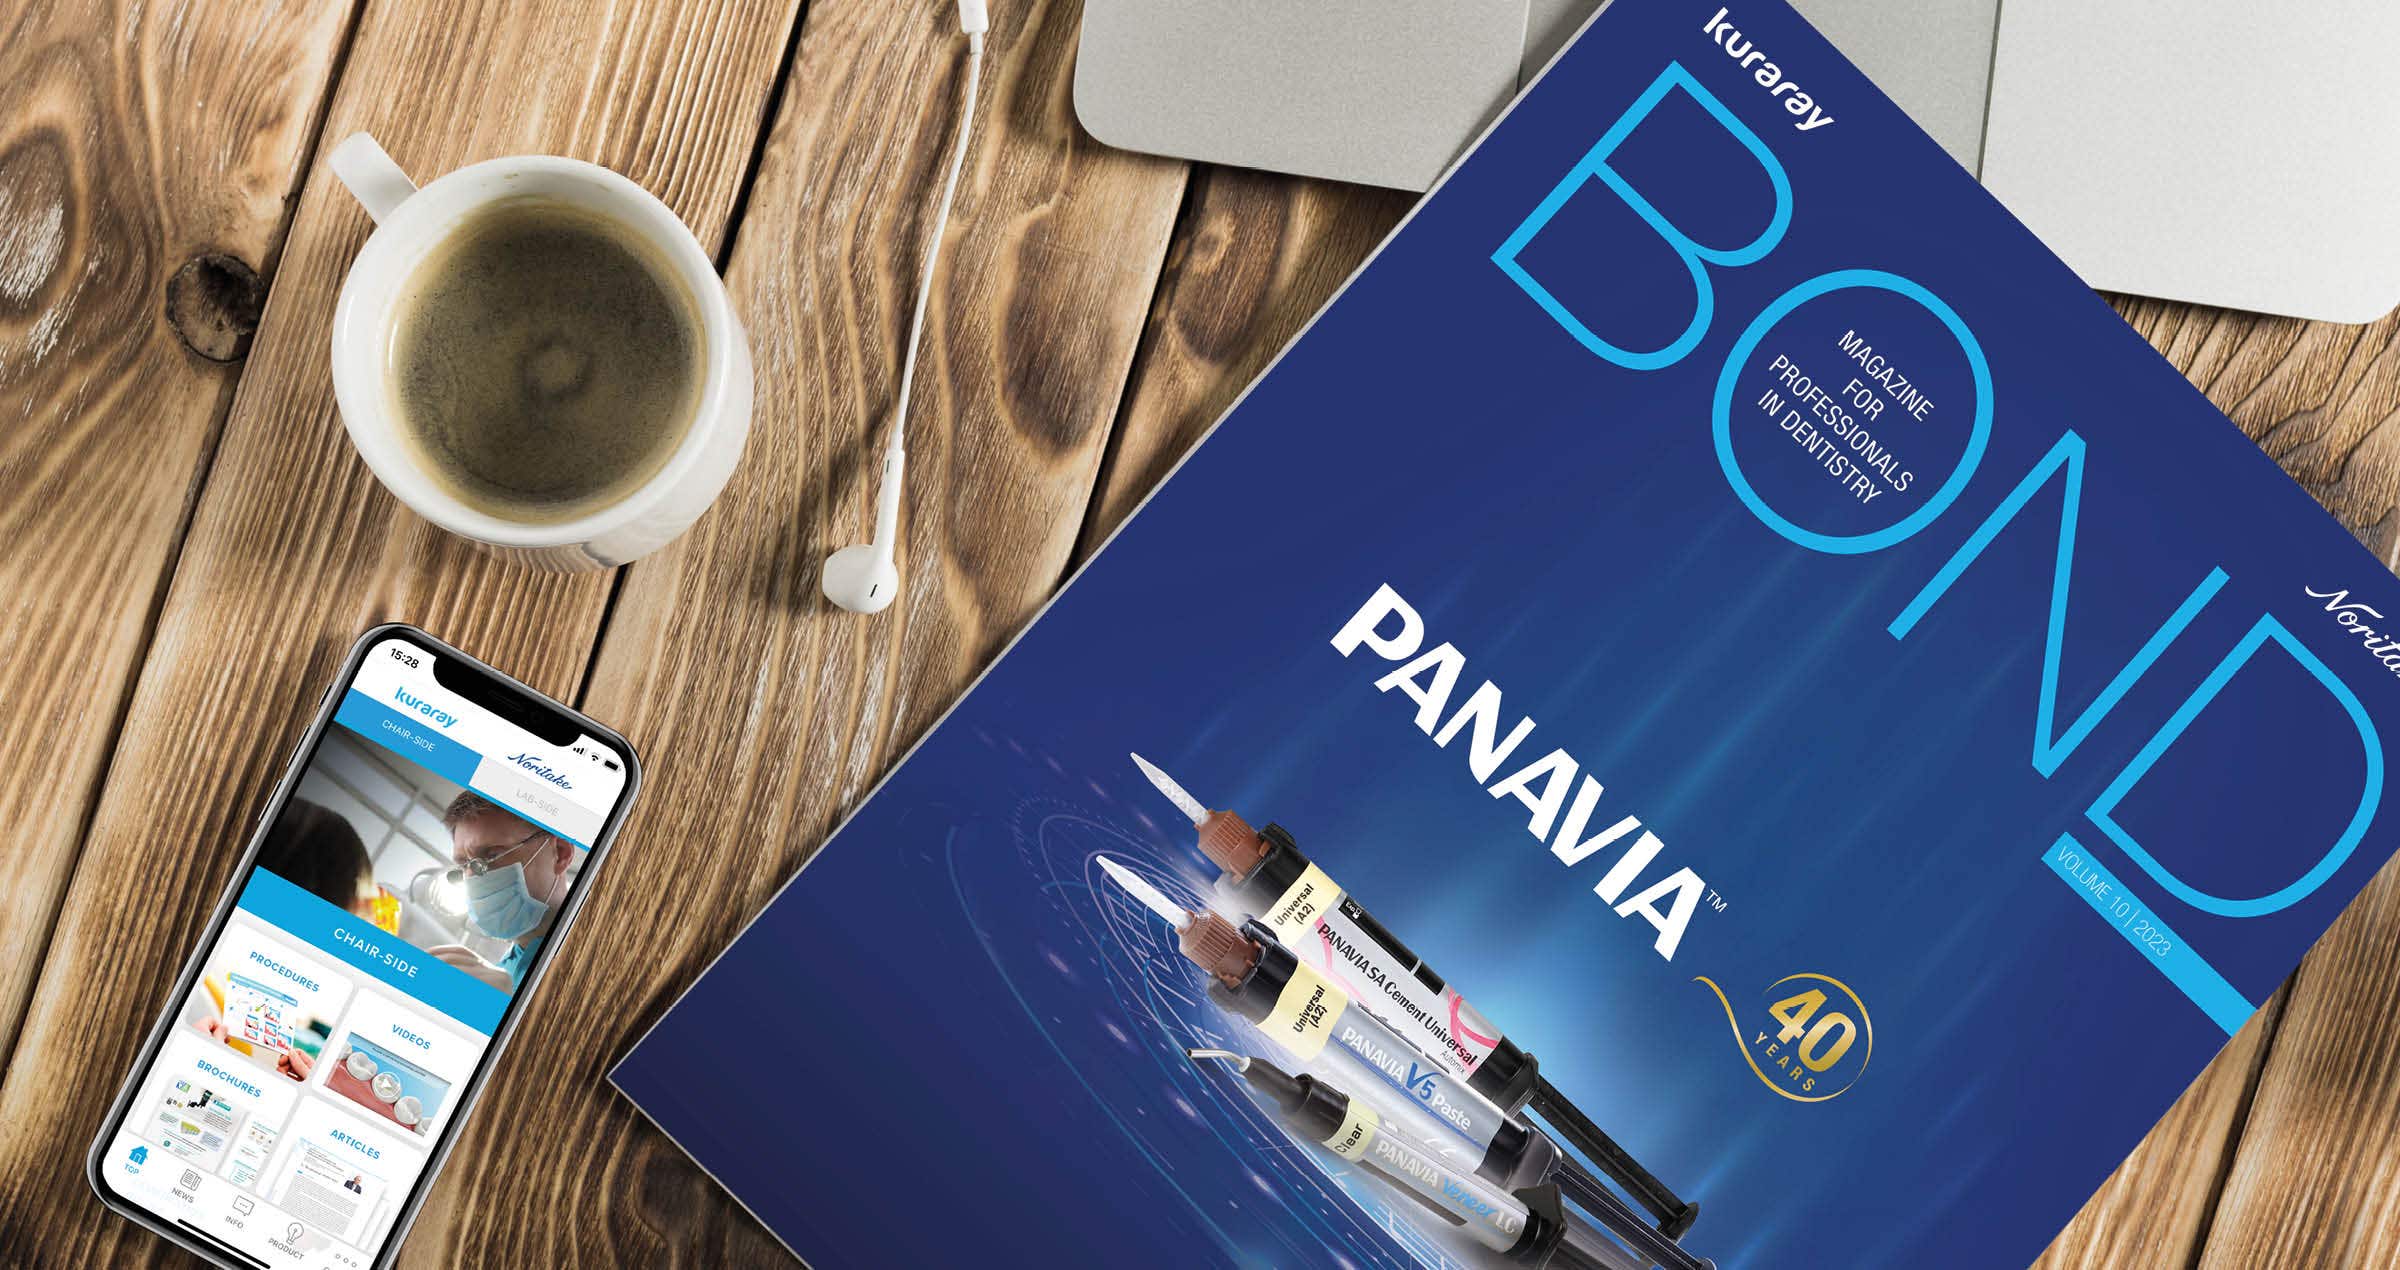
BOND Magazine, 10th edition

ADHESIVE LUTING: A DRIVER OF INNOVATION


What would modern restorative treatments be like without the availability of high-performance (self-)adhesive resin cements? Tooth preparations would still be much more invasive due to the need for sufficient mechanical retention between the tooth and the restoration. At the same time, it would be impossible to restore teeth with many innovative, tooth-coloured materials such as low-strength ceramics and composite. In short, restorative dentistry would be much less developed than it is today.


When the first resin cements were introduced several decades ago, however, the achieved progress came at the expense of simplicity: Adhesive luting procedures were highly complex and the many different components quite technique sensitive. Luckily, this has changed over the years due to continued development efforts ultimately resulting in the products that are currently available. The resin cement line-up of Kuraray Noritake Dental Inc. consists of three main products: the dual-cure three-component system PANAVIA™ V5, the single-component dual-cure universal resin cement PANAVIA™ SA Cement Universal and the light-curing PANAVIA™ Veneer LC.


For those who would like to learn more about the three systems, this 10th issue of the BOND Magazine is definitely worth reading. It reveals important details about the 40-year history of the PANAVIA™ brand, sheds light on the strengths of each resin cement to facilitate indication-specific cement selection and provides in-depth information about their clinical use. In addition, two articles are dedicated to hot topics around the luting of restorations made of zirconia, a popular restorative material that some still consider to be unsuitable for adhesive luting procedures. For everyone wondering how it is possible to successfully lute minimally invasive restorations made of zirconia, the article titled “Innovative resin cements forming the basis of minimally invasive prosthodontics” is highly recommended. Those unsure about how to proceed with 5Y-TZP should read the article “How to cement restorations made of high-translucency zirconia”. Interesting information about cleaning options prior to adhesive luting rounds out the content of this magazine.


Click here to read. Enjoy reading!


Start Reading: BOND | VOLUME 10 | 10/2023


Previous versions:


BOND | VOLUME 9 | 08/2022

BOND | VOLUME 8 | 12/2021

BOND | VOLUME 7 | 10/2020


A new smile with only 4 zirconia crowns

Case by Kosti Vyshamirski


A male patient (47 years of age) presented to his dentist with severe damage to his teeth. His main request was to increase aesthetics, to achieve a more pleasing envisaged aesthetic area. A side request was to achieve a ‘whitening but natural look’. This was achieved by using a lighter colour palette of zirconia and porcelain materials.


The final result was achieved through the creation of a wax-up, followed by a mock-up, provisional restoration and finally adhesive bonding of the zirconia crowns.


INITIAL SITUATION


Fig. 1. Initial situation. Male patient (47 years of age).


Fig. 2. Planning the new smile according to patient’s aesthetic and functional parameters.


Fig. 3. Mock-up in place to check the new look in the patient’s mouth.


Fig. 4. KATANA™ Zirconia YML shade A1 crowns with labial cutback after milling.


Fig. 5. Crowns after sintering on the plaster model.


Fig. 6. Noritake CERABIEN™ ZR porcelain layering map.


Fig. 7. Finishing the labial surface using both polishing and selfglaze. On the palatal side of the crowns only CERABIEN™ FC Paste Stain stains and glaze were used for finishing. To aid in optimisation of the soft tissue condition the palato-cervical and near proximal areas were polished.


Fig. 8. Finished crowns on the plaster model.


Fig. 9. Try-in using PANAVIA™ V5 White try-in paste, to confirm the proper appearance. For the final adhesive cementation PANAVIA™ V5 White has been used.


FINAL SITUATION


Fig. 10. Situation after seven months. The result is aesthetically pleasing and the gingival condition excellent.


Fig. 11. Recall after 1.5 years.


10 years KATANA™ Zirconia multi-layered series

Photo credits to Giuliano Moustakis


Can you imagine a world without multi-layered zirconia? The invention of a zirconia material with natural colour gradation and well-balanced translucency and strength led to fundamental changes in the way zirconia-based restorations are produced. When the first product of its kind – KATANA™ Zirconia ML – was introduced to the dental market exactly ten years ago, dental technicians all over the world suddenly started rethinking their manufacturing concepts.


Since then, the trend towards a decreased thickness of the porcelain layer, a limiting of this layer to the vestibular area and the production of monolithic restorations is clearly perceivable. Technicians have developed their own concepts of micro-layering, which allow for more patient-centred approaches. This is also due to the fact that the total wall thicknesses of the restorations may be decreased without compromising the aesthetics. The line-up of multi-layered zirconia currently available from Kuraray Noritake Dental Inc. (KATANA™ Zirconia UTML, STML, HTML Plus and KATANA™ Zirconia YML with additional translucency and strength gradation) enables users to make indication-related material choices for the production of restorations that are precisely aligned to the individual demands of each case.


The reasons to choose KATANA™ quality


But why choose KATANA™ Zirconia instead of any other multi-layered zirconia disc? According to experienced users of the KATANA™ Zirconia Multi-Layered series, there are many reasons to opt for KATANA™.


For Jean Chiha, owner at North Star Dental Laboratories and Milling Center in Santa Ana, California, it is the combination of optical and mechanical properties that makes the difference: 


“KATANA™ Zirconia is the game changing material with well-balanced esthetics and strength!”. 


Naoki Hayashi, president of Ultimate Styles Dental Laboratory in Irvine, California, aesthetics is the most decisive argument to opt for the discs from Kuraray Noritake Dental Inc. He states:


“KATANA™ Zirconia discs offer trusted esthetics which gives me confidence in my clinical cases”.


Naoto Yuasa, chief ceramist at Otani Dental Clinic in Tokyo, adds predictability as an important factor:


“KATANA™ sustains my passions for aesthetic restorations and those of a predictable future in the long run”
, whereas dependability is the key element.


For Hiroki Goto, the laboratory manager at Sheets and Paquette Dental Practice in Newport Beach, California reports:


“Without KATANA™ there is no pride. Haven’t experienced it yet? You have to see how reliable it is!”


Finally, we have asked Kazunobu Yamada, a pioneer in making porcelain laminate veneers using complementary color techniques and a first-hour user of KATANA™ Zirconia, what comes to his mind when thinking about KATANA™ Zirconia. According to the president of CUSP Dental Laboratory in Nagoya City, there is a clear link between the product name and its characteristics:

“Did you know that the word "KATANA" also means "protection against misfortune and evil"? Katana zirconia, the culmination of many years of research and development by Kuraray Noritake, has an unparalleled quality. KATANA™, for me, is truly "Protection for all technicians".”


The origin of well-balanced properties


It seems that the KATANA™ Zirconia Multi-Layered line-up stands out due to set of valuable properties enabling a dental technician to produce beautiful, high-quality restorations every time. The secret of success lies in meticulous raw material selection and controlled processing from the powder to the pre- sintered blank carried out at the production facilities of Kuraray Noritake Dental Inc. in Japan. They provide for the high product quality that is responsible for the materials’ outstanding behaviour supporting the best possible outcomes.


Restaurações em compósito na região anterior

Quantas cores são necessárias?

Caso apresentado por Gasparatos Spyros, estudante de pós-graduação do programa de Dentisteria Restauradora, Faculdade de Medicina Dentária, Universidade Nacional e de Kapodistrian de Atenas, Grécia

Restaurar dentes anteriores com grandes defeitos utilizando compósito pode ser um grande desafio. No entanto, com materiais de alto desempenho à mão e um conceito sistematizado de estratificação em mente, é possível produzir resultados altamente estéticos de maneira reproduzível. O caso clínico aqui apresentado é utilizado para ilustrar uma técnica de estratificação de duas cores com o CLEARFIL MAJESTY™ ES-2 Premium, um sistema de compósito com combinações de cores predefinidas.


Caso clínico

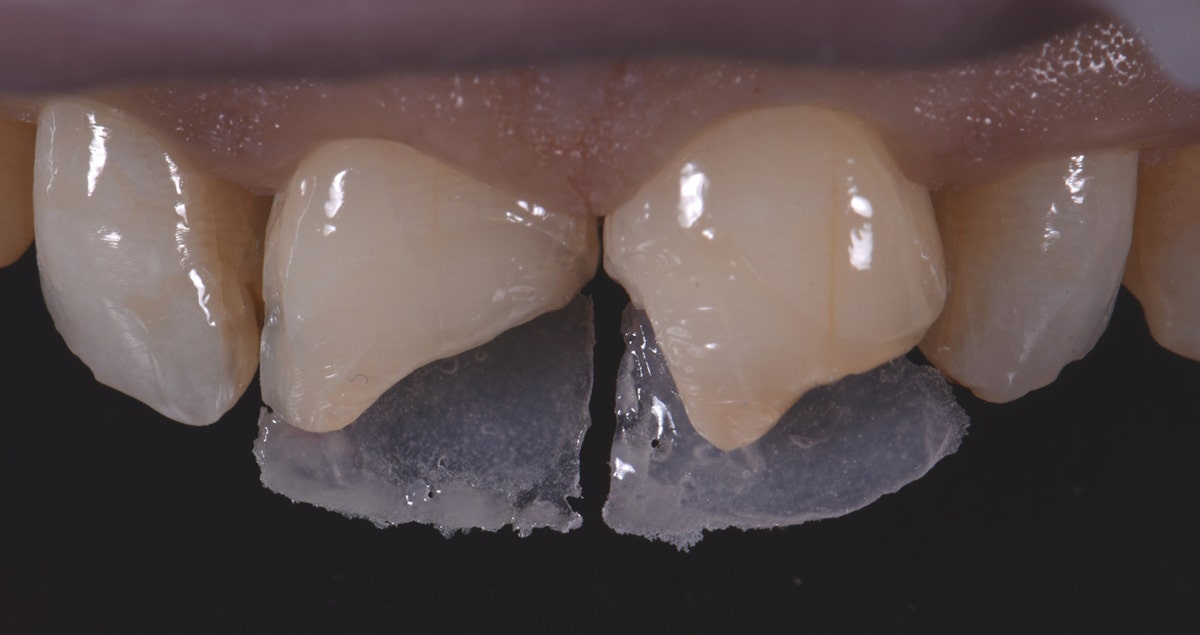
O paciente, um jovem do sexo masculino, estava insatisfeito com a aparência dos seus dentes anteriores superiores. Há vários anos, os seus incisivos centrais tinham sido restaurados com compósito. Estas restaurações tinham margens defeituosas e muito descoloridas, e a sua cor não correspondia à estrutura dentária natural adjacente. Os incisivos laterais superiores tinham forma conoide (microdontia). As considerações económicas e o desejo de salvar o máximo possível de estrutura dentária natural fizeram com que a equipa decidisse restaurar os quatro incisivos superiores com compósito. O CLEARFIL MAJESTY™ ES-2 Premium tornou-se o material de eleição, uma vez que elimina a necessidade de fórmulas complicadas de combinação de cores e permite resultados previsíveis.


Fig. 1. Sorriso inicial do paciente.


Fig. 2. Imagem intraoral da situação inicial com restaurações de compósito defeituosas e microdontia. Dois botões de compósito no incisivo lateral direito são utilizados para verificar a combinação de cores escolhida.


Restauração dos incisivos centrais

Decidimos restaurar primeiro os incisivos centrais e depois concentramo-nos nos incisivos laterais. A cor do dente foi determinada utilizando a guia de cores VITA™ clássica A1-D4, e os botões de compósito foram aplicados nos dentes para verificar a combinação de cores escolhida. Para simplificar o procedimento de restauração, foi produzida uma chave de silicone palatina antes de remover as restaurações existentes. Durante a preparação minimamente invasiva dos dentes foram criados biséis nas margens para proporcionar uma transição óptica suave da estrutura natural do dente para o compósito.

Foi aplicado um adesivo (CLEARFIL™ Universal Bond Quick) após o condicionamento seletivo do esmalte para obter uma adesão forte. Com a ajuda da chave de silicone, foi fácil criar as paredes palatinas das restaurações com CLEARFIL MAJESTY™ ES-2 Premium na cor A3E (esmalte), que corresponde à cor A3 do dente. O núcleo de dentina foi construído com o mesmo compósito na cor recomendada A3D (dentina), os mamelões foram modelados e foi adicionado um pouco de CLEARFIL MAJESTY™ ES-2 Premium na cor WD para o halo incisal. Alguns efeitos individuais (como fissuras no esmalte) foram imitados com corante castanho. A restauração foi finalizada nas áreas interproximais e vestibulares com compósito na cor A3E. Entre os incisivos centrais, foi utilizada uma cunha para retrair a papila e facilitar o desenho da área de contacto interproximal. As restaurações acabadas e pré-polidas já apresentavam um aspeto natural.


Fig. 3. Incisivos centrais após a remoção das restaurações antigas e do biselamento do esmalte.


Fig. 4. Paredes palatinas fotopolimerizadas realizadas com CLEARFIL MAJESTY™ ES-2 Premium na cor A3E.


Fig. 5. Construção do núcleo de dentina com mamelões individualizados utilizando a cor WD e o corante castanho.


Fig. 6. Situação após a finalização das restaurações dos incisivos centrais com compósito na opacidade do esmalte.


Fig. 7. Restaurações dos incisivos centrais após acabamento e polimento inicial.


Restauração dos incisivos laterais

Não foi necessária preparação dentária nos incisivos laterais. Em vez disso, foram apenas limpos após um ligeiro desgaste para aumentar a rugosidade da superfície de esmalte. O procedimento de reconstrução foi semelhante ao utilizado para os incisivos centrais. O dente adjacente foi protegido com fita de PTFE, e a parede palatina foi criada com a ajuda de um dedo em vez da chave de silicone. A seguir, concentrámo-nos na construção das paredes interproximais, depois colocámos uma pequena quantidade de dentina e finalizámos a forma com a aplicação da camada de esmalte vestibular.


Fig. 8. Reconstrução do incisivo lateral esquerdo.


Fig. 9. Situação após o acabamento e polimento.


Situação final


Fig. 10. Sorriso final que responde às exigências do paciente.


Conclusão

Duas opacidades diferentes, uma única combinação de cor e uma cor branqueada, mais um corante para efeitos especiais. No caso deste paciente, uma fórmula simples permitiu-nos criar restaurações anteriores realistas. Com a utilização de uma pasta de esmalte e uma pasta de dentina, é possível reconstruir de forma simples a anatomia natural do dente, sem correr o risco de acabar com um núcleo volumoso que - uma vez reduzido - perderá a sua estrutura óptica especial. Também é fácil controlar a espessura da camada final de esmalte que tem um impacto enorme nas propriedades ópticas de toda a restauração. Para a maioria dos pacientes e de dentes com uma estrutura de cor interna simples ou média/complexa, o conceito selecionado é muito adequado e conduz a resultados agradáveis.


 

Unilateral bite elevation with a zirconia bridge and a lithium disilicate onlay

Clinical case by Dr. Florian Zwiener


The 85-year-old female patient presented after osteosynthesis of a multiple mandibular fracture she had sustained after a fall. During fixation, a massive nonocclusion had occurred in the left posterior region of the mandible (teeth 34 to 37; FDI notation). The patient desired to be able to chew properly again in this area. After endodontic treatment of the two avulsed central incisors, which had been replanted in the hospital, and periodontal therapy, a bite elevation was planned on the left side.


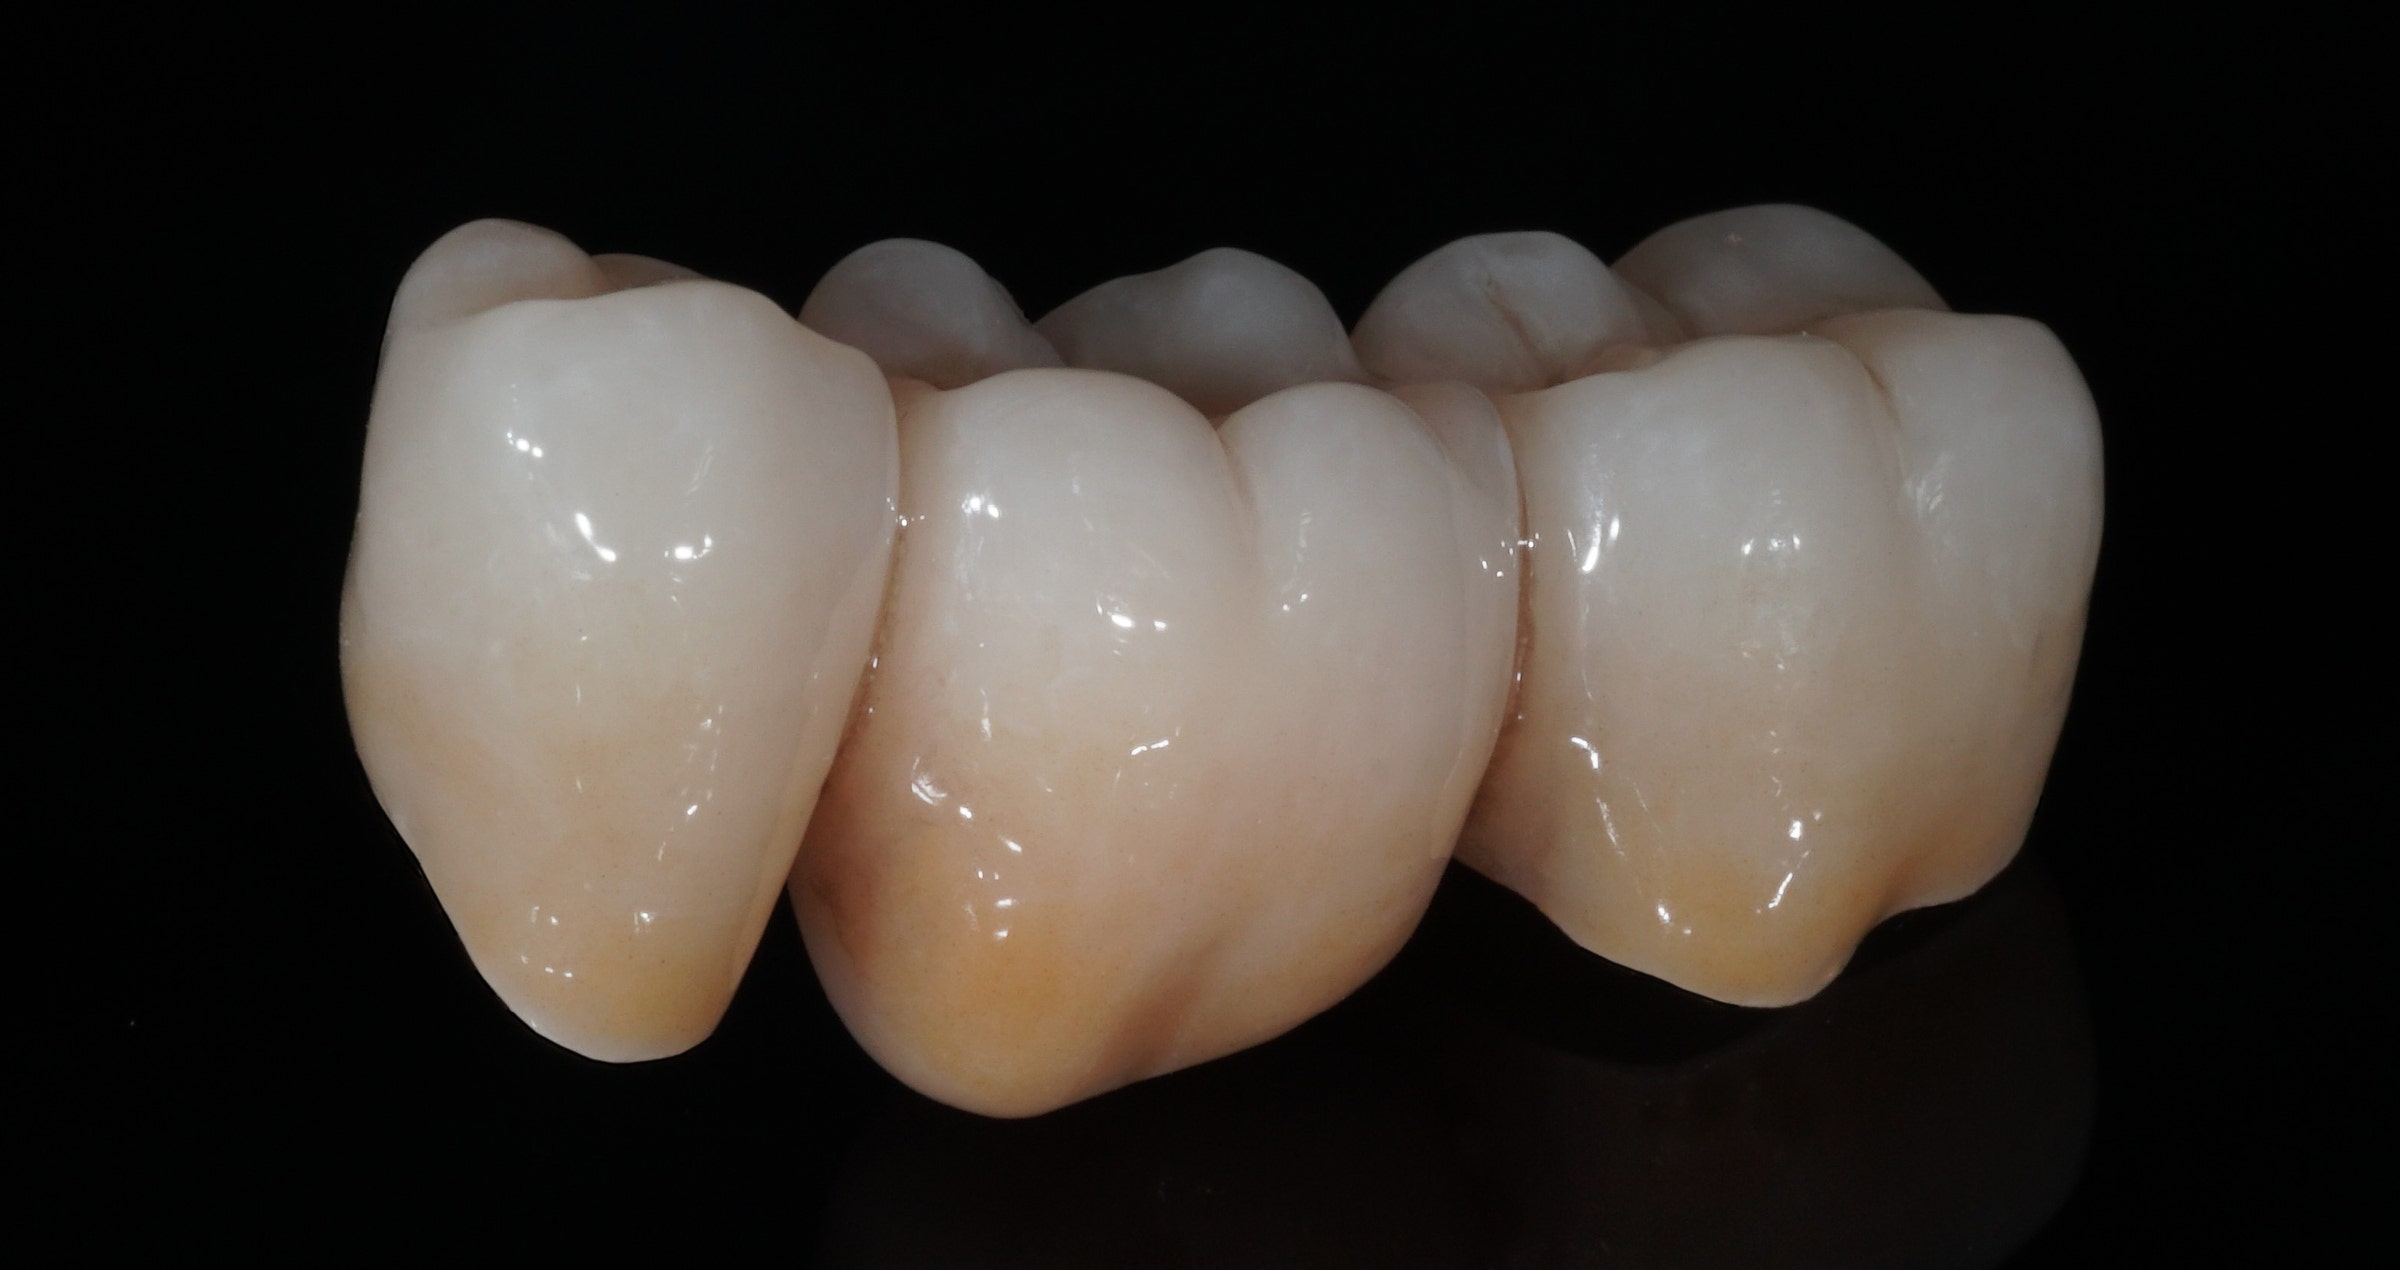
The idea was to restore the teeth and elevate the bite with three onlays and a crown made of lithium disilicate (IPS e.max CAD, Ivoclar Vivadent). During tooth preparation, however, a longitudinal root fracture was detected on the first molar. Therefore, only the first premolar was restored in this session. For this purpose, an onlay was produced chairside (with the CEREC system, Dentsply Sirona) and adhesively luted with PANAVIA™ V5 (Kuraray Noritake Dental Inc.). The first molar was extracted. One week later, the extraction socket, which was still healing, was modelled for the ovoid pontic using an electrotome loop. The second premolar and molar were prepared as abutment teeth for a bridge. The bridge was then milled from KATANA™ Zirconia Block for Bridge in the shade A3.5 and individualized with CERABIEN™ ZR FC Paste Stain (both Kuraray Noritake Dental inc.). After another week, the bridge was luted with the self-adhesive resin cement PANAVIA™ SA Cement Universal (Kuraray Noritake Dental Inc.) following sandblasting.


Fig. 1. Situation after multiple mandibular fracture on the left side.


Fig. 2. Clinical situation at the initial appointment in the dental practice.


Fig. 3. Open bite in the mandibular left posterior region.


Fig. 4. Bridge design …


Fig. 5. … using the CEREC Software.


Fig. 6. Due to the bright shade of the teeth in the cusp area, the restoration was positioned high in the KATANA™ Zirconia Multi-Layered Block.


Fig. 7. Surface texturing in the pre-sintered state (prior to the final sintering procedure).


Fig. 8. Bridge after a seven-hour sintering cycle.


Fig. 9. Appearance of the bridge after individualization with CERABIEN™ ZR FC Paste Stain …


Fig. 10. … and two glaze firings.


Fig. 11. Clinical situation after restoring the teeth with a lithium disilicate onlay and a zirconia bridge.


FINAL SITUATION


Fig. 12. Onlay and bridge in place (after adhesive luting with PANAVIA™ V5 and self-adhesive luting with PANAVIA™ SA Cement Universal).


Fig. 13. Final X-ray used to check for excess cement around the bridge.