Special MAJESTY ES-2 Universal - Clinical Cases Brochure

Compact, time-saving and aesthetic


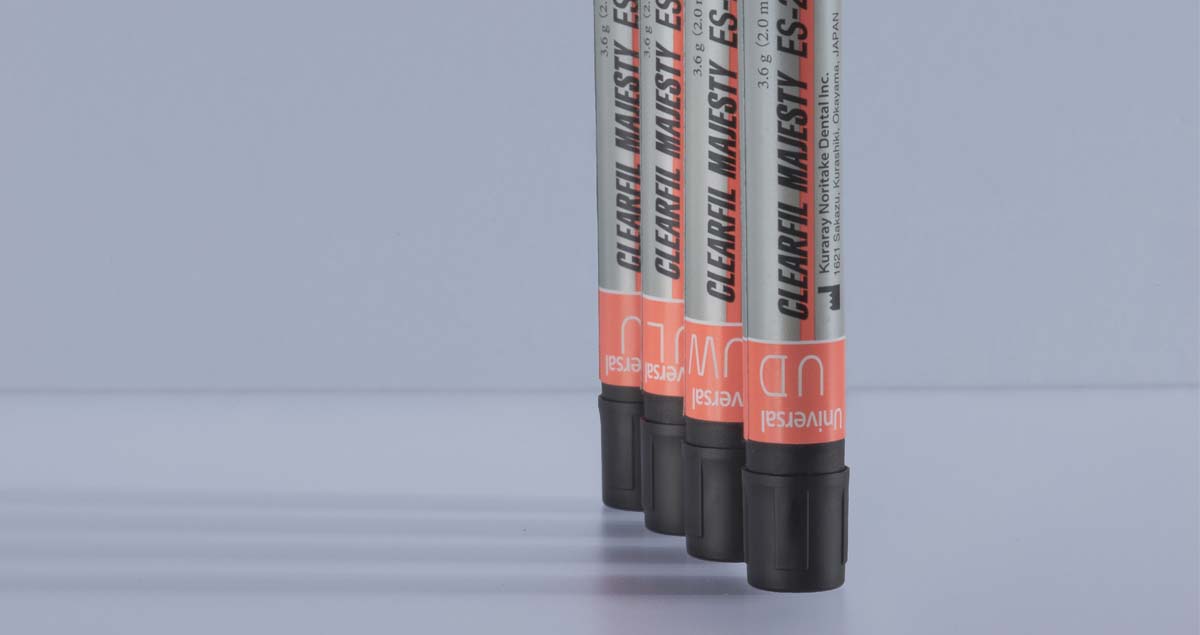
How many different shades of composite do you need to create appealing restorations in virtually every clinical situation? If you opt for “CLEARFIL MAJESTY™ ES-2” Universal shade concept, a few shades will do the trick.


With wonderful support of our internationally recognized key opinion leaders, we have prepared a Clinical Case brochure of “CLEARFIL MAJESTY™ ES-2” Universal for you. The brochure highlights a variety of clinical cases in the anterior and posterior region to show the all about excellent properties of our latest composite. Let the pictures speak for themselves!


Click here to view. Enjoy!


Start Reading: Special MAJESTY ES-2 Universal - Clinical Cases Brochure


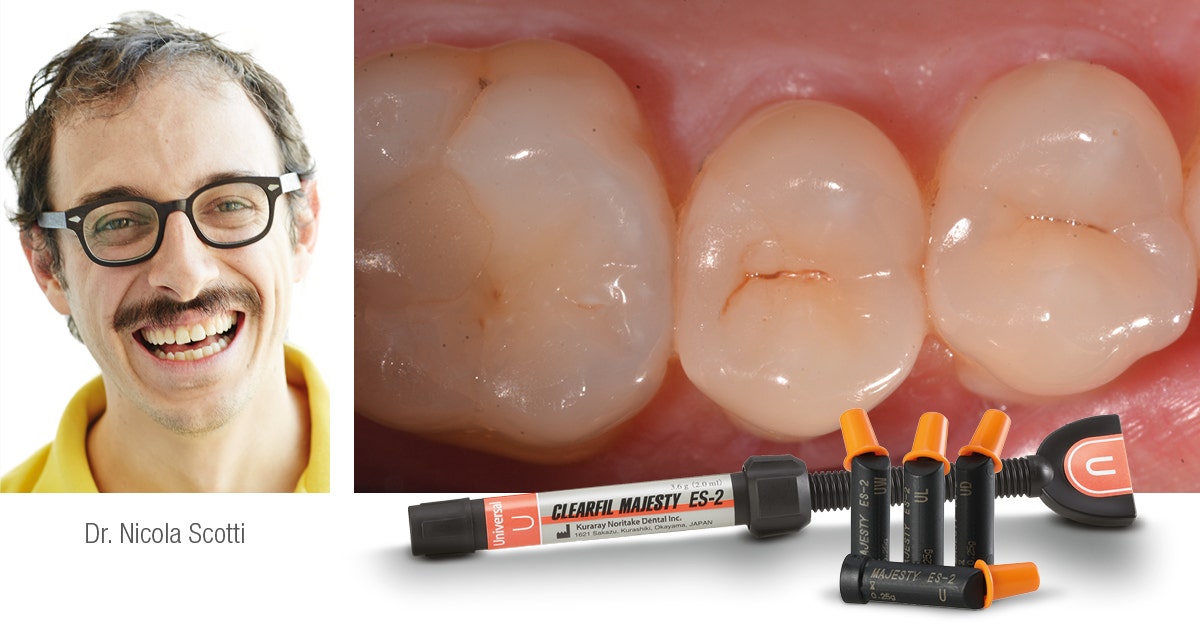
Treatment of a carious lesion with a single posterior shade composite

Case by Dr. Nicola Scotti


When restoring posterior teeth with resin composite, functional aspects such as tight and anatomically correct proximal contacts and a naturally shaped occlusal surface that is wear-resistant and antagonist-friendly are even more important than a perfect optical integration. This is why every dental practitioner should avoid spending a lot of time on shade selection in these cases and focus on the factors that have an impact on the reliability and longevity of the restoration. Great support in accomplishing this task is offered by CLEARFIL MAJESTY™ ES-2 Universal, a resin composite with a single universal shade (U) for the posterior region that eliminates the need for shade taking and selection. At the same time, it offers good marginal adaptation, low shrinkage stress and high wear resistance needed for great long-term results.


Fig. 1. Initial situation with a wide primary carious lesion in the distal aspect of the second premolar.


Fig. 2. Premolar after isolation of the working field with rubber dam, caries excavation and cavity preparation.


Fig. 3. Placement of a sectional matrix and a wedge to optimize the fit. Both are held in place with a separation ring, which increases the interproximal space and hence ensures tight, anatomically correct proximal contacts.


Fig. 4. Build-up of the proximal wall with CLEARFIL MAJESTY™ ES-2 Universal (U shade) following selective enamel etching with phosphoric acid (K-ETCHANT Syringe) and bonding with CLEARFIL™ SE Bond.


Fig. 5. A thin layer of flowable composite (CLEARFIL MAJESTY™ ES FLOW High) applied to the cavity floor to act as a resin coat.


Fig. 6. Restoration completed with CLEARFIL MAJESTY™ ES-2 Universal (U shade). While the universal shade composite blends in very well with the surrounding tooth structure, the natural look is completed by adding a tiny bit of brown tint to the fissure.


Fig. 7. Treatment outcome immediately after rubber dam removal. The proximal contact is tight and the occlusal anatomy well-shaped for the patient’s individual masticatory dynamics. The margin of the restoration is virtually invisible, while the buccal cusp appears lighter due to dehydration of the natural tooth structure.


FINAL SITUATION


Fig. 8. Treatment outcome after two months.


Conclusion

The present case demonstrates that the selected composite is well-suited for simplified restoration procedures in the posterior region. The material handles well, offers the same mechanical properties as other materials from the CLEARFIL MAJESTY™ ES-2 series and blends in harmoniously with the surrounding structures without being too translucent. This way, it is possible to waive the shade-taking process without compromising the treatment outcome. The time saved in this context may be spent on functional aspects – or even on another patient.


Dentist:

DR. NICOLA SCOTTI


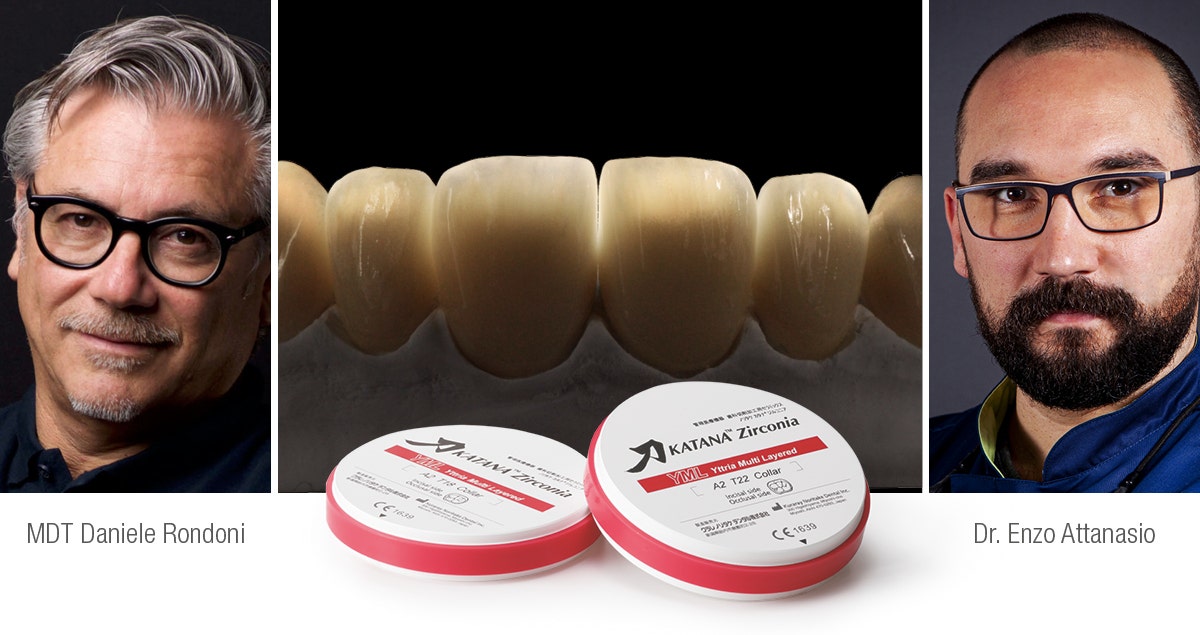
Treatment of a young patient with zirconia veneers

Case by MDT Daniele Rondoni and Dr. Enzo Attanasio.


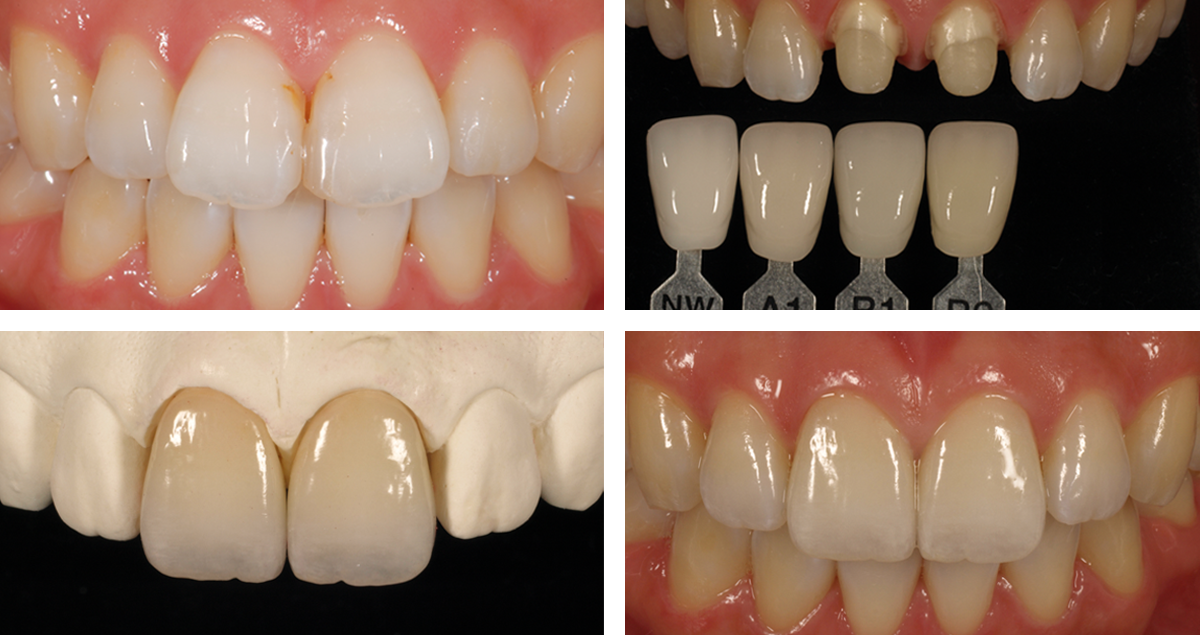
Veneers made of zirconia? In some cases, like the one presented below, monolithic zirconia veneers may be an option. Reasons for selecting a latest-generation zirconia such as “KATANA™ Zirconia” YML include its very high translucency and a wall thickness of only 0.3 to 0.4 mm supporting minimally invasive tooth preparation. Due to a highly automated production procedure, the manual effort involved may be reduced, while highly aesthetic outcomes are possible.


Fig. 1. Initial situation: Young female patient with misshaped and misaligned maxillary incisors. Digital smile design is used to reveal the ideal proportions and positions of the anterior teeth.


Fig. 2. Ideal tooth proportions and positions displayed over a picture of the teeth after orthodontic treatment and the creation of a mock-up. The positions are ideal and the tooth shapes obtained with the mock-up only need some minor adjustments.


Fig. 3. Facial view of the patient with the planned veneers blended in.


Fig. 4. Guided tooth structure removal with the aid of a silicone index. The minimum wall thickness of the selected material – “KATANA™ Zirconia” YML – is 0.4 mm.


Fig. 5. Matched digital impressions of the maxilla and mandible taken after tooth preparation.


Fig. 6. Monolithic restoration made of “KATANA™ Zirconia” YML placed on the resin model after the 7-hour final sintering.


Fig. 7. Lateral view of the master cast with the six veneers individualized with the liquid ceramic system CERABIEN™ FC Paste Stain.


Fig. 8. Tooth-like translucency of the veneers on the model.


Fig. 9. Intra-oral try-in with two different shades of the PANAVIA™ V5 Try-in Paste: A2 is used in the right and Clear in the left quadrant. It was decided by the dentist to use A2 shade.


Fig. 10. Lateral view of the cemented veneers. The result is a natural surface texture, which contributes to a natural appearance of the restorations.


Fig. 11. Frontal view of the veneers in place.


Fig. 12. Treatment outcome immediately after rubber dam removal.


FINAL SITUATION


Fig. 13. Treatment outcome with healthy soft tissues two weeks after treatment.


Fig. 14. Gums are healthy and the restorations show a great optical integration with the adjacent posterior teeth.


Dentists:

MDT DANIELE RONDONI DR. ENZO ATTANASIO


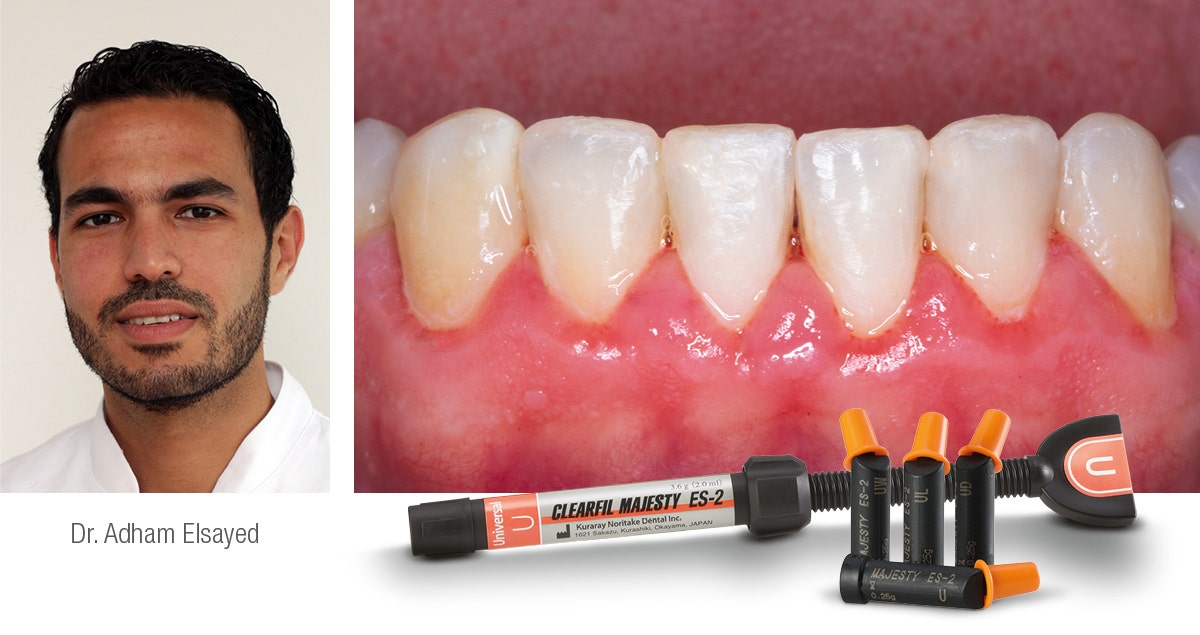
Simplified direct restoration procedure in the lower anterior region

Case by Adham Elsayed


If we ask dental patients what they expect from direct restorative treatments, they will most probably mention a quick procedure – as nobody wants to sit in a dental chair for a long time – and highly aesthetic outcomes. Reducing the treatment time is also something every dental practitioner should strive for, as their own time is the most precious asset they have. Fortunately, saving time becomes easy when appropriate high-quality materials and techniques are selected, as demonstrated using the following patient case.


The patient presented with several small carious lesions in the lower anterior region. In order to save time without compromising the quality of the outcomes, it was decided to opt for a simultaneous direct treatment approach involving the use of a universal adhesive and a universal restorative with a streamlined shade offering. It consists of two shades for the anterior region, which are typically applied in a single-shade approach and have optimized optical properties that allow for a smooth optical integration. The images shown below speak for themselves…


Fig. 1. Initial situation. Several caries lesions are detected on the lower anterior teeth.


Fig. 2. Situation after placement of rubber dam for moisture control.


Fig. 3. Appearance of the teeth following caries removal.


Fig. 4. Application of CLEARFIL™ Universal Bond Quick.


Fig. 5. Labial view of the final restorations produced with CLEARFIL MAJESTY™ ES-2 Universal (UD) before finishing and polishing.


FINAL SITUATION


Fig. 6. Final situations after rubber dam removal.


Dentist:


Dr. Adham Elsayed
Clinical and Scientific manager, Kuraray Europe GmbH, Hattersheim, Germany.


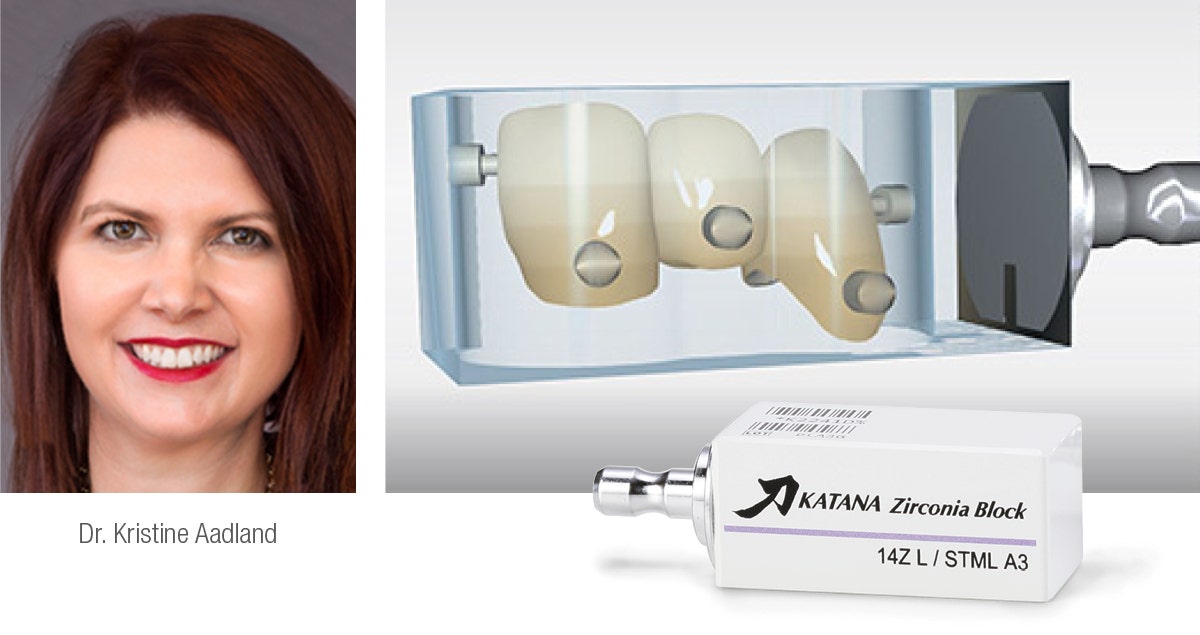
3-Unit anterior maxillary bridge

Case by Dr. Kristine Aadland.


Fig. 1. Preparation.


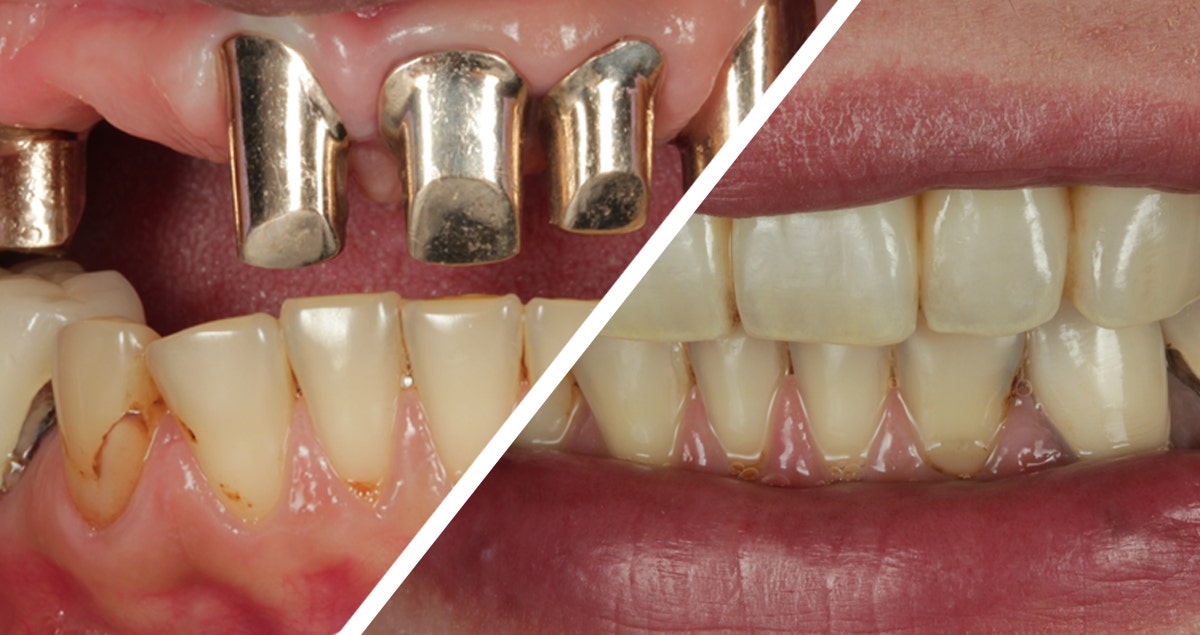
The patient’s old PFM bridge (shown here) was removed, and the existing preps for teeth #6 and #8 were modified with a medium chamfer with smooth and rounded edges to accommodate a 3-unit KATANA™ Zirconia bridge. There was no abutment for tooth #7, as that space serves as the pontic. Tooth #9 was similarly prepared to receive a single-unit KATANA™ crown.


Fig. 2. Define Restorations.


To begin, each restoration type is defined in the CEREC software, as the design mode (Biogeneric Individual), material type (KATANA™ Zirconia Block), and milling device (CEREC MC XL).


Fig. 3. Digital Impression.


A digital impression of the upper arch was performed using CEREC Primescan.


Fig. 4. Restoration Design.


The patient did not like the size of her centrals and wanted them smaller. She also didn’t like that her smile was slanted/canted. While designing, it really helps to use the patient’s old smile as a reference. This is why I used Bioindividual when designing the restorations, and added a BioCopy folder in the acquisition screen. I can ghost over the previous smile and readily see where I am.


Fig. 5. Restoration Design: Occlusal.


The BioCopy design function is also utilized to ensure a correct occlusal profile.


Fig. 6. Milling.


A KATANA™ Zirconia Block for bridge (14Z L) was used for the 3-unit bridge, and a KATANA™ Zirconia 12Z single-unit block was used for the single crown. The bridge block mills out in about 18 minutes, which is the fastest-milled chairside bridge block currently available.


Fig. 7. Characterization & Sintering.


Kuraray Noritake CERABIEN™ ZR FC Paste Stain and Glaze Kit was used for characterizing. The colors are very natural and it is not simply a metal oxide like other stains, but actually adding porcelain, giving the restorations more vitality. The oven cycle is quick at approximately 10 minutes, which means multiple fires are easy to do without excess time.


Fig. 8. Seating & Final Smile.


PANAVIA™ SA Cement Universal and CLEARFIL™ Universal Bond Quick were used for cementation and bonding. I love the ease of use and clean-up with PANAVIA™ SA Cement Universal, and its MDP monomer creates a strong chemical bond to the tooth structure and zirconia. CLEARFIL™ Universal Bond Quick has a quick technique without reducing bond strengths, releases fluoride and has a low film thickness. I simply rub CLEARFIL™ Universal Bond Quick into the tooth for a few seconds and air dry. There is no need to light-cure, since it cures very well with PANAVIA™ SA Cement Universal. The patient was very happy with the results. She loved that she no longer saw metal margins, and her smile was much more uniform and lifelike.


DR. KRISTINE AADLAND


Cementation of lithium disilicate crown

Using KATANA™ Cleaner and PANAVIA™ SA Cement Universal

Case by Dr. Richard Young


Fig. 1. HF etch and try-in complete.


Fig. 2. Dispense KATANA™ Cleaner into mixing well.


Fig. 3. Rub for 10 seconds, then rinse and dry.


Fig. 4. Rub for 10 seconds, then rinse and dry. KATANA™ Cleaner contains MDP based surfactant that breaks down blood and saliva - removing contamination.


Fig. 5. Apply cement directly onto restoration (glass ceramic, zirconia, metal or composite resin).


Fig. 6. PANAVIA™ SA Cement Universal contains MDP and LCSi monomers, providing for durable bonding even to lithium disilicate restorations.


Fig. 7. Tack-cure for 2-5 seconds.


Fig. 8. Tack-curing results in nice gel-like-state and excess is removed with ease.


FINAL SITUATION


Fig. 9. Final situation.


Dentist:

DR. RICHARD YOUNG


Telescopic Bridge

Case by Keisuke Ihara, RDT, Yohei Sato, DMD, PhD and Tsurumi University School of Dental Medicine.


MINIMAL CUT-BACK DESIGN


Accommodate esthetics and function, achieves natural color and surface texture due to thin porcelain layer.


Step 1.  Teeth preparation.


Step 2.  Inner crowns were placed on the abutments.


Step 3.  Zirconia Frame (KATANA Zirconia HTML A1) cut-back designed for incisal frame.


Step 4.  Application of Cerabien™ ZR (CZR) for making base color and firing.


Step 5.  Application of Internal Stain and firing.


Step 6.  The final restoration and inner crown parts.


Step 7.  Post-operative view.


Beyond natural

Multiple porcelain layering with Internal Stain technique


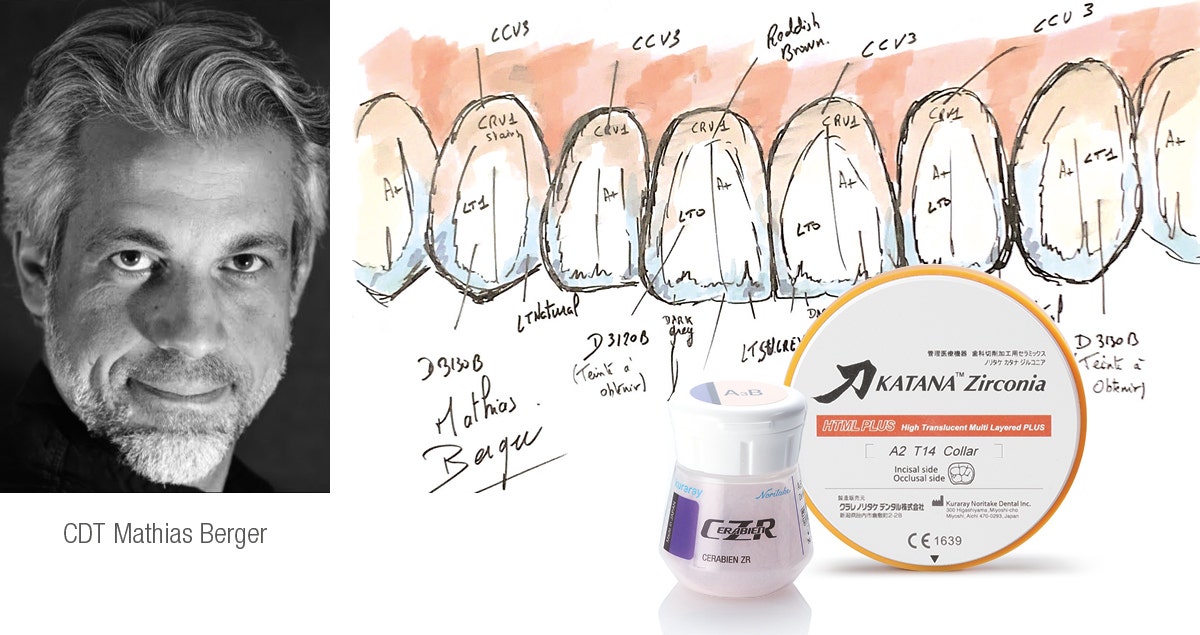
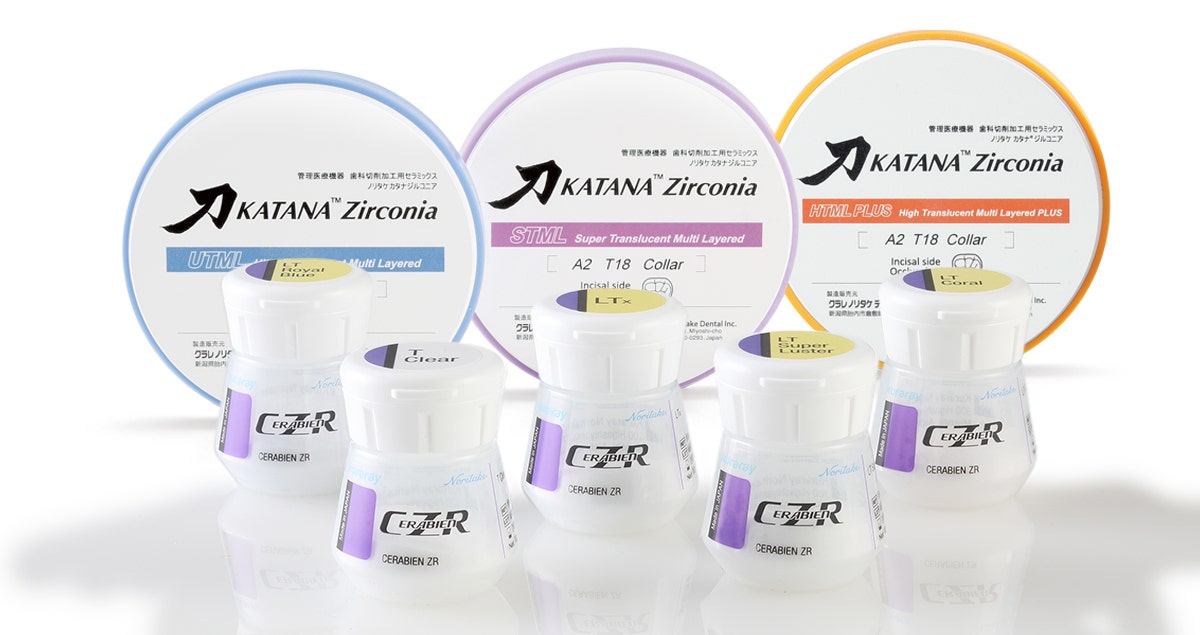
In 2015, Kuraray Noritake Dental Inc. launched the new KATANA Zirconia UTML and STML. With this outstanding multi-layered zirconia you can reach high level of esthetic in less steps than usual working steps of layering porcelain technique. Just mill and sinter. Due to great properties of this new material, you will get a high esthetic and natural like result. On the other hand, there are many works existing in clinical situation that only professional handmade can achieve the highest esthetic level. Multiple porcelain layering and Internal Stain technique have bigger possibility sometime to show beyond natural.


Fig. 1. Pre-operative photo.


Fig. 2. After preparation.


Fig. 3. Checking the fit of Zirconia Frameworks on model.


Fig. 4. After 1st baking of OB as washbake.


Fig. 5. After wash-baking, using with Internal Stain A+ on the margin area to make a natural cervical color from Zirconia.


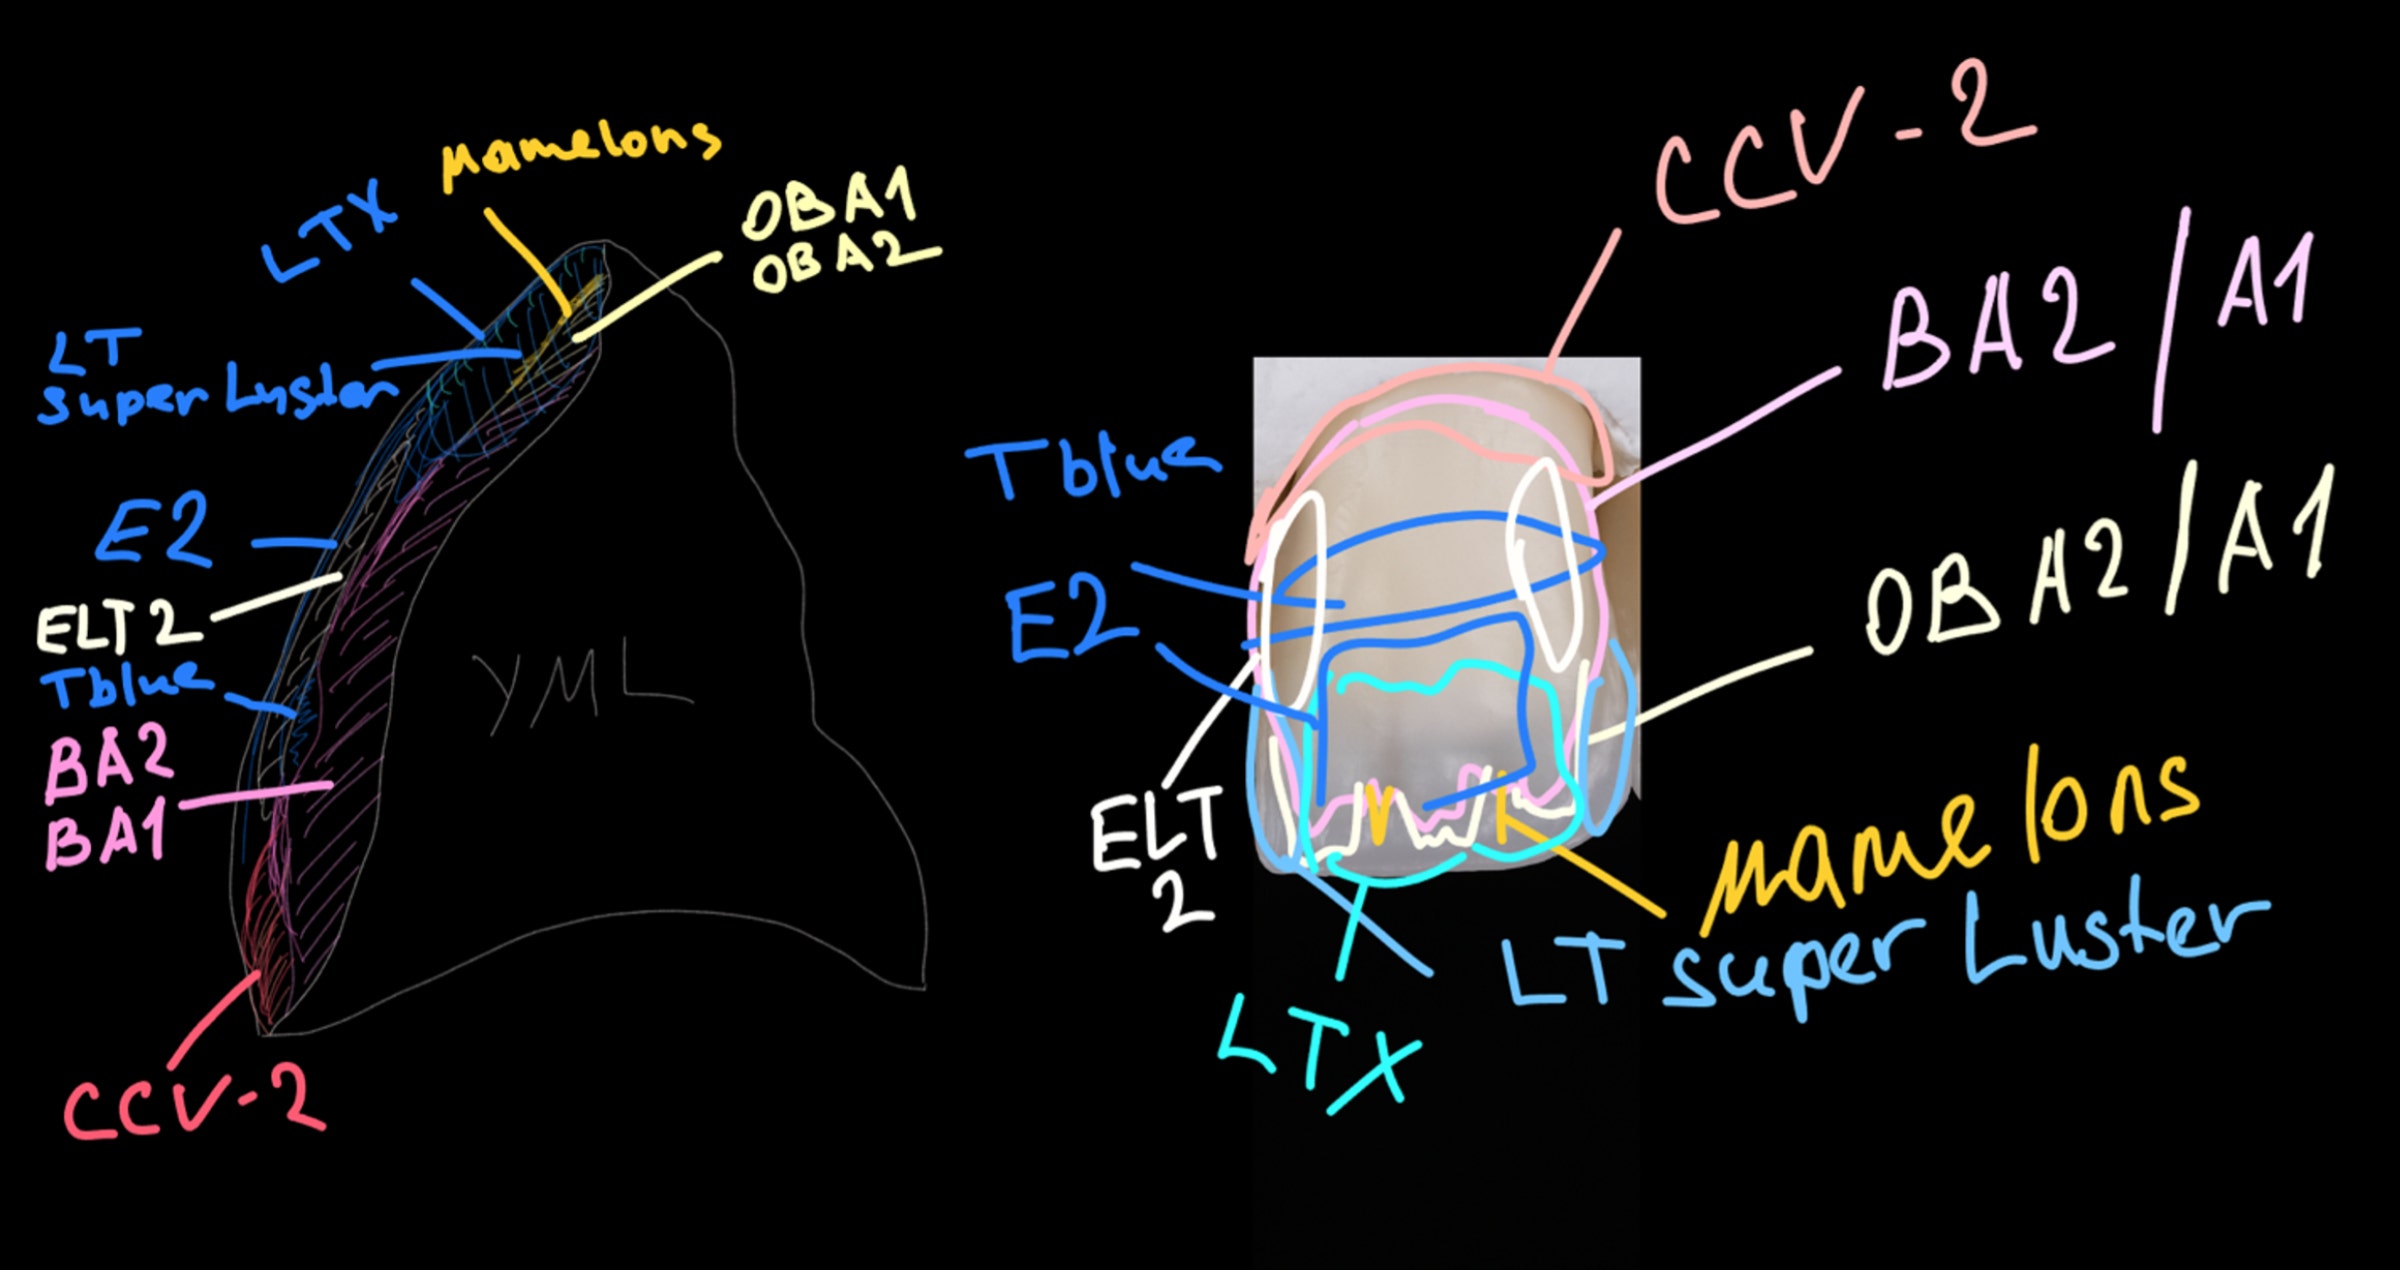
Fig. 6. Applying Opacious Body (OBA1) considering with mamelon structure. And apply Body A2B to make high chrome area on cervical area.


Fig. 7. After baking Opacious Body (OBA1).


Fig. 8. After applying Body porcelain (A2B), using wit Cut-Back method to make a space for applying Enamel & Luster porcelains.


Fig. 9. Applying Enamel porcelain (E2) and Luster Porcelain (T Blue) for explaining translucent gradation on the edge of mamelon.


Fig. 10. Applying E2 for making White-band and LT1 for making incisal edge. Considering of porcelain shrinkage after baking, apply 13% bigger than final shape.


Fig. 11. After baking.


Fig. 12. Internal Stain application Applying A+ for cervical color and White for make white spots on incisal area.


Fig. 13. Applying E2 on Cervical area and LT1 for covering surface. And using with E2 on the edge of incisal to make Hallow Effect.


Fig. 14. After baking and morphological correction. Then self-glazing.


Fig. 15. End result.


Fig. 16. Post-operative photo.


Courtesy: Kanare Technical Center in Japan


Implant-supported fixed partial denture

Case by Sung Bin Im, MDC, CDT and Sergio R Arias, DDS, MS


MINIMAL CUT-BACK DESIGN


KATANA multi-layered zirconia allows me to achieve great esthetic and functional outcomes on high risk patients.


Step 1. Titanium Abutments (#7, 9) were placed on the solid model.


Step 2. Zirconia Frame (KATANA Zirconia HT10) cut-back designed to minic anatomical dentin structure and incisal frame.


Step 3. Application and firing of Cerabien™ ZR (CZR) to achieve target shade and incisal effect.


Step 4. Completion of Internal Stain firing.


Step 5.
Completion of Luster and Clear Cervical layering.


Step 6. Surface detail check.


Step 7. Post-operative view.


Adhesive cementation of a KATANA™ Zirconia HT 3-unit bridge with PANAVIA™ V5

Case by Dr. Shoji Kato of Takanawa Dental Office, Japan


1. After preparing the abutments

An anterior bridge made of crown and bridge resin has become dislodged. The abutments are vital teeth.


2. Prosthesis

A PFZ bridge with a frame fabricated using KATANA™ Zirconia HT12.


3. Application of Try-in Paste

Evaluate the shade of the cement before cementation.


4. Try-in

After checking the cement’s shade, rinse the prosthesis and tooth surface with water to remove Try-in Paste.


5. Pretreatment of the prosthesis (A)

Sandblast the prosthesis (at 0.3 to 0.4 MPa), clean with an ultrasonic cleaner for 2 minutes, then dry.


6. Pretreatment of the prosthesis (B)

Apply CLEARFIL™ CERAMIC PRIMER PLUS and blow dry with air.


7. Pretreatment of the abutments (C)

Apply Tooth Primer, allow it to react for 20 seconds, then blow dry with air.


8. Application of Paste

Use Universal.


9. Placement of the prosthesis

After placement, remove excess cement using a piece of gauze, a small brush, etc.


10. Light-curing

Light-cure the entire surface of the prosthesis, including the margins.


11. Final polymerization

Make sure the prosthesis is left in place, unmoved, for 3 minutes.