Aesthetic case

LabLine magazine is an English language publication catering to the field of lab-side dentistry. It provides comprehensive coverage of the latest techniques and trends in dental laboratory technology and materials, showcasing them via sophisticated, challenging and aesthetic clinical cases done by some of the most known experts in Europe. With its expertly curated content, LabLine serves as an invaluable resource for dental professionals seeking to enhance their knowledge and stay at the forefront of the industry.


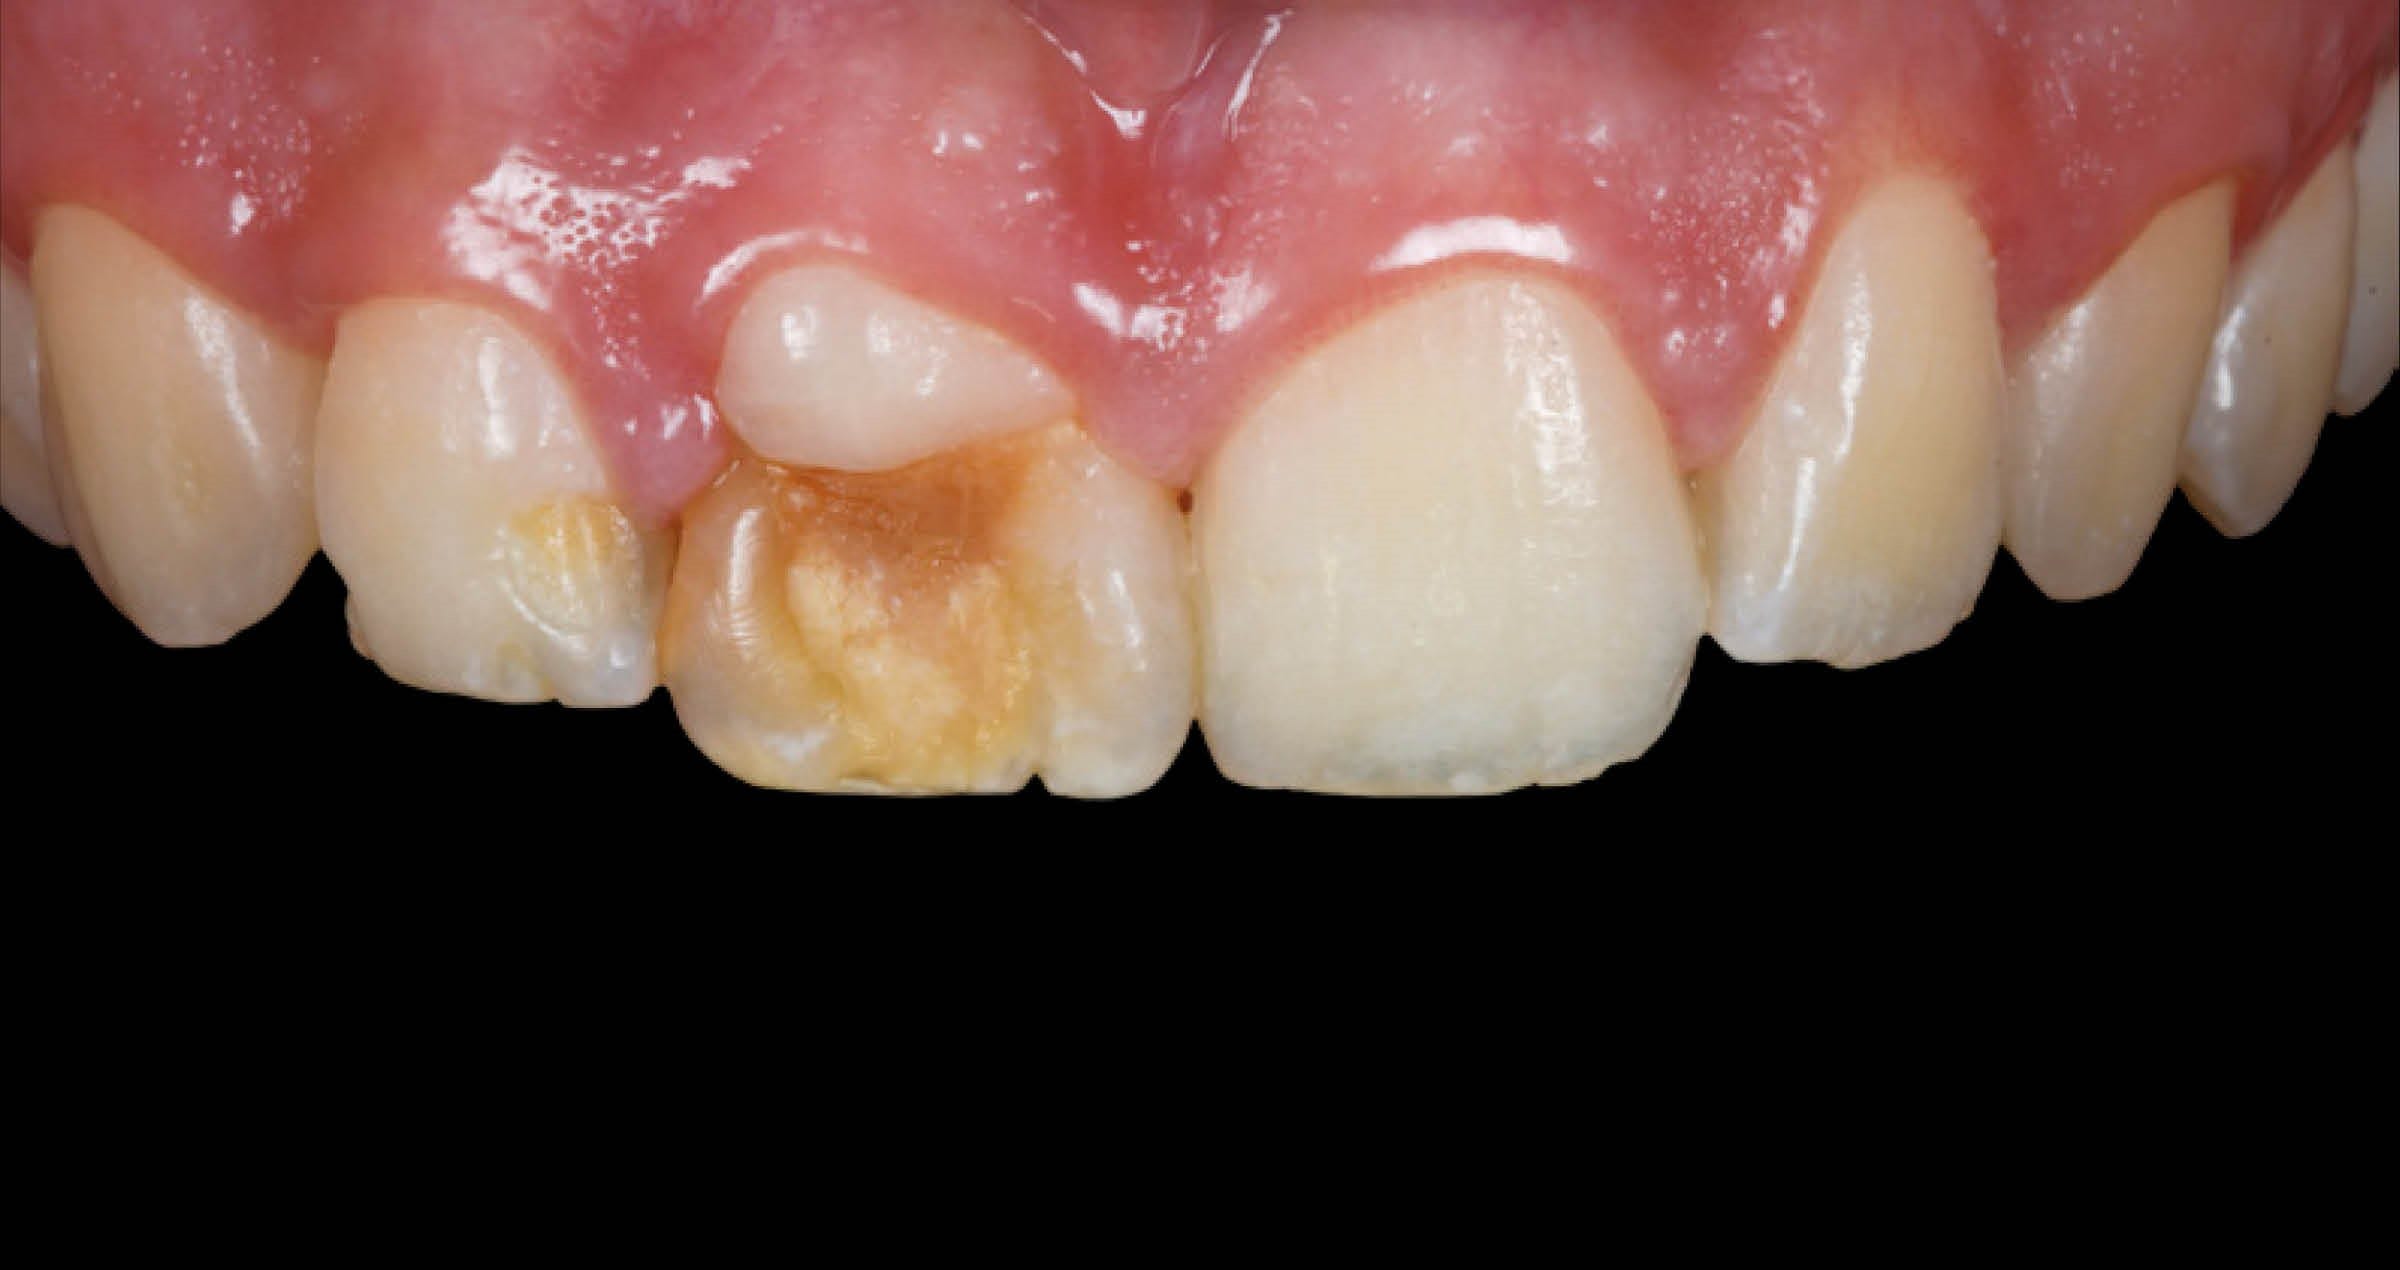
In the SPRING edition of LabLine you can find a wonderful AESTHETIC CASE by Mikel Villar Gonzales and DT Pilar Ballesteros Galan. The patient, a 21-year-old female had a hypoplasia defect on her permanent teeth, 1.1 and 1.2., presumably due to trauma on her deciduous anterior teeth. Click the image below and check out how the case was done!


KATANA™ Zirconia & Esthetic Colorant

TIPS AND TRICKS


Case by MDT Daniele Rondoni and MDT Roberto Rossi


Recently, Kuraray Noritake Dental Inc. has introduced Esthetic Colorant for KATANA™ Zirconia – dyeing liquids applied after milling of the company’s multi-layered zirconia. Enthusiastic users of the KATANA™ Zirconia Multi-Layered Series may wonder when and how to use the innovation: In combination with external stains, veneering porcelains or liquid ceramics, or as a replacement of those products? On the monolithic surface or on a dentin structure (framework)? And how much liquid produces the desired effect? Some technical guidance is provided in this article.


The good news: Esthetic Colorant fits perfectly into any existing approach, no matter whether you prefer a full-contour or cutback design. You may apply the liquids solely in a zero-bake technique – just individualize the milled restorations with Esthetic Colorant, fix the colours during the final sintering procedure and polish the surface. On the other end of the spectrum of options is the use underneath different layers of internal stains, porcelains and glaze.


WE UTILIZE ESTHETIC COLORANT MAINLY FOR THREE PURPOSES:


  1. To add specific individual characteristics to the restoration, which are not generated by the multi-layered material structure, yet difficult to create with internal stains (examples are a more chromatic body area of a canine in comparison to the adjacent lateral incisor or pronounced mamelon structures). As the liquids diffuse into the structure, a depth effect is created.

    Eight liquids are available for the abovementioned purpose: A, B, C and D Plus for changing the brightness and creating shadows, BLUE, GRAY, ORANGE and BROWN for general characterization.
  1. To pre-treat tissue areas to produce a perfectly shaded basis for the application of liquid ceramics (CERABIEN™ ZR FC Paste Stain) or Tissue Porcelain.

    Two liquids are available for this purpose: PINK AND VIOLET.
  1. To prevent a greyish effect caused by the shining through of discoloured abutment teeth or metal parts (posts or implant abutments) – in this case, Esthetic Colorant OPAQUE or WHITE is applied to the intaglio of the restoration. The effect: the incoming light is blocked on the side of the dark element, while the natural translucency in the outer surface area of the restoration is maintained.


PURPOSE 1


An example of how to add specific individual characteristics to the surface of the restoration is the following full-arch case. After sintering, we just added a micro-layer of CERABIEN™ ZR Luster Porcelain and CERABIEN™ ZR FC Paste Stain Clear Glaze.


Fig. 1a. Frontal view of the complex restoration made of KATANA™ Zirconia HTML Plus after milling and the application of different shades of Esthetic Colorant.


Fig. 1b. Occlusal view of the complex restoration after milling and the application of different shades of Esthetic Colorant. Important: Every restoration characterized with Esthetic Colorant should be left to dry for at least 30 minutes prior to sintering.


Fig. 1c. Frontal view of the restoration after the final sintering procedure.


Fig. 1d. Occlusal view of the restoration after sintering.


Fig. 1e. Addition of a micro-layer of CERABIEN™ ZR Luster Porcelain.


FINAL SITUATION


Fig. 1f. Frontal view of the definitive restoration finished with CERABIEN™ ZR FC Paste Stain Clear Glaze.


Fig. 1g. Occlusal view of the final restoration.


Fig. 1h. Great incisal translucency.


PURPOSE 2


The effect of a pre-treatment of the tissue area of a complex restoration is illustrated with the aid of the following example case. Again, we opted for a nearly monolithic design with a minimal cutback in the incisal area of the teeth. The appearance of the originally tooth-coloured tissue area is modified visibly through the application of Esthetic Colorant in the shades PINK and GRAY. Some individual effects are added to the teeth as well.


Fig. 2a. Vestibular view of the milled restoration (material: KATANA™ Zirconia YML).


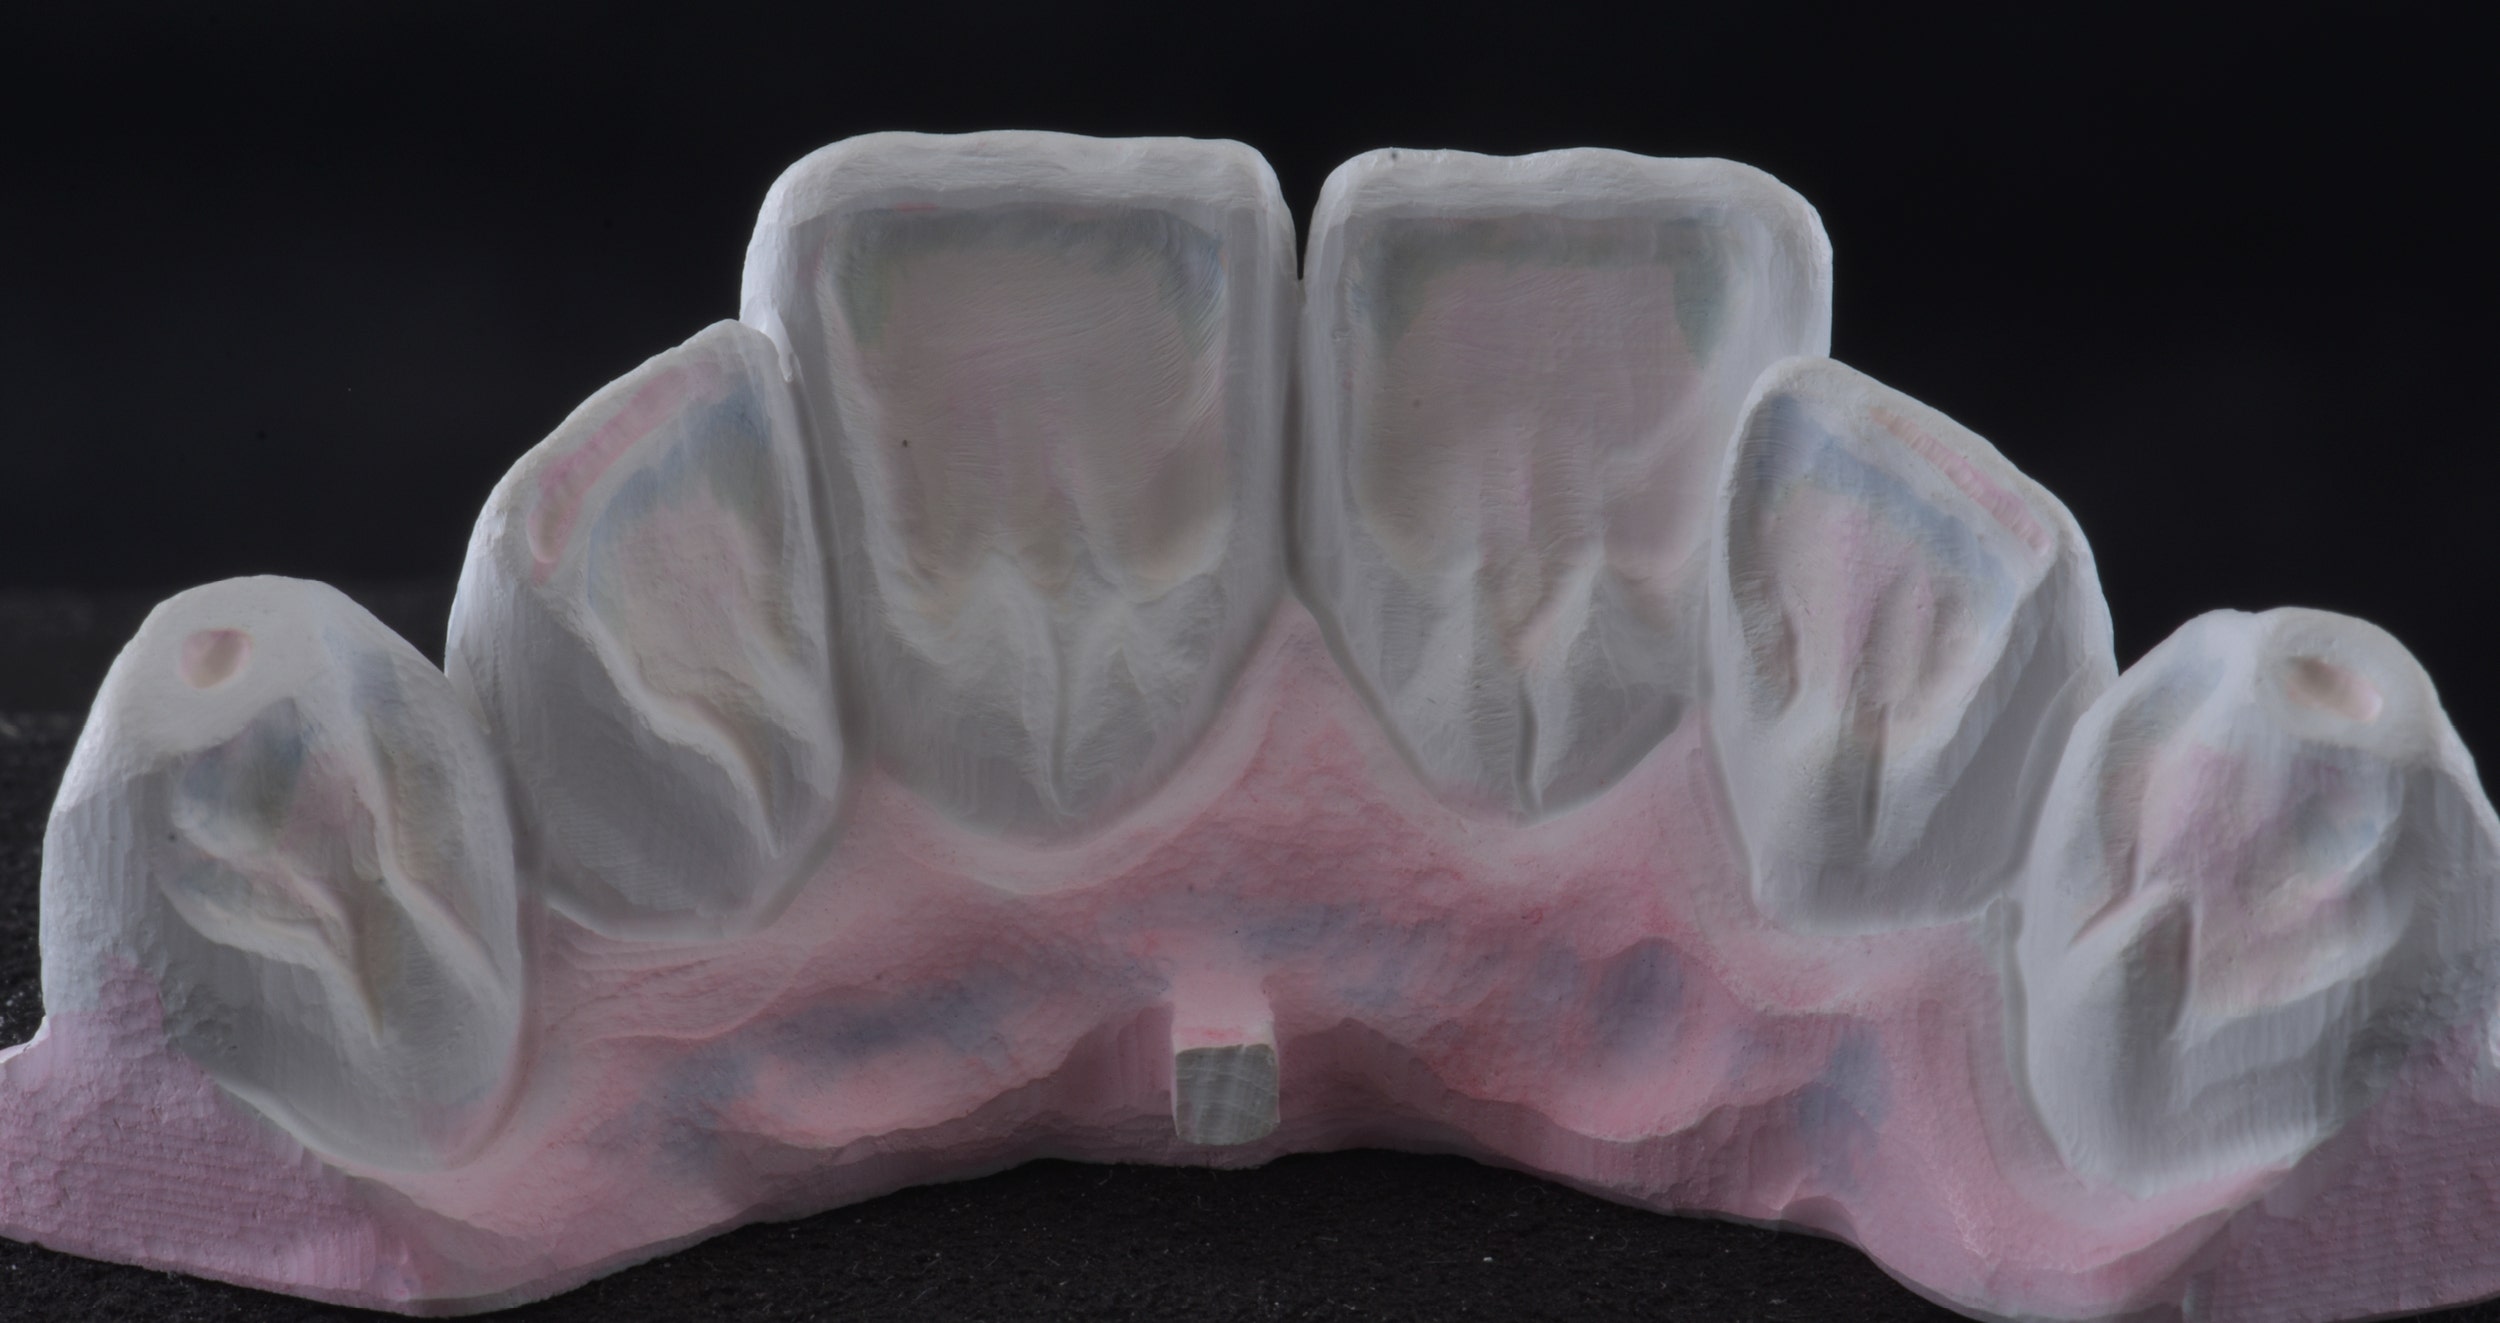
Fig. 2b. Palatal view of the milled restoration.


Fig. 2c. Vestibular pattern of application of Esthetic Colorant.


Fig. 2d. Palatal pattern of application of Esthetic Colorant.


Fig. 2e. Vestibular view of the restoration after the final sintering procedure.


Fig. 2f. Palatal view of the restoration after the final sintering procedure.


PURPOSE 3


Comparison of restorations on an implant abutment with and without Esthetic Colorant (EC):


HOW TO APPLY ESTHETIC COLORANT?


Essentially, Esthetic Colorant may be applied with any metal-free brush or pen. In our opinion, the best results are obtained by using the Liquid Brush Pen that has been specifically developed for the dyeing liquids. The pen’s housing is filled with the selected shade of Esthetic Colorant and allows for a controlled application, as the tip always dispenses the right amount of liquid and does not dry out. We utilize a separate Liquid Brush Pen for every shade that is frequently in use.


SINTERING PARAMETERS


After drying, which is essential for a good outcome, the restorations treated with Esthetic Colorant may be put into the sintering furnace and sintered according to the schedule recommended for the KATANA™ Zirconia Multi-Layered series. The parameters do not need to be adjusted.


CONCLUSION


The controlled application of Esthetic Colorant is easily accomplished by using the appropriate equipment, while the desired effects are obtained predictably. The liquids’ ease of use, the appropriate number of shades available and the achievable effects are just a few of the many benefits you will find when trying out the new system in your dental laboratory.


Dentists:

MDT Daniele Rondoni MDT Roberto Rossi


Flowable injection technique, a flowable composite revolution

Case by Michal Jaczewski


This patient came to the clinic to improve the aesthetics of her smile. After an aesthetic and functional analysis, it was decided to align and restore the teeth using a minimally invasive protocol with flowable composite.


INITIAL SITUATION


Fig. 1. The patient had worn teeth, visible abrasion, erosion and crowding in the lower arch.


Fig. 2. Situation after orthodontic treatment, full arch ready to restore.


Fig. 3. A silicon mould is used for the Flowable Injection Technique to restore the teeth with flowable composite. The silicone injection mould had injection channels prepared and was placed to check for proper fit.


Fig. 4. For this case it was decided to use CLEARFIL MAJESTY™ ES Flow Low in shade XW.


Fig. 5. Teflon tape was used, in order to separate the teeth.


Fig. 6. The restoration is completely additive; the teeth are not prepared at all. Total etching of the enamel is the best pre-treatment in this situation. K-Etchant Syringe (35% phosphoric acid) was applied for 10 seconds.


Fig. 7. A surgical suction tip was used in order to carefully remove the phosphoric acid gel and protect the isolations on the teeth. Followed by rinsing off completely with water in the usual manner.


Fig. 8. Each tooth was gently air dried for 10 seconds. CLEARFIL™ Universal Bond Quick was applied with a rubbing motion without additional waiting time. Followed by drying of the entire bonding treated surfaces by blowing mild air for more than 5 seconds until the bonding no longer moves.


Fig. 9. Light curing of each bonded tooth for 10 sec.


Fig. 10. The silicon mould is used to inject CLEARFIL MAJESTY™ ES Flow Low (optimal flowability, and properties for a case like this).


Fig. 11. Using the protocol „Treat one, skip one” several teeth are restored simultaneously.


Fig. 12. Situation directly after first round of injections.


Fig. 13. Situation after restoring all teeth, before polishing.


Fig. 14. To create a natural gloss the following polishing protocol was used: 1.) Sof-Lex™* discs, 2.) CLEARFIL™ Twist DIA for Composite polishing wheels, 3.) diamond paste and finally zinc oxide paste.

*Not a brand name of Kuraray Noritake Dental.


Fig. 15. High-shine results after polishing.


FINAL SITUATION


Fig. 16. Final restoration, immediately after treatment.


Fig. 17. Final restoration after 2 days.


Dentist:

MICHAL JACZEWSKI


Michał Jaczewski graduated from Wroclaw Medical University in 2006 and today runs his private practice in the city of Legnica, Poland. He specializes in minimally invasive dentistry and digital dentistry and is the founder of the Biofunctional School of Occlusion. Here he lectures and runs workshops with focus on full comprehensive patient treatments.


Dream Team

THE COMBINATION OF EFFECT LIQUIDS AND MICRO-LAYERING ON HIGHLY AESTHETIC ZIRCONIA IS THE EFFECTIVE WAY TO ACHIEVE OUTSTANDING RESULTS


Case by Leonidas Dimitriou, MDT


As an addition to its well-aligned portfolio of multi-layered zirconia (KATANA™ Zirconia Multi-Layered series) and veneering porcelain for zirconia (CERABIEN™ ZR), Kuraray Noritake Dental Inc. has recently introduced a set of dyeing liquids. Esthetic Colorant for KATANA™ Zirconia is applied to the surface of the monolithic or anatomically reduced zirconia restoration prior to the final sintering procedure. In this way, it is possible to imitate typical internal colour effects of natural teeth quite easily. Depending on the desired outcome, users may add just a final layer of glaze, liquid ceramics or stains and porcelains to their zirconia restorations treated with Esthetic Colorant. The following two case examples are used to demonstrate two different procedures involving the use of the effect liquids.


CASE EXAMPLE 1


In the first case, we produced three two-unit splinted crown restorations for six maxillary anterior teeth. The zirconia crowns (made of KATANA™ Zirconia YML) were anatomically reduced and individualized with Esthetic Colorant mainly in the incisal and cervical areas immediately after milling. For the application of the selected liquids, we used the Liquid Brush Pen specifically developed for Esthetic Colorant. The restorations were dried for half an hour, placed in the sintering furnace for sintering according to the recommended protocol for KATANA™ Zirconia and subsequently finished with CERABIEN™ ZR porcelains. Finally, CERABIEN™ ZR Paste Stain Glaze was applied for the final high-gloss finish.


Fig. 1. Pre-sintered anatomically reduced crowns after milling.


Fig. 2. Esthetic Colorant applied to the milled restorations.


Fig. 3. Appearance of the individualized restorations after the final sintering procedure.


Fig. 4. Restorations after porcelain layering.


FINAL SITUATION


Fig. 5. Final restorations with a natural appearance. The effects created with Esthetic Colorant shine from deep within the restorations.


Fig. 6. Lateral view of the final restorations from the left.


Fig. 7. Lateral view of the final restorations from the right.


CASE EXAMPLE 2


In this second case, two three-unit restorations were produced using KATANA™ Zirconia YML in the colour A3. We designed and milled them in full contour, then reduced them with hand instruments by 0.2 mm and added some texture effects to the surface before applying Esthetic Colorant. In this case, we played with different shades of Esthetic Colorant. Even when applied on a minimally reduced or monolithic surface, the liquids are able to create a nice depth effect as they diffuse into the zirconia structure. The amount of liquid applied is easily controlled with the Liquid Brush Pen, so that the intensity of the colours is predictable. After sintering, we added some internal stains, CERABIEN™ ZR Luster Porcelain and a final layer of CERABIEN™ ZR FC Paste Stain Glaze to finish the restorations. The outcome speaks for itself.


Fig. 8. Milled monolithic restorations with a pronounced surface texture.


Fig. 9. Vestibular and palatal surfaces individualized with Esthetic Colorant to create and intensify some natural colour effects.


Fig. 10. Appearance of the restorations immediately after sintering.


Fig. 11. Restorations after internal staining.


Fig. 12. A layer of luster porcelain applied to the minimally reduced restorations.


FINAL SITUATION


Fig. 13. Final outcome after glazing.


Dentist:

LEONIDAS DIMITRIOU, MDT
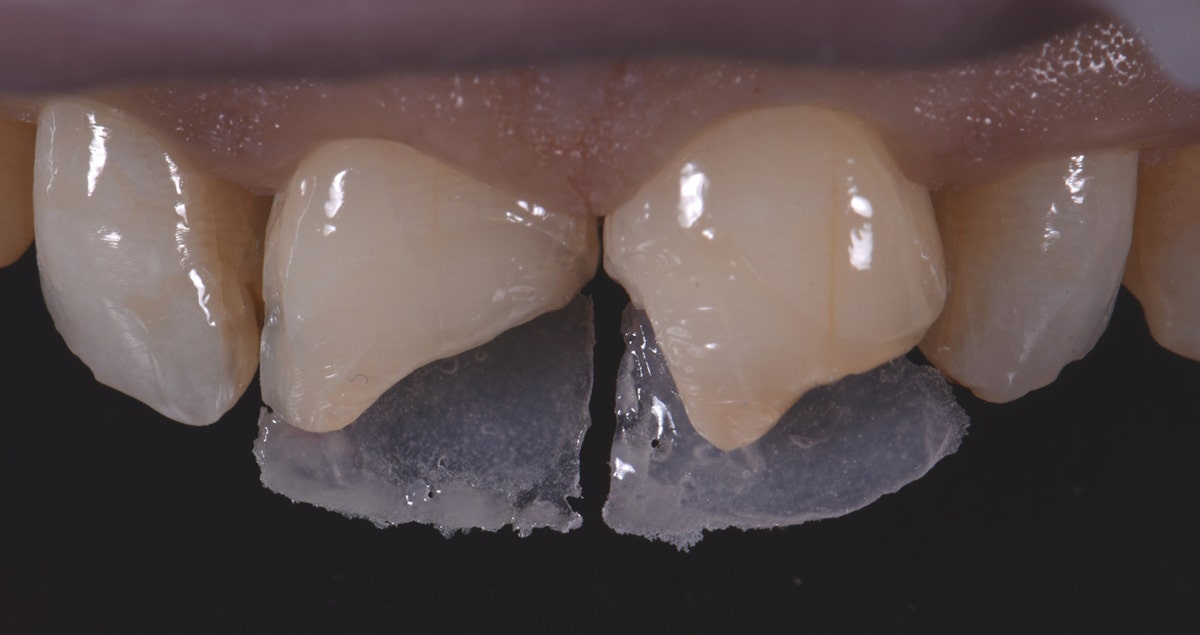
 

First impressions: Esthetic Colorant for KATANA™ Zirconia in use

Case by CDT Daniele Rondoni and MDT Roberto Rossi


Working with high-translucency, multi layered zirconia (KATANA™ Zirconia Multi-Layered series from Kuraray Noritake Dental Inc.) paves the way toward indirect restorations that are closely adapted to our patients’ needs. Reduced wall thicknesses allow for minimally invasive tooth preparations, while polished zirconia in the occlusal contact areas provides for an antagonist-friendly behaviour. All this is possible due to the high aesthetic potential and homogeneous structure of the materials, which work well with a full-contour design or slight vestibular cutback. For individualization or characterization, different options are available. The portfolio of finishing solutions from Kuraray Noritake Dental has just been complemented by Esthetic Colorant for KATANA™ Zirconia, a set of twelve dyeing liquids for the company’s multilayered zirconia. They are applied to the milled restoration surface prior to sintering.


Some readers may wonder why there is a need for effect liquids applied to pre-shaded zirconia with a multi-layered colour structure. Being aware of natural teeth’s unique play of colours stemming from the shape and shade of the dentin core, however, the reason is quite obvious: Esthetic Colorant diffuses into the zirconia structure, hence allowing us to create depth effects even in monolithic restorations. Moreover, it enables the user to pre-treat tissue areas, and even by using the liquids on cutback designs, we are able to reproduce case-specific internal optical characteristics quite easily. Our standard approach for the use of Esthetic Colorant on KATANA™ Zirconia HTML Plus is described by means of the following case example: An implant- and tooth-based twelve-unit bridge with a slight vestibular cutback design, finished with Esthetic Colorant and CERABIEN™ ZR Porcelain.


Fig. 1. Restoration with sintering support removed from the blank.


Fig. 2. Esthetic Colorant for KATANA™ Zirconia: Available shades.


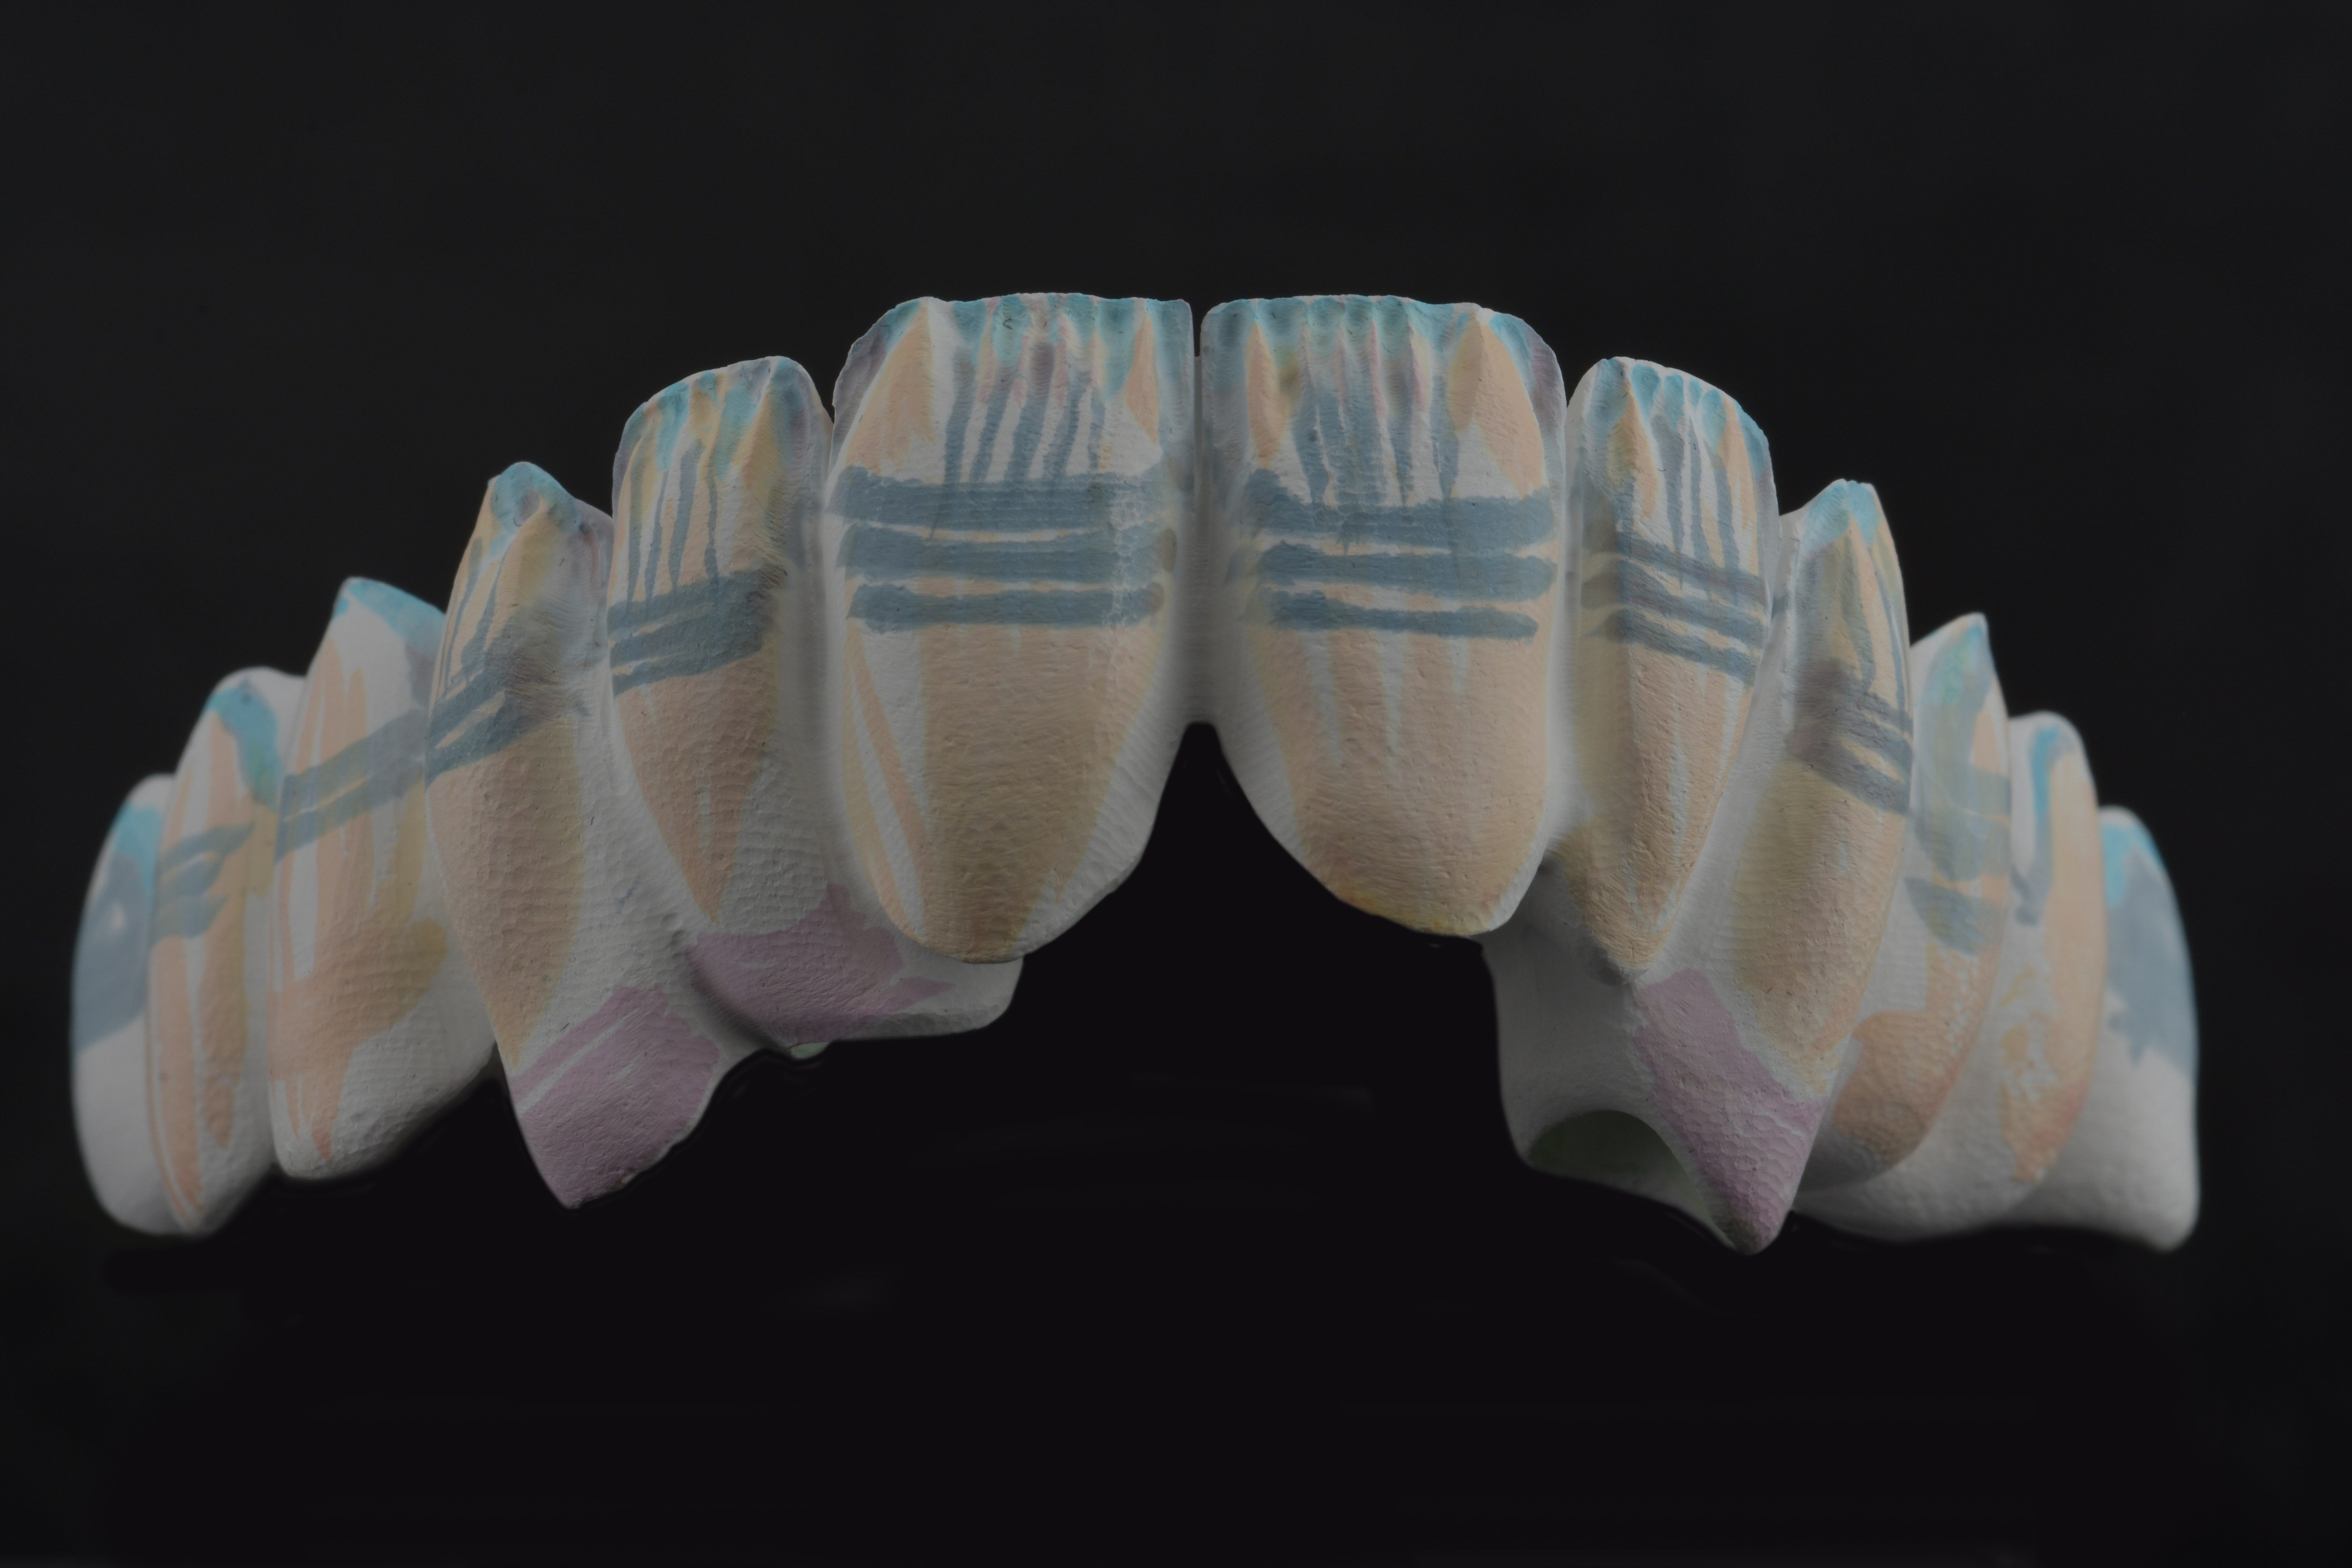
Fig. 3. Frontal view of the milled restoration after the application of Esthetic Colorant. A chromatic map is not needed since the colours of the applied liquids are clearly visible.


Fig. 4. Occlusal view of the milled restoration after the application of Esthetic Colorant. The liquids were applied with the Liquid Brush Pen for Esthetic Colorant.


Fig. 5. Frontal view: Appearance of the restoration after sintering.


Fig. 6. Occlusal view: Appearance of the restoration after sintering.


Fig. 7. Beautiful translucency and mamelon structures in the incisal area.


Fig. 8. Situation after the application of a thin layer of CERABIEN™ ZR Porcelain, which creates an enamellike window effect and reveals the play of colours found underneath.


Fig. 9. Restoration after firing and glazing.


FINAL SITUATION


Fig. 10. Beauty shots…


Fig. 11. … of the final restoration.


Easy handling and application, impressive colour effects: Esthetic Colorant perfectly fits into our micro-layering approach with a cutback design adjusted to the age and needs of every patient. Being applied on the pre-sintered zirconia surface, the liquids do not require any extra heat treatment – the restoration is simply dried and then sintered as usual. Esthetic Colorant may be used instead of or in combination with internal stains, luster porcelains and liquid ceramics – whatever complements a laboratory’s existing approach to highly aesthetic zirconia restorations.


Dentists:

CDT Daniele Rondoni MDT Roberto Rossi


Class II cavities restored with composite raising the margin and re-establishing the contact point

Case by Kokla Thalia, Postgraduate student in Restorative Dentistry program, Faculty of Dentistry, National and Kapodistrian University of Athens, Greece


Restoring Class II cavities can be challenging due to limited access to the posterior area, where the interproximal contact needs to re-established in a proper way. Inadequate contacts tend to result in increased plaque accumulation, food impaction and, as a consequence, the development of caries and irritation of the interproximal gingiva. Therefore, it is essential that the interproximal contact is restored based on the model of nature. A suitable matrix system and a proper clinical protocol can help us succeed in this context. The following clinical case is used to illustrate a possible strategy.


Fig. 1. Initial clinical situation. 23-year-old female patient with caries on the mandibular left second premolar.


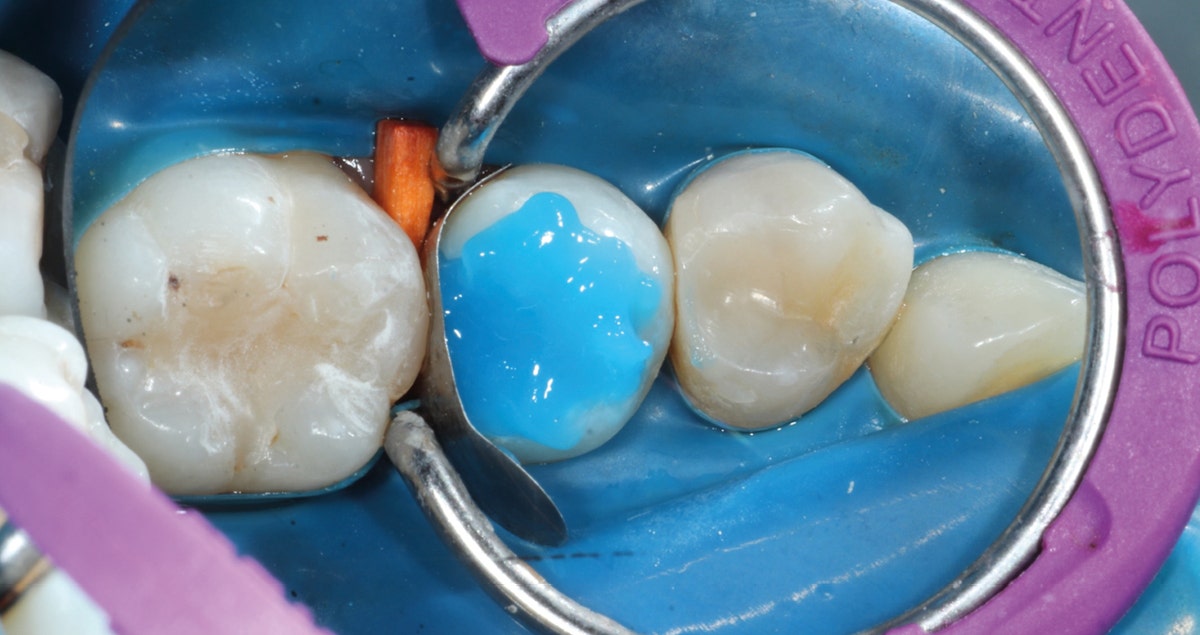
Fig. 2. Situation after cavity preparation, isolation of the working field with rubber dam and the placement of a sectional matrix fixed with a ring. It is essential that the matrix imitates the natural shape of the contact area, which is usually rather flat or concave cervically and convex in the middle and occlusal parts.


Fig. 3. Etching of the tooth structure with phosphoric acid etchant. Afterwards, the adhesive needs to be applied (in this case, Universal Bond Quick was used according to the manufacturer’s instructions).


Fig. 4. CLEARFIL MAJESTY™ ES-2 Premium in the shade A3E is applied in the distal box to build up the wall first. In this way, the available space is used to model the most critical part of the restoration before simply filling the cavity in increments with the dentin shade A3D.


FINAL SITUATION


Fig. 5. Final restoration after finishing and polishing. In accordance with the concept behind CLEARFIL MAJESTY™ ES-2 Premium with its pre-defined shade combinations, the final enamel layer was build-up using the shade A3E. However, the use of a single opacity is also possible in the posterior region depending on the aesthetic demands.


CONCLUSION


By elevating deep interproximal margins, it is possible to focus on the critical designing of the contact point when there is still sufficient space available to do so. This simplifies the procedure, while all that is left to do can be managed in a straightforward way like a Class I restoration.


Cimentação de uma coroa de disilicato de lítio

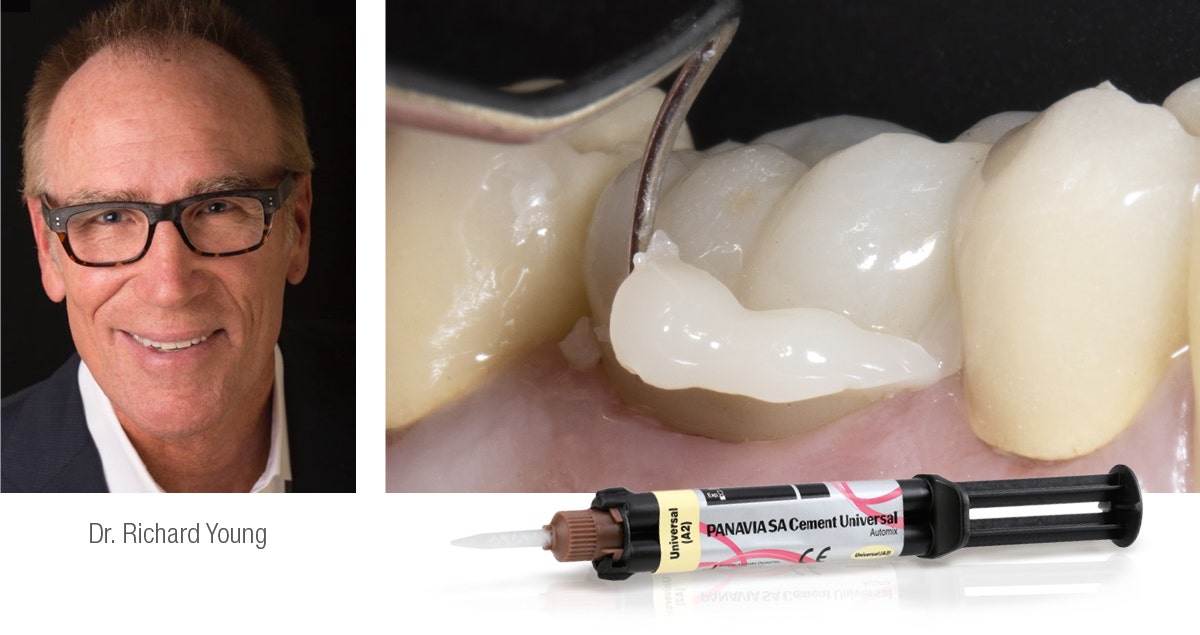
Caso clínico de Richard Young DDS, San Bernardino, CA


Procedimento simples, resultado fiável: isto é o que a maioria dos dentistas quer quando se trata de restaurações indirectas. Este caso clínico mostra um protocolo clínico simples e bem sucedido para a cimentação de uma coroa de disilicato de lítio.


Fig. 1. Coroa de lítio disilicato depois de gravar a superfície de intaglio com ácido hidrofluorídrico e try-in.


Fig. 2a. Aplicação de KATANA™ Cleaner na coroa para remoção completa de contaminantes tais como sangue e proteínas de saliva, o que pode comprometer o desempenho de qualquer sistema de cimento de resina.

O Fig. 2b. Em alternativa, o KATANA Cleaner é aplicado num prato de mistura.


Fig. 3. Aplicação do produto de KATANA Cleaner na restauração.


Fig. 4. O KATANA Cleaner é aplicado à estrutura dentária preparada da mesma forma (esfregamento durante dez segundos seguido de enxaguamento e secagem).


Fig. 5. Aplicação da PANAVIA SA Cement Universal na coroa limpa.


Fig. 6. O cimento contém um agente de acoplamento de silano único - o monómero LCSi - que cria uma ligação forte e fiável com disilicato de lítio e outros materiais restauradores, tais como cerâmicas de vidro e cerâmica híbrida.


O silano é activado na ponta de mistura pelo monómero MDP original.


Fig. 7. Fácil remoção do excesso de cimento após dois a cinco segundos de cura.


Fig. 8. O cimento de resina em excesso está no estado de gel e é removido numa só peça com um explorador.


SITUAÇÃO FINAL


Fig. 9. Resultado do tratamento imediatamente após a colocação da coroa.


Dentista:

RICHARD YOUNG DDS


Caso e imagens cortesia de Richard Young DDS, San Bernardino, CA.


Composite restorations in the anterior region

HOW MANY SHADES DO WE NEED?


Case by Gasparatos Spyros, Postgraduate student in Restorative Dentistry program, Faculty of Dentistry, National and Kapodistrian University of Athens, Greece


Restoring anterior teeth with large defects using composite seems to be quite challenging. With high-performance materials at hand and a systematic layering concept in mind, however, it is possible to produce highly aesthetic results in a reproducible way. The clinical case below is used to illustrate a dual-shade layering technique with CLEARFIL MAJESTY™ ES-2 Premium, a composite system with pre-defined colour combinations.


CASE EXAMPLE


The patient, a young male, was unhappy with the appearance of his maxillary anterior teeth. Several years ago, his central incisors had been restored with composite. These existing restorations had defective and heavily discoloured margins, while their shade did not match the adjacent natural tooth structure. The maxillary lateral incisors were peg-shaped (microdontia). Economic considerations and the desire to save as much natural tooth structure as possible made the team decide to restore all four maxillary incisors with composite. CLEARFIL MAJESTY™ ES-2 Premium became the material of choice as it eliminates the need for complicated shade combination formulas and supports predictable outcomes.


Fig. 1. The patient’s initial smile.


Fig. 2. Intraoral image of the initial situation with defective composite restorations and microdonts. Two composite buttons on the right lateral incisor are used to verify the determined shade combination.


RESTORING THE CENTRAL INCISORS


We decided to restore the central incisors first and then focus on the lateral incisors. The tooth shade was determined using the VITA™ classical A1-D4 shade guide, while composite buttons were applied to the teeth to verify the determined shade combination. In order to simplify the restoration procedure, a palatal silicon index was produced before removing the existing restorations. During minimally invasive tooth preparation, bevels were created at the margins to provide for a smooth optical transition from the natural tooth structure to the composite.


An adhesive (CLEARFIL™ Universal Bond Quick) was applied after selective etching of the enamel to achieve a strong bond. With the aid of the silicon index, it was easy to create the palatal shells of the restorations with CLEARFIL MAJESTY™ ES-2 Premium in the shade A3E (enamel), which matches the determined tooth shade A3. The dentin core was built up with the same composite in the recommended shade A3D (dentin), mamelons were modelled and some CLEARFIL MAJESTY™ ES-2 Premium in the shade WD added for the incisal halo, while some individual effects (like enamel cracks) were imitated with brown stain. The build-up was finalized in the interproximal and labial areas with composite in the shade A3E. Between the central incisors, a wedge was used to retract the papilla and facilitate the designing of the interproximal contact area. The finished and pre-polished restorations already had a natural appearance.


Fig. 3. Central incisors after removal of the old restorations and the beveling of the enamel.


Fig. 4. Light-cured palatal shells made of CLEARFIL MAJESTY™ ES-2 Premium in the shade A3E.


Fig. 5. Build-up of the dentin core with mamelons individualized with the shade WD and brown stain.


Fig. 6. Situation after finalization of the central incisor restorations with composite in the enamel opacity.


Fig. 7. Central incisor restorations after finishing and initial polishing.


RESTORING THE LATERAL INCISORS


Tooth preparation was not required on the lateral incisors. Instead, they were merely cleaned after a slight roughening of the enamel surfaces. The build-up procedure was similar to the one used for the central incisors. The adjacent tooth was protected with PTFE tape, and the palatal shell was created with the aid of a finger instead of a silicone index. Afterwards, we focused on the build-up of the interproximal walls before a small amount of dentin was placed and the shape was finalized by applying the labial enamel layer.


Fig. 8. Build-up of the left lateral incisor.


Fig. 9. Situation after finishing and polishing.


FINAL SITUATION


Fig. 10. Final smile of the patient's demands.


CONCLUSION


Two different opacities, a single shade combination and some bleached shade plus stain for special effects – in the present patient case, a simple formula allowed us to create lifelike anterior restorations. With one enamel and one dentin paste used, it is possible to simply rebuild the natural anatomy without the risk of ending up with a bulky core that – once reduced – will lose its special optical structure. It is also easy to control the thickness of the final enamel layer with its huge impact on the light-optical properties of the whole restoration. For most patients and teeth with a simple or medium-to-complex internal colour structure, the selected concept is very well suited and will lead to pleasing outcomes.


Case report: direct cuspal coverage with resin composite

Case by Aleksandra Łyżwińska, Warsaw, Poland.


ABSTRACT


Indirect overlays are the contemporary restoration standard for posterior teeth with extensive hard tissue loss. They provide for cuspal coverage, which decreases the likeliness of coronal and/or root fracture. At the same time and in contrast to crowns, overlay preparations minimize the removal of sound tooth structure especially in the cervical region, which is a critical factor.1 Modern dental resin composites allow for direct cuspal coverage in a single-visit appointment. The results of in-vitro studies suggest that these direct overlays are a suitable alternative to their indirect counterparts in specific situations.2-6 The following case report is used to describe the direct restoration procedure by means of a maxillary right molar with an extensive, deep MOD lesion.


INTRODUCTION


In the context of treating a tooth with an extensive carious lesion, a biomechanical risk assessment should be performed. The primary method of reducing the likeliness of tooth fracture is treatment with a restoration that provides cuspal coverage. The contemporary gold standard for biomechanically compromised teeth are adhesively cemented overlays as an alternative to crowns.1 Another option that does not involve labwork is a direct overlay restoration.2-6 The direct approach is especially suitable for long-term temporization, which may be required during orthodontic treatment, for example.


Laminate veneer restoration using lithium disilicate glass prosthetic restorations

Case by Dr. Yohei Sato, DMD, PhD, Department of Removable Prosthodontics, Tsurumi University School of Dental Medicine, JAPAN and Dr. Keisuke Ihara, CDT, i- Dental Lab, JAPAN.


Fig. 1. The patient visited us with a chief complaint of a desire for improved esthetics of the maxillary right and left lateral incisors.


Fig. 2. A core fabricated from a diagnostic wax model was applied and the necessary clearances were determined.


Fig. 3. Since the teeth are microdonts, the preparation of each abutment was completed by simply exposing a fresh surface to be covered by the laminate veneers.


Fig. 4. A layer of porcelain was applied on the lithium disilicate glass substrate, to make a complete laminate veneer.


Fig. 5. After a trial fitting, the inner surface of the laminate veneer was cleaned with KATANA™ Cleaner. The inner surface was conditioned according to the prosthesis‘ IFU.


Fig. 6. Milling. CLEARFIL™ CERAMIC PRIMER PLUS was applied and dried to silane couple the restoration.


Fig. 7. After a trial fitting, KATANA™ Cleaner was applied to the abutment, and rubbed for more than 10 seconds. Then, it was washed off sufficiently (until the cleaner color had completely disappeared), and dried with compressed air.


Fig. 8. K-ETCHANT Syringe was applied and left for 10 seconds before water-washing and compressed air-drying.


Fig. 9. PANAVIA™ V5 Tooth Primer was applied and left for 20 seconds before compressed-air drying.


Fig. 10. PANAVIA™ Veneer LC Paste was applied to the inner surface of the laminate veneer.


Fig. 11. The laminate veneer was seated and the fit checked. Then, the excess cement was tack-cured (not more than 1 second at any one point) and removed. Finally, the restoration was light-cured and finished.


FINAL SITUATION


Fig. 12. This photo shows the laminate veneer restorations one month after placement. The morphology and color of the right and left lateral incisors have been improved, providing a good balance to the entire anterior dentition.