KATANA™ Zirconia & Esthetic Colorant
TIPS AND TRICKS
Case by MDT Daniele Rondoni and MDT Roberto Rossi
Recently, Kuraray Noritake Dental Inc. has introduced Esthetic Colorant for KATANA™ Zirconia – dyeing liquids applied after milling of the company’s multi-layered zirconia. Enthusiastic users of the KATANA™ Zirconia Multi-Layered Series may wonder when and how to use the innovation: In combination with external stains, veneering porcelains or liquid ceramics, or as a replacement of those products? On the monolithic surface or on a dentin structure (framework)? And how much liquid produces the desired effect? Some technical guidance is provided in this article.
The good news: Esthetic Colorant fits perfectly into any existing approach, no matter whether you prefer a full-contour or cutback design. You may apply the liquids solely in a zero-bake technique – just individualize the milled restorations with Esthetic Colorant, fix the colours during the final sintering procedure and polish the surface. On the other end of the spectrum of options is the use underneath different layers of internal stains, porcelains and glaze.
WE UTILIZE ESTHETIC COLORANT MAINLY FOR THREE PURPOSES:
- To add specific individual characteristics to the restoration, which are not generated by the multi-layered material structure, yet difficult to create with internal stains (examples are a more chromatic body area of a canine in comparison to the adjacent lateral incisor or pronounced mamelon structures). As the liquids diffuse into the structure, a depth effect is created.
Eight liquids are available for the abovementioned purpose: A, B, C and D Plus for changing the brightness and creating shadows, BLUE, GRAY, ORANGE and BROWN for general characterization.
- To pre-treat tissue areas to produce a perfectly shaded basis for the application of liquid ceramics (CERABIEN™ ZR FC Paste Stain) or Tissue Porcelain.
Two liquids are available for this purpose: PINK AND VIOLET.
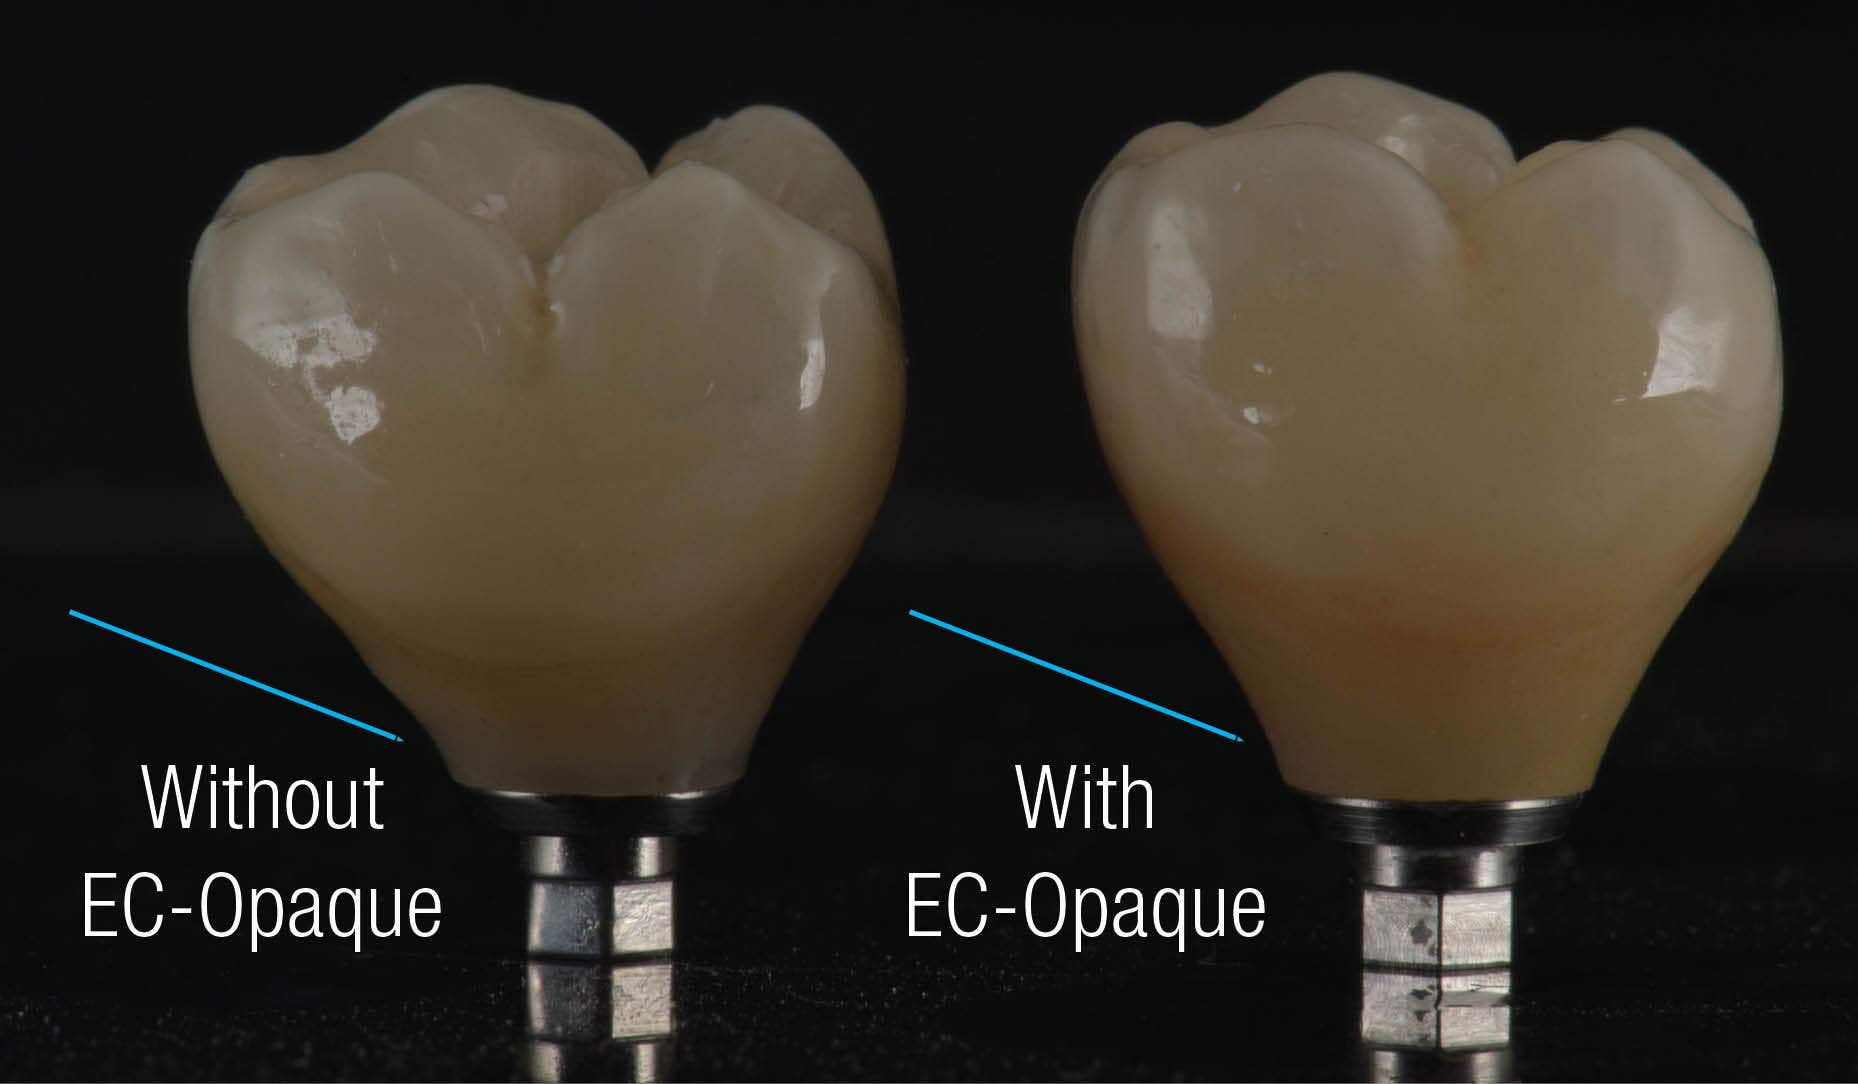
- To prevent a greyish effect caused by the shining through of discoloured abutment teeth or metal parts (posts or implant abutments) – in this case, Esthetic Colorant OPAQUE or WHITE is applied to the intaglio of the restoration. The effect: the incoming light is blocked on the side of the dark element, while the natural translucency in the outer surface area of the restoration is maintained.
PURPOSE 1
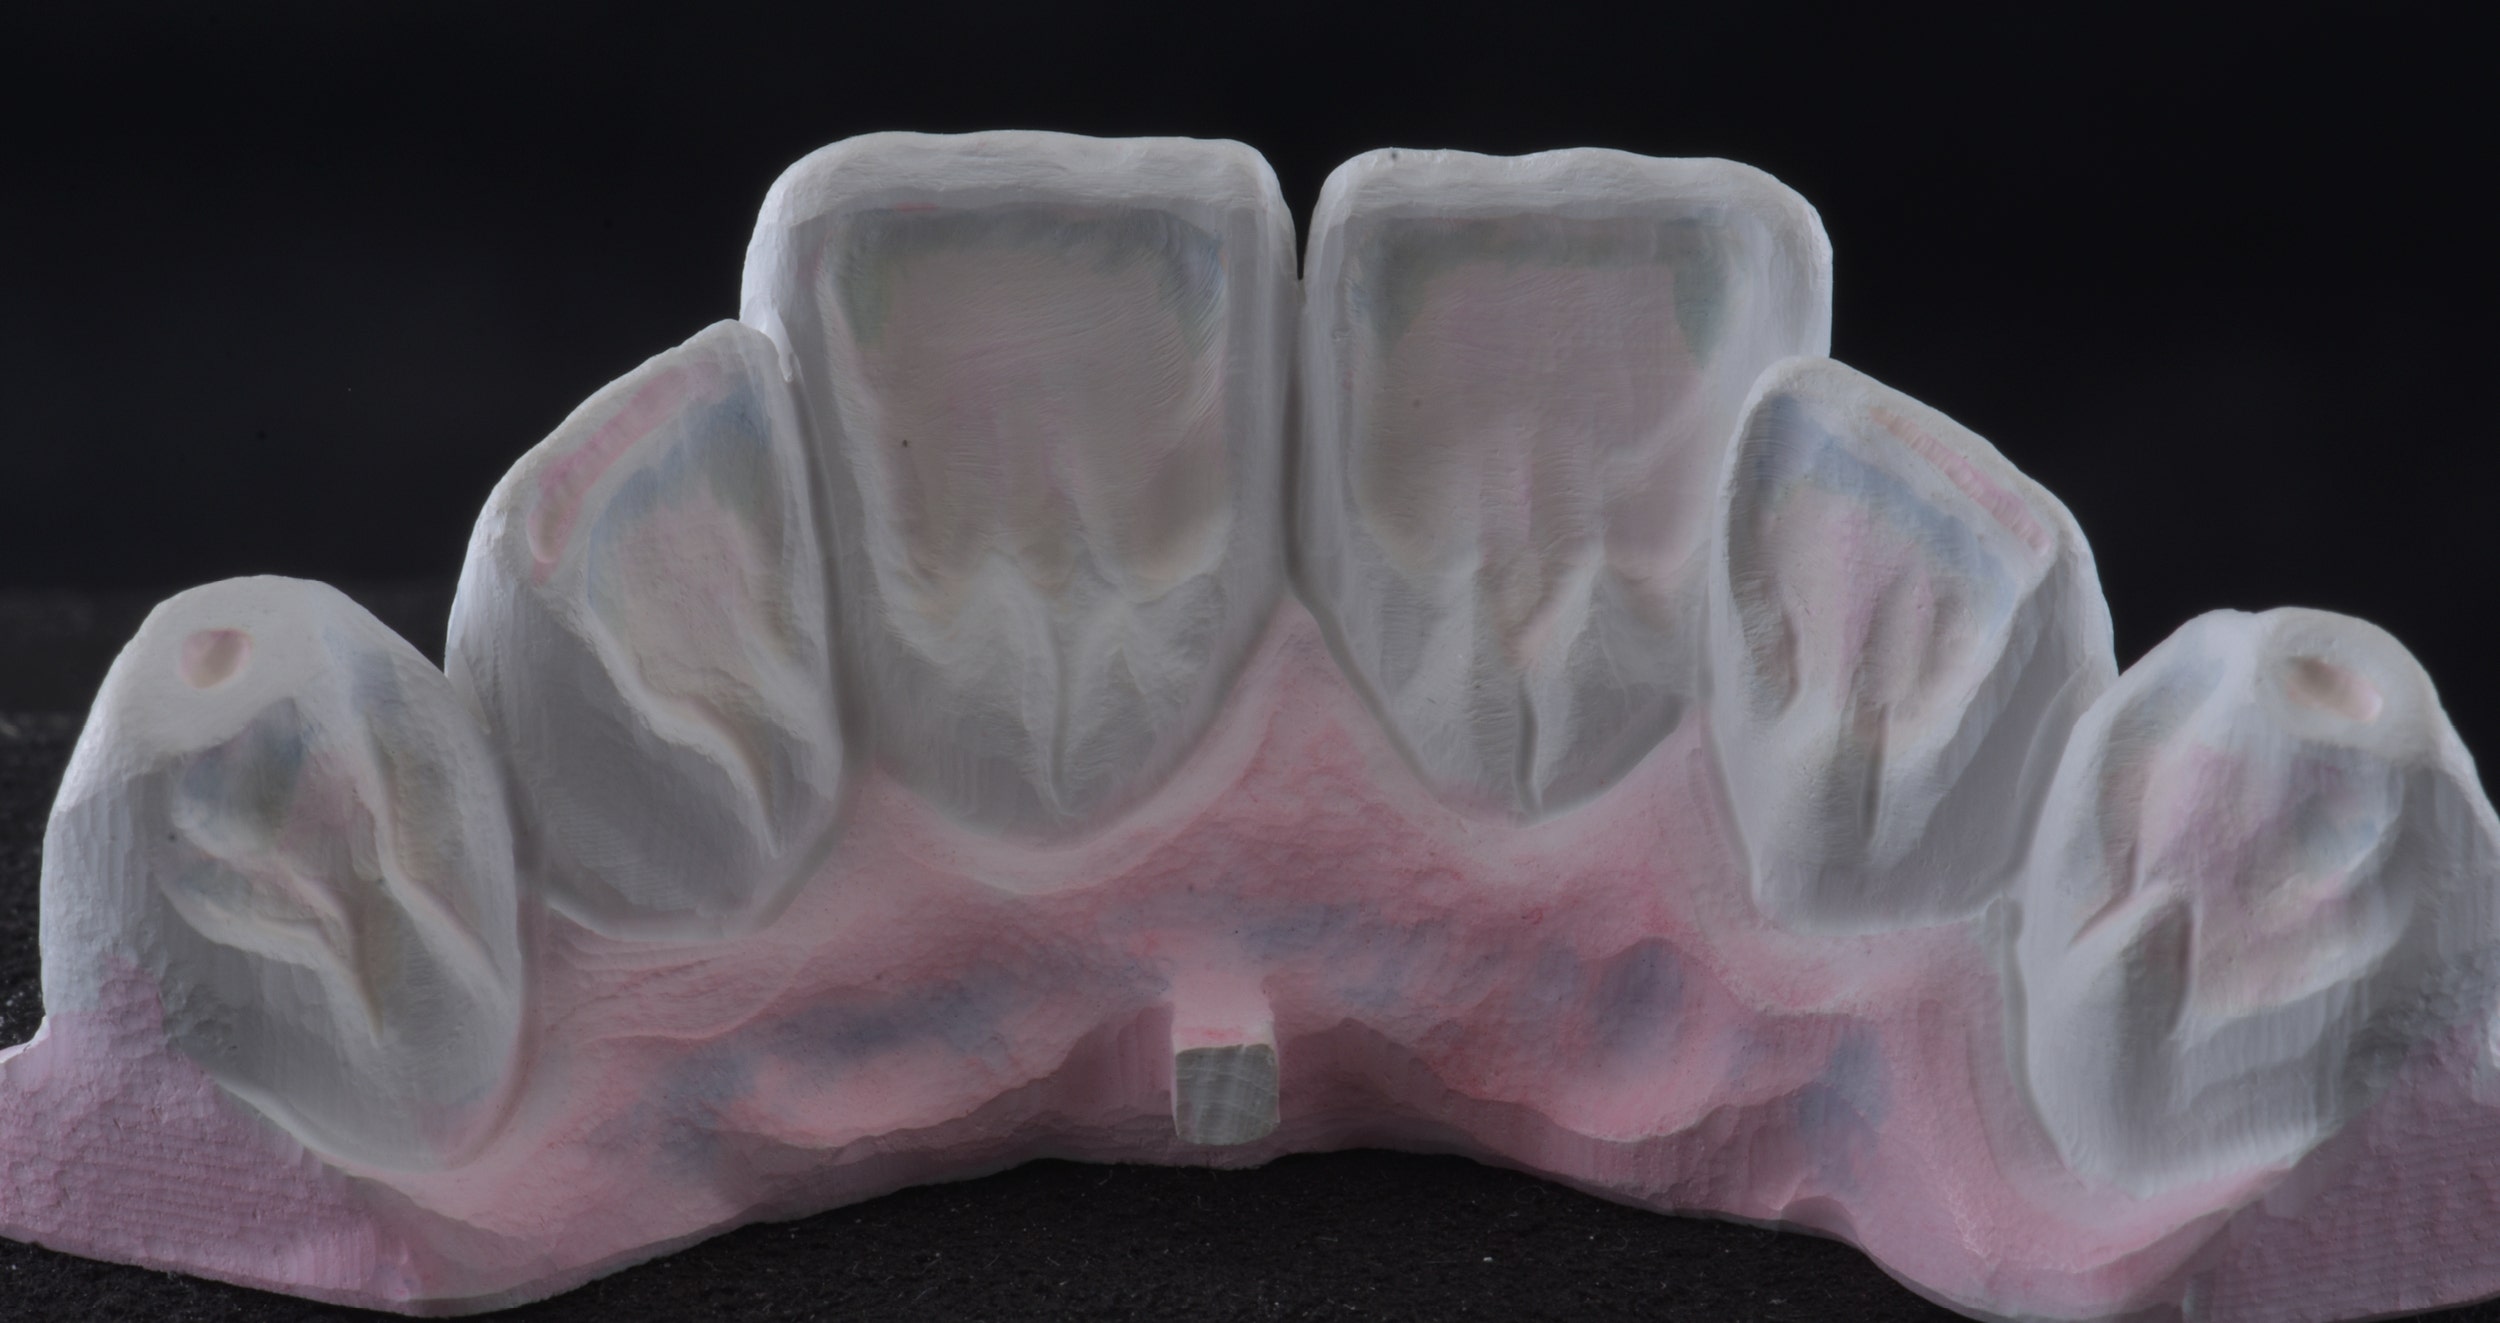
An example of how to add specific individual characteristics to the surface of the restoration is the following full-arch case. After sintering, we just added a micro-layer of CERABIEN™ ZR Luster Porcelain and CERABIEN™ ZR FC Paste Stain Clear Glaze.
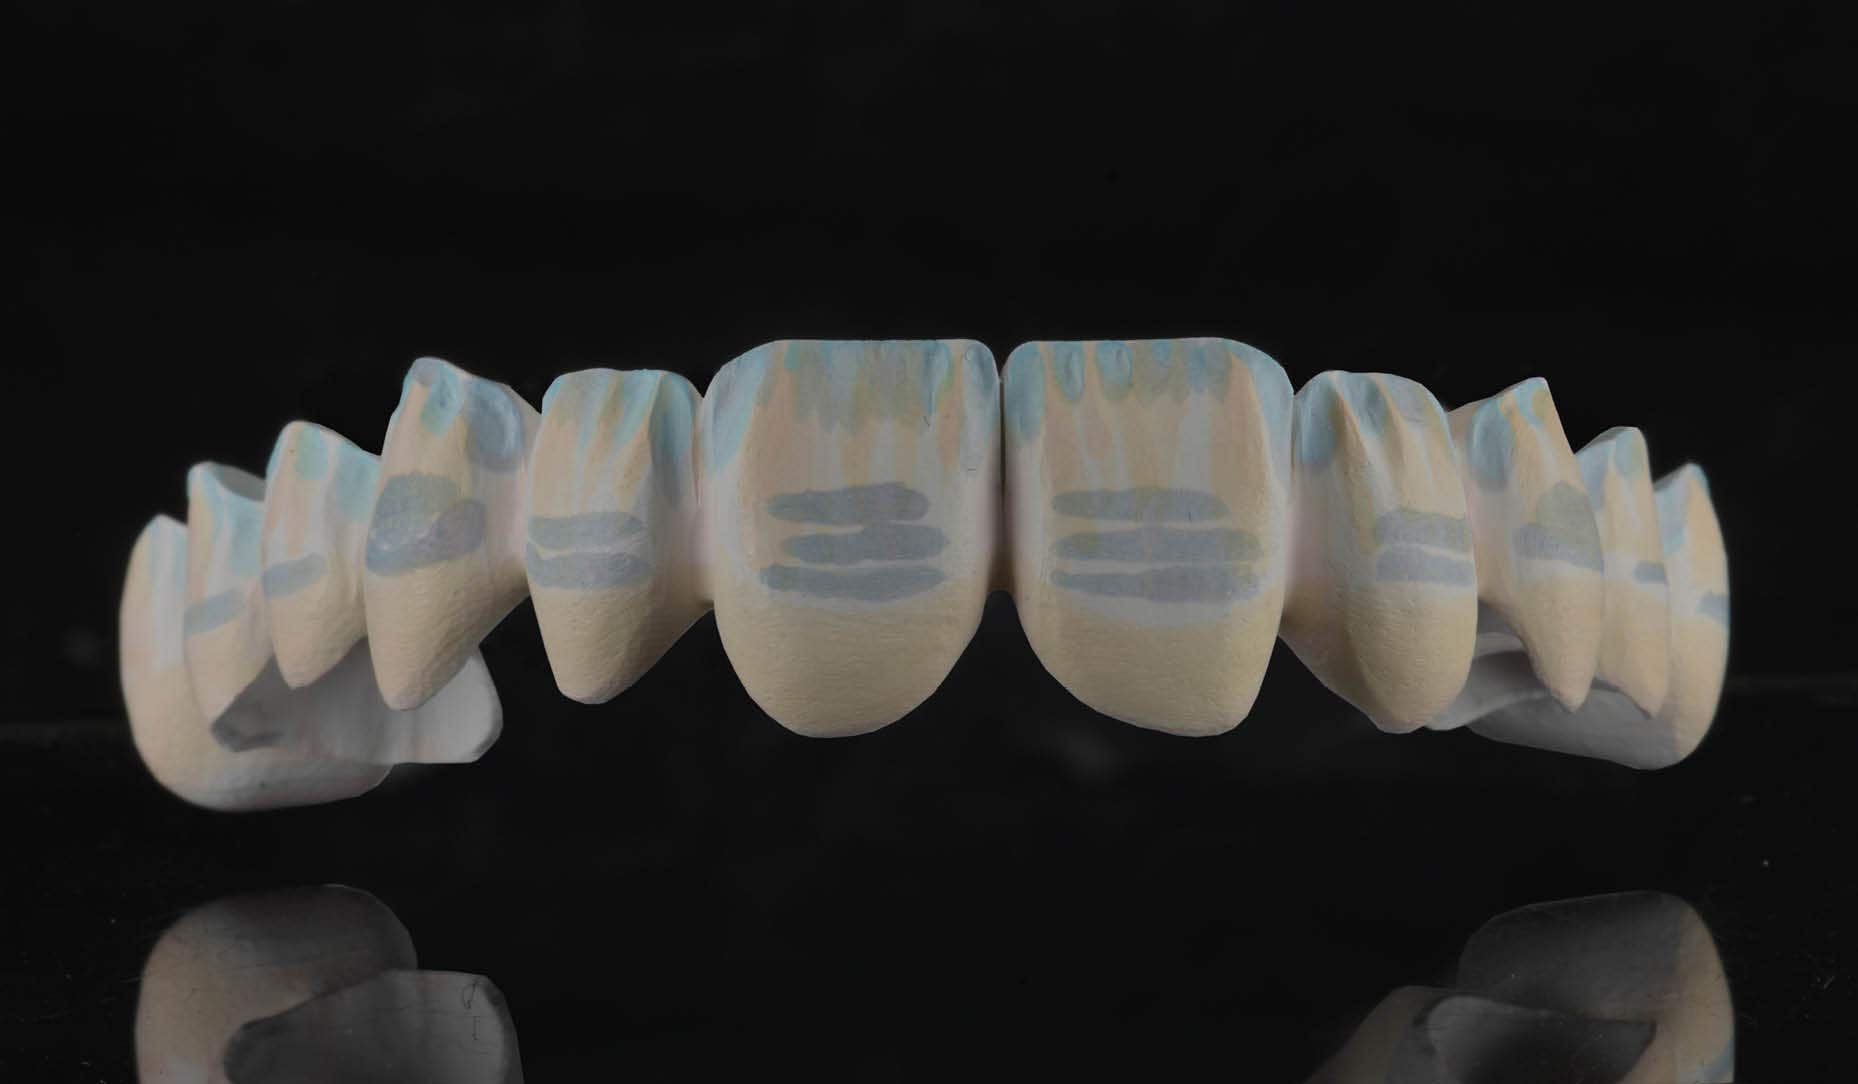
Fig. 1a. Frontal view of the complex restoration made of KATANA™ Zirconia HTML Plus after milling and the application of different shades of Esthetic Colorant.

Fig. 1b. Occlusal view of the complex restoration after milling and the application of different shades of Esthetic Colorant. Important: Every restoration characterized with Esthetic Colorant should be left to dry for at least 30 minutes prior to sintering.
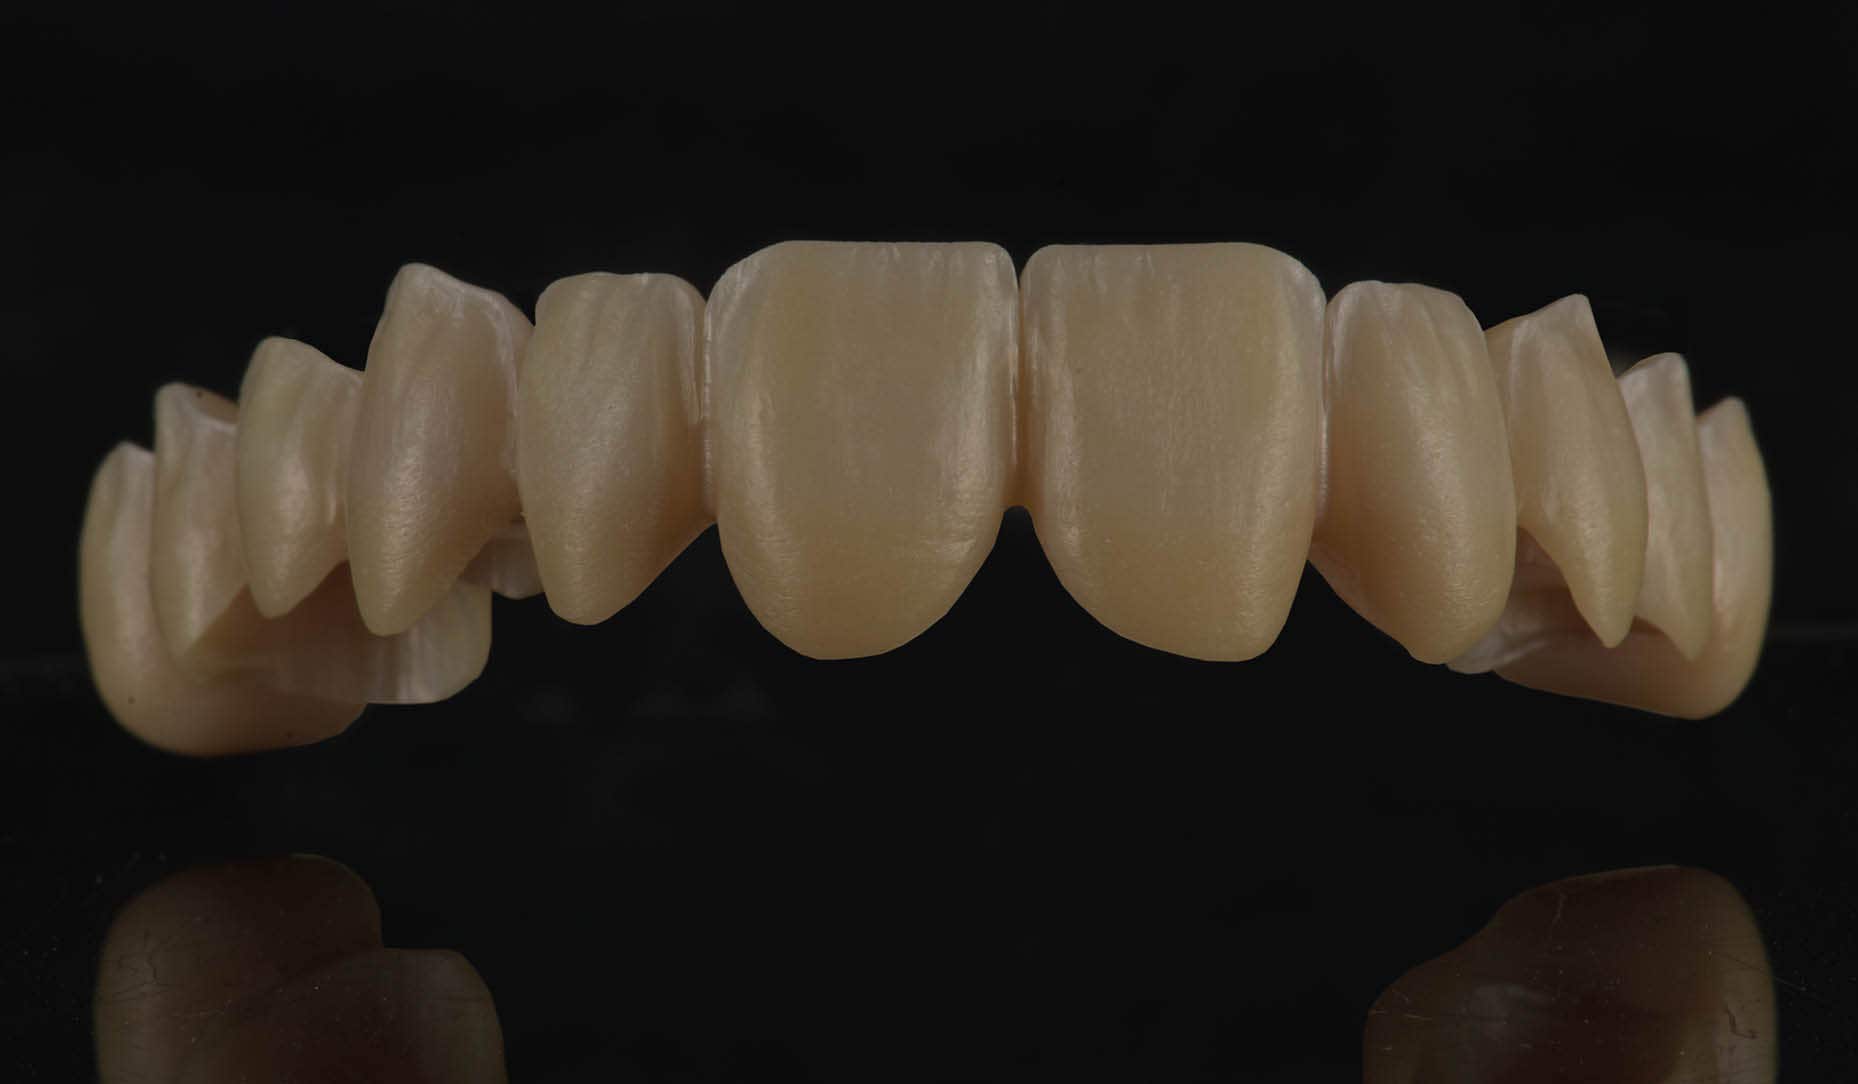
Fig. 1c. Frontal view of the restoration after the final sintering procedure.
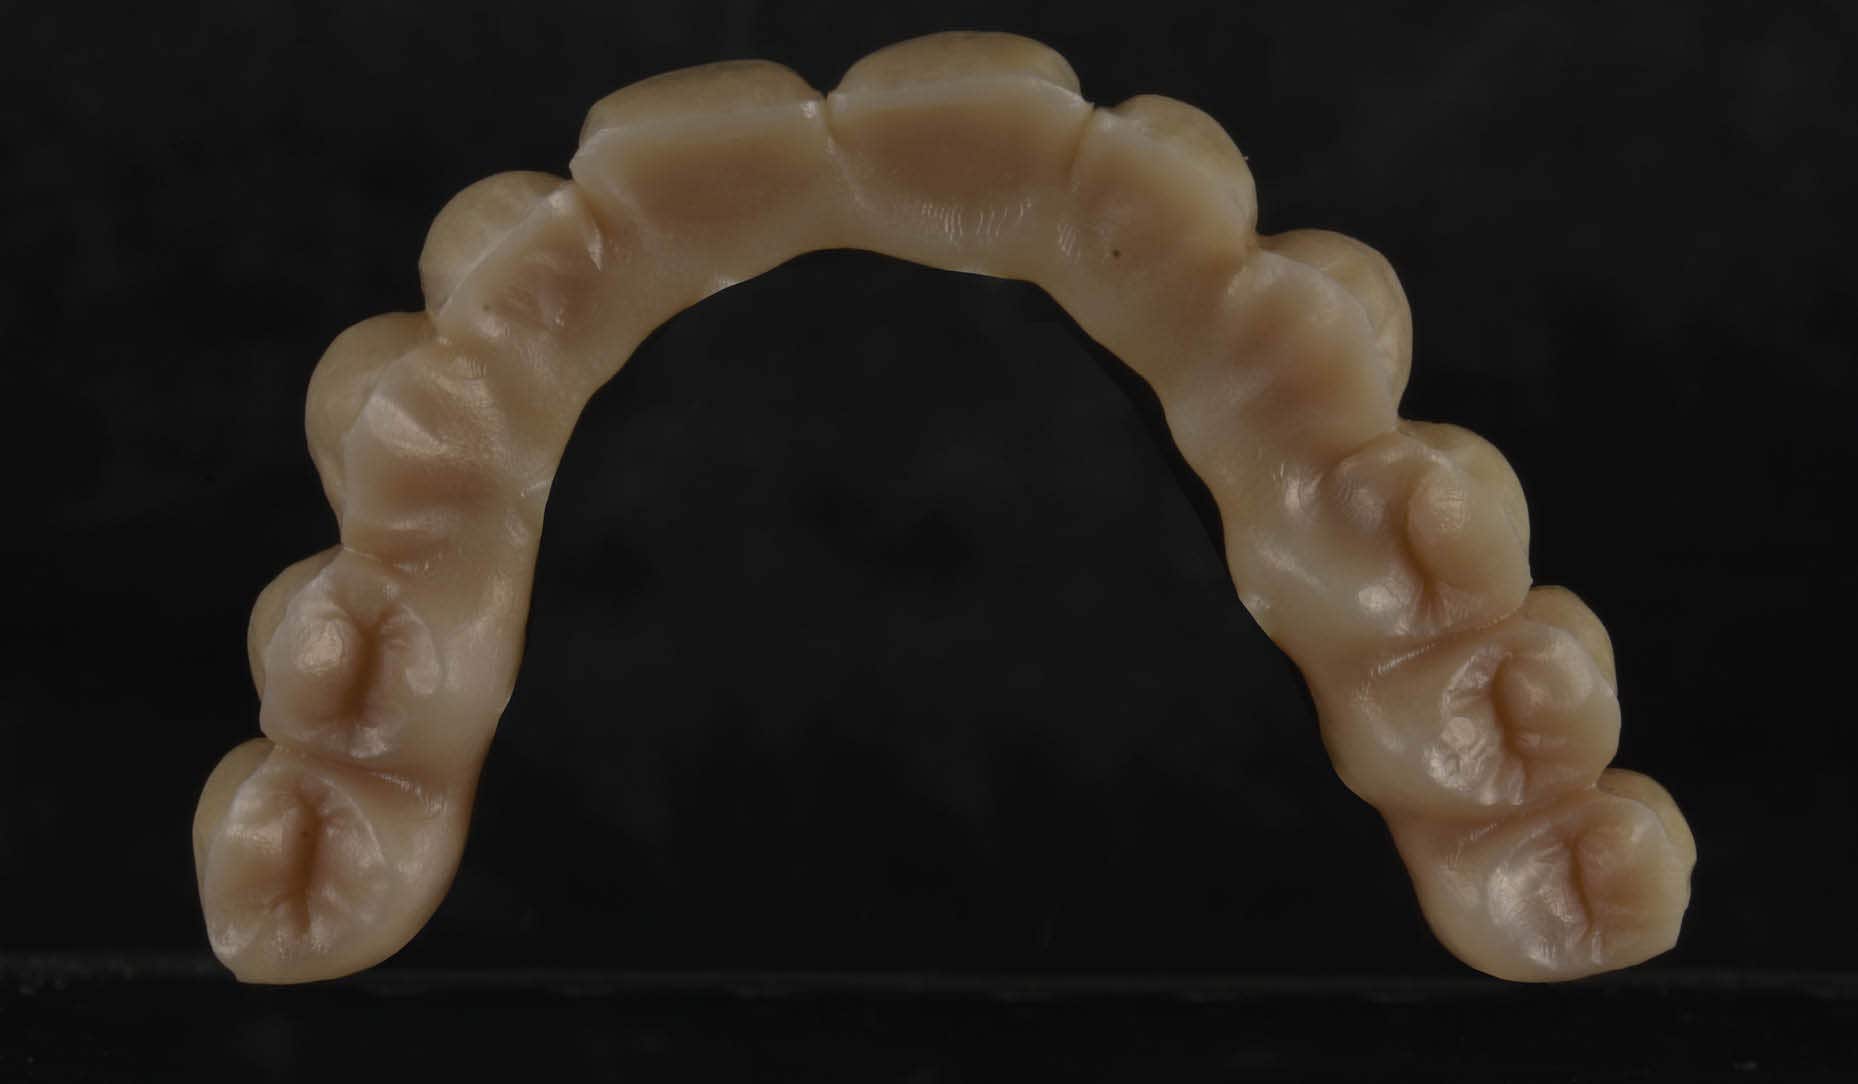
Fig. 1d. Occlusal view of the restoration after sintering.

Fig. 1e. Addition of a micro-layer of CERABIEN™ ZR Luster Porcelain.
FINAL SITUATION
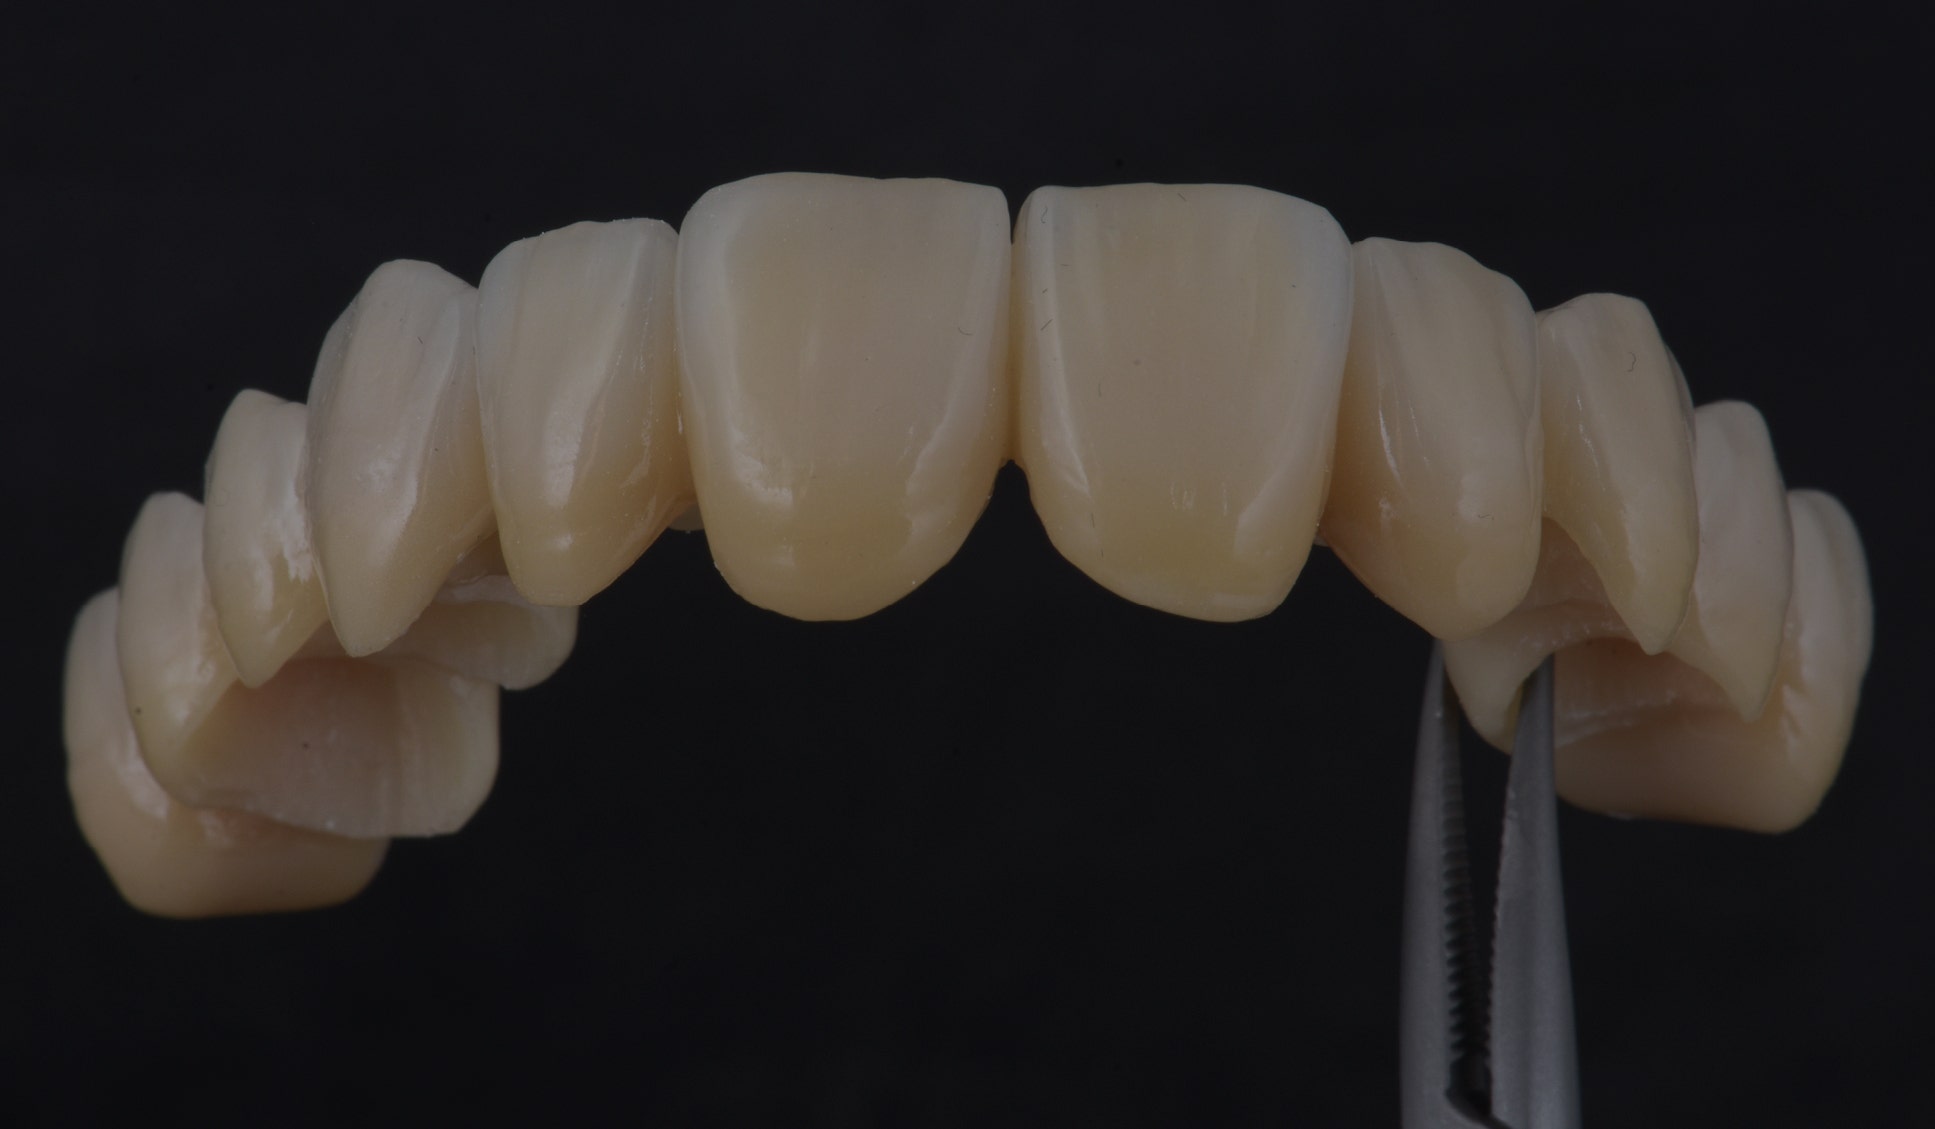
Fig. 1f. Frontal view of the definitive restoration finished with CERABIEN™ ZR FC Paste Stain Clear Glaze.
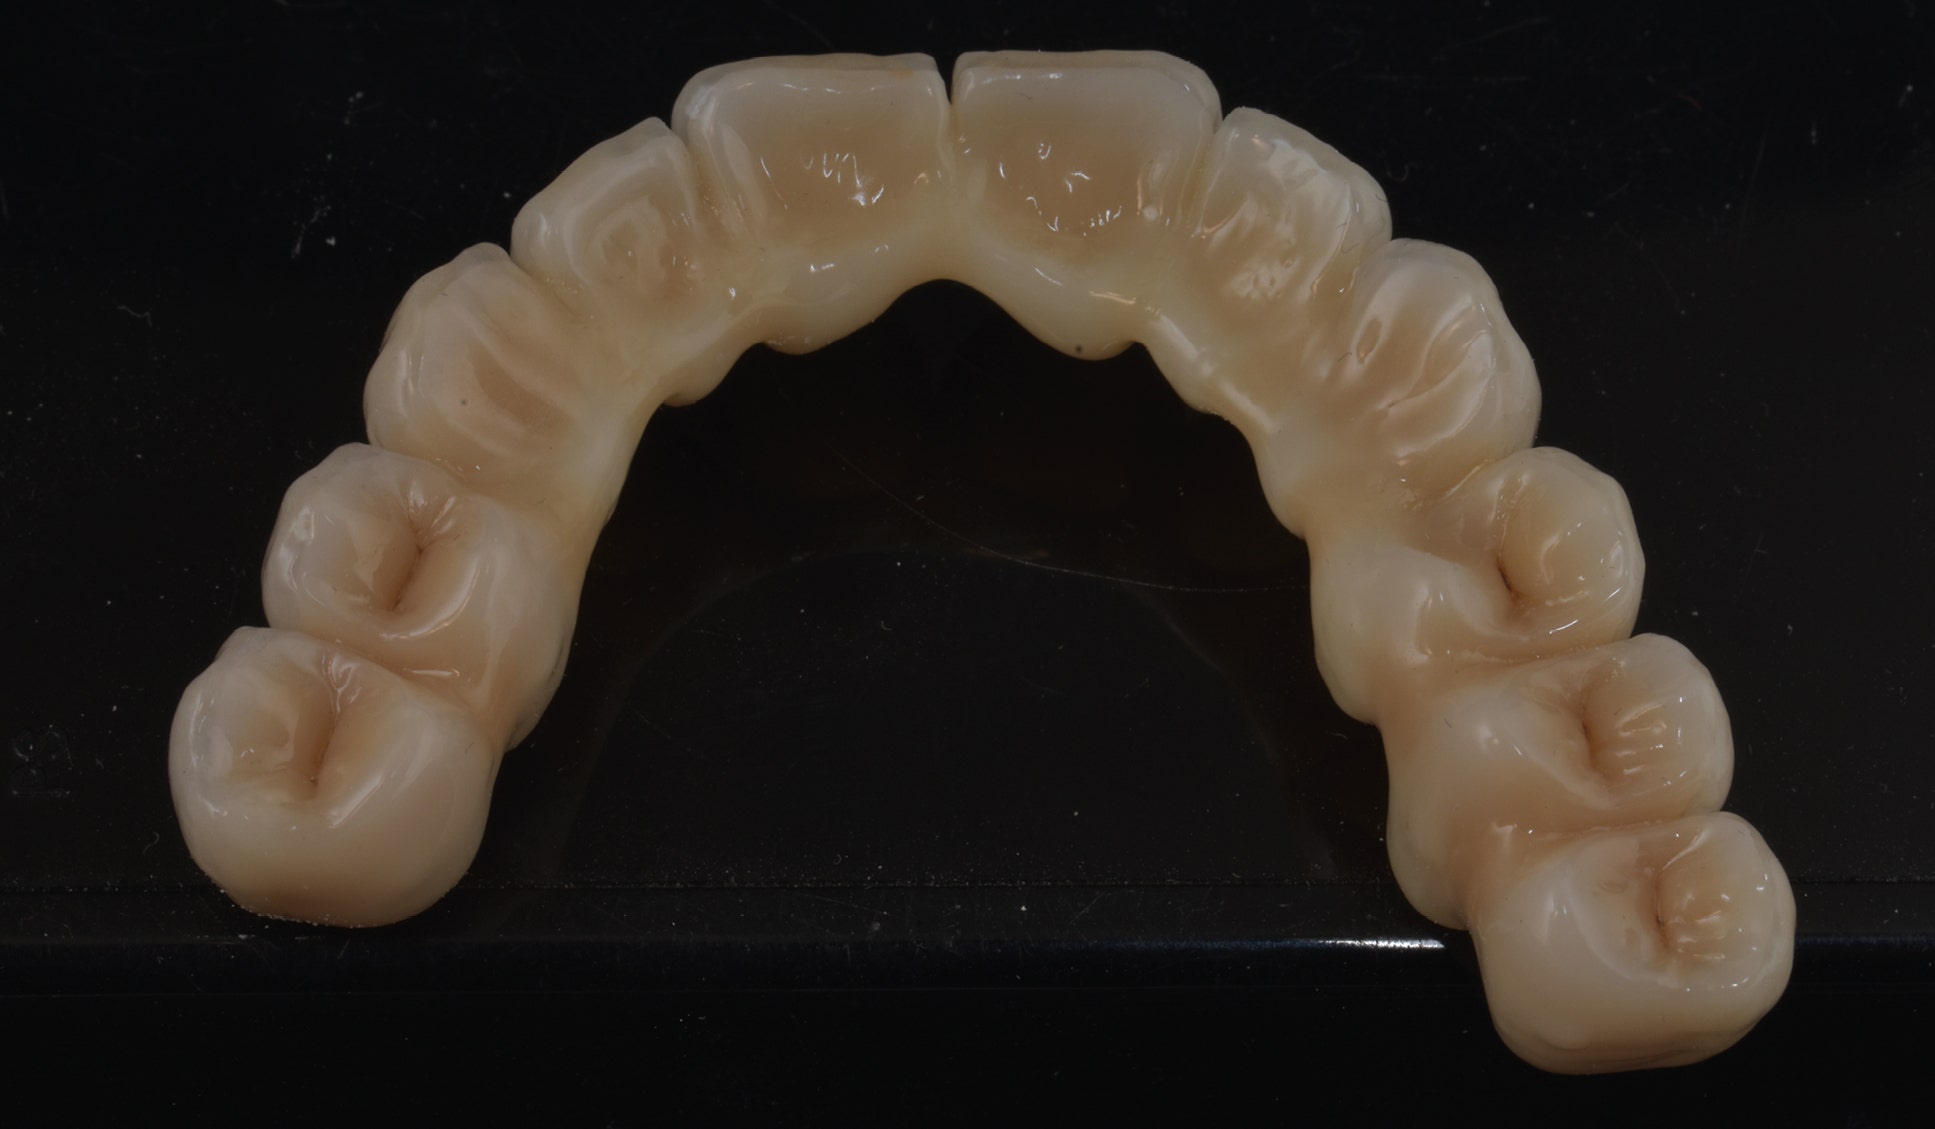
Fig. 1g. Occlusal view of the final restoration.
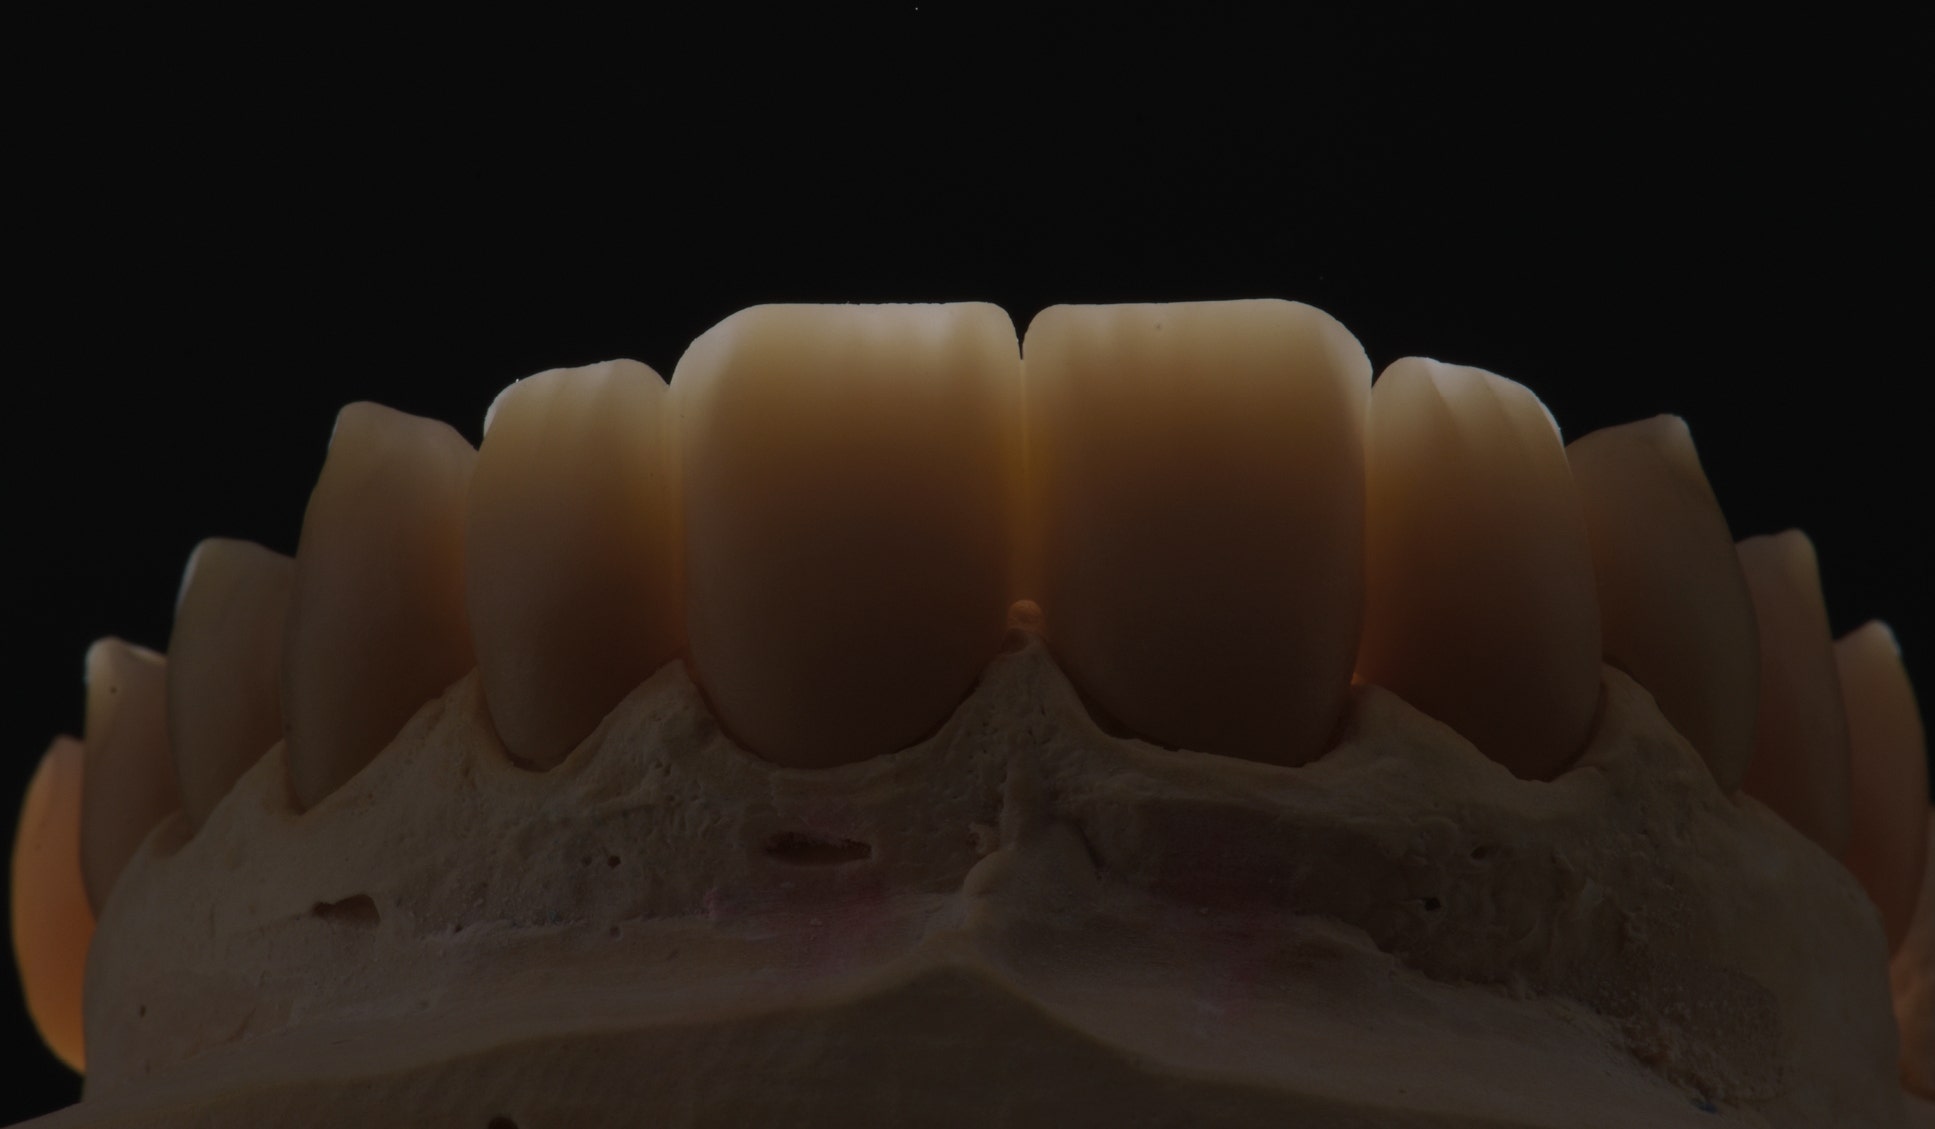
Fig. 1h. Great incisal translucency.
PURPOSE 2
The effect of a pre-treatment of the tissue area of a complex restoration is illustrated with the aid of the following example case. Again, we opted for a nearly monolithic design with a minimal cutback in the incisal area of the teeth. The appearance of the originally tooth-coloured tissue area is modified visibly through the application of Esthetic Colorant in the shades PINK and GRAY. Some individual effects are added to the teeth as well.
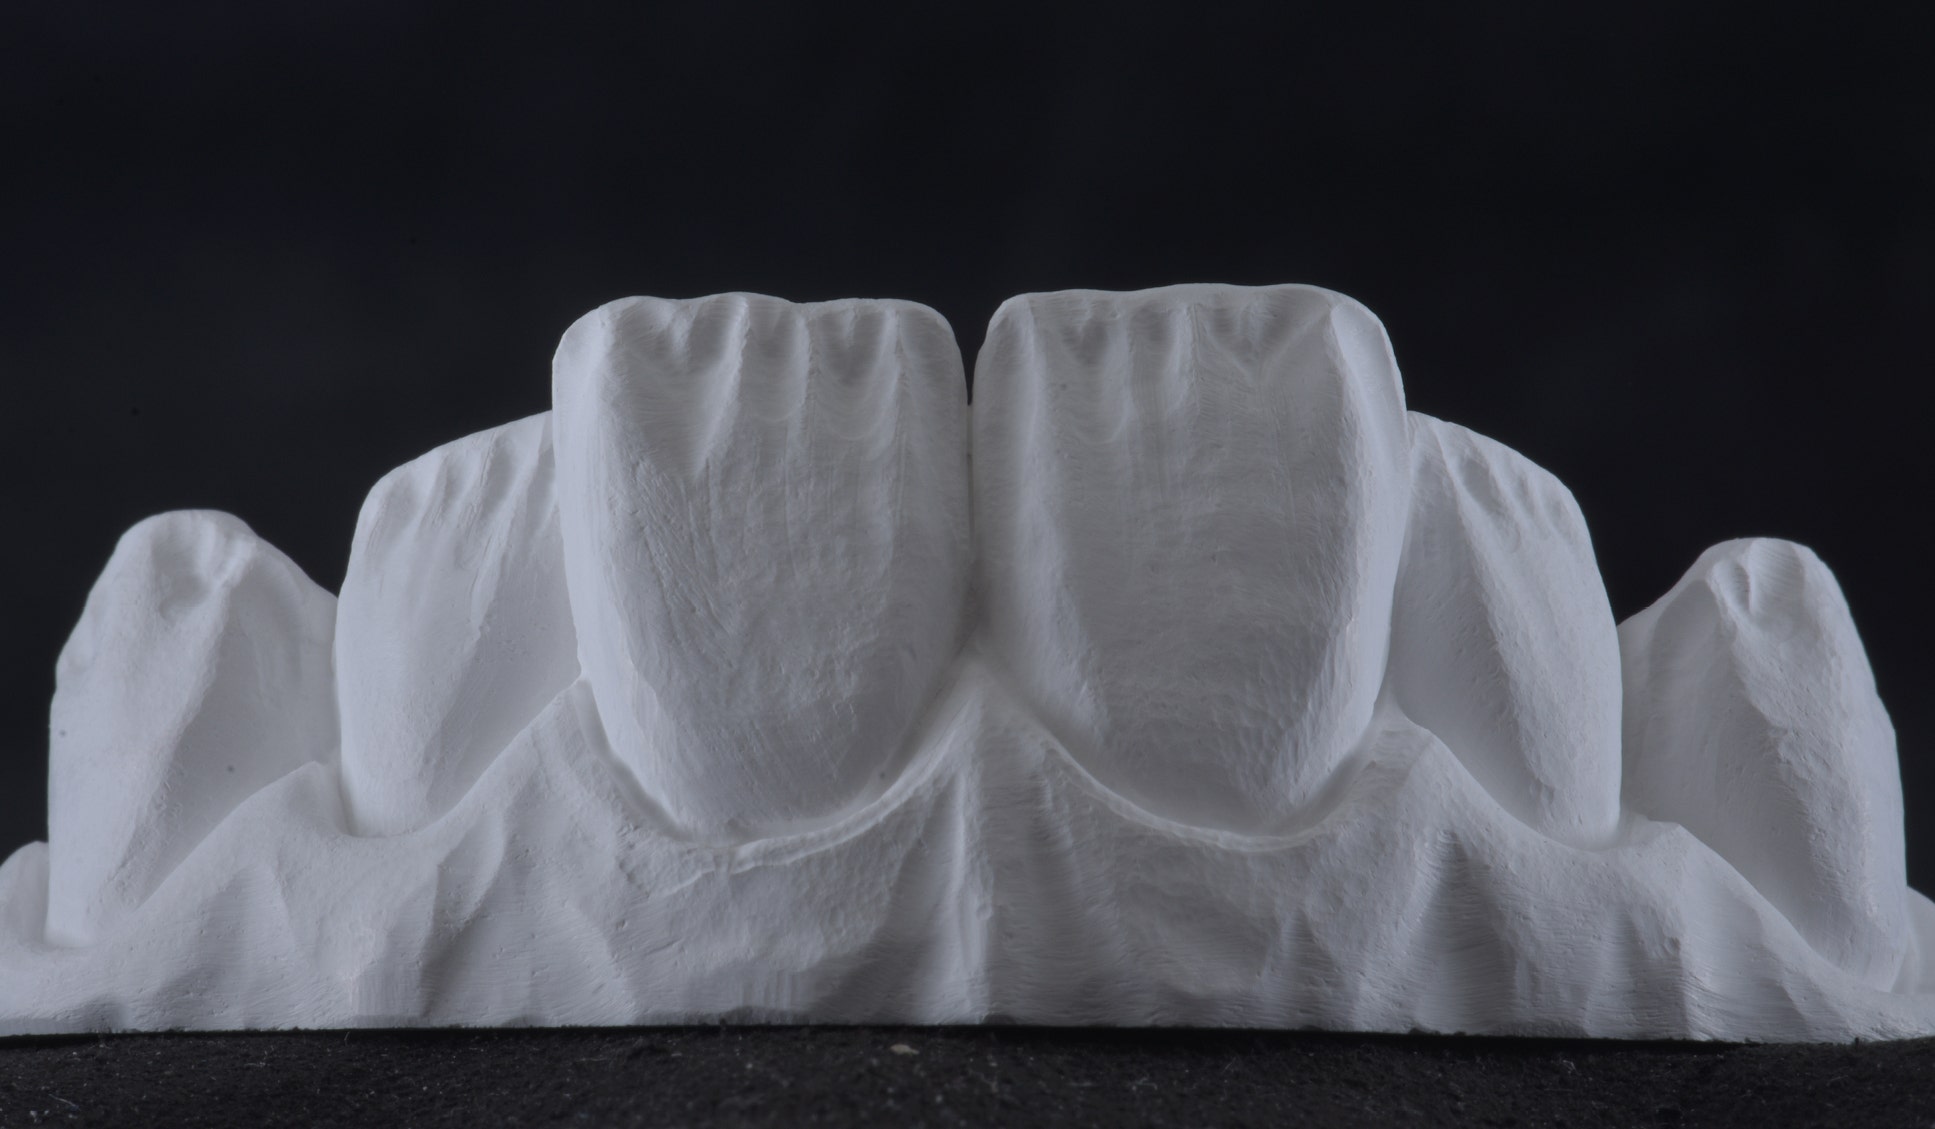
Fig. 2a. Vestibular view of the milled restoration (material: KATANA™ Zirconia YML).

Fig. 2b. Palatal view of the milled restoration.

Fig. 2c. Vestibular pattern of application of Esthetic Colorant.

Fig. 2d. Palatal pattern of application of Esthetic Colorant.

Fig. 2e. Vestibular view of the restoration after the final sintering procedure.

Fig. 2f. Palatal view of the restoration after the final sintering procedure.
PURPOSE 3
Comparison of restorations on an implant abutment with and without Esthetic Colorant (EC):
HOW TO APPLY ESTHETIC COLORANT?
Essentially, Esthetic Colorant may be applied with any metal-free brush or pen. In our opinion, the best results are obtained by using the Liquid Brush Pen that has been specifically developed for the dyeing liquids. The pen’s housing is filled with the selected shade of Esthetic Colorant and allows for a controlled application, as the tip always dispenses the right amount of liquid and does not dry out. We utilize a separate Liquid Brush Pen for every shade that is frequently in use.
SINTERING PARAMETERS
After drying, which is essential for a good outcome, the restorations treated with Esthetic Colorant may be put into the sintering furnace and sintered according to the schedule recommended for the KATANA™ Zirconia Multi-Layered series. The parameters do not need to be adjusted.
CONCLUSION
The controlled application of Esthetic Colorant is easily accomplished by using the appropriate equipment, while the desired effects are obtained predictably. The liquids’ ease of use, the appropriate number of shades available and the achievable effects are just a few of the many benefits you will find when trying out the new system in your dental laboratory.
Dentists:
 |
 |
| MDT Daniele Rondoni | MDT Roberto Rossi |
- 30 de mai. de 2023
