
Blog

KATANA™ Zirconia Block: Useful tips for processing

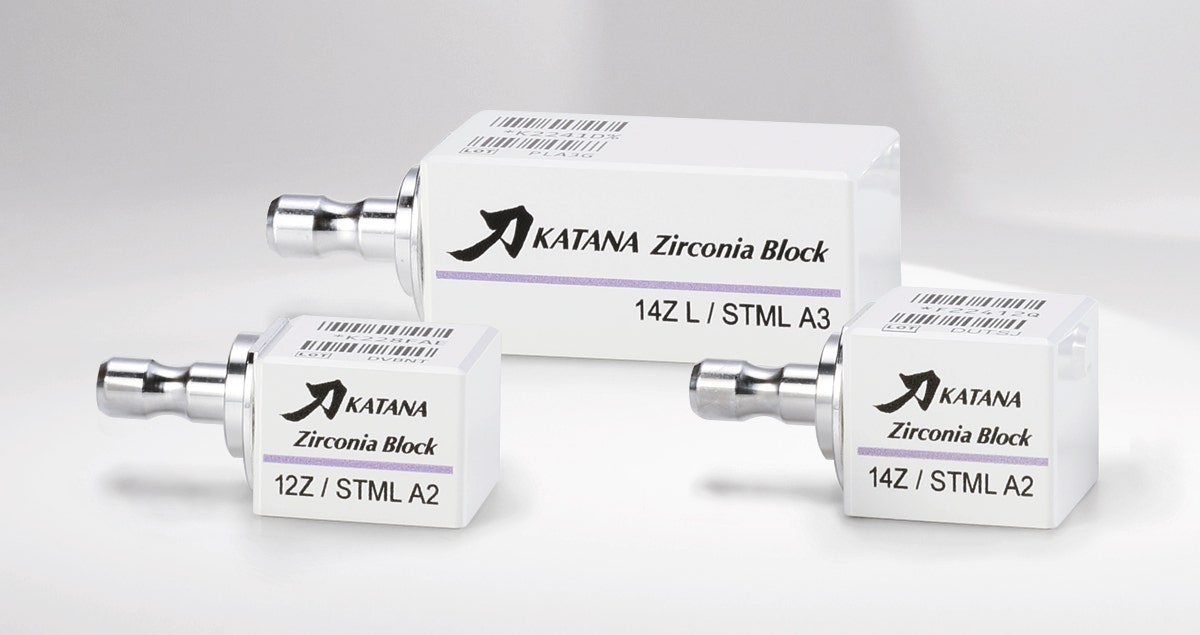
KATANA™ Zirconia Block has hardly any common features with the zirconium oxide that captured dental laboratories two decades ago and was used as a framework material. In many cases, the innovative zirconia serves as a functionally and aesthetically sensible alternative to high-strength glass ceramics. Its flexural strength is higher than that of lithium disilicate, its translucency on a level with the LT variant of the ceramic and its surface – if smoothly polished – antagonist-friendly causing low wear. Apart from its natural translucency, the multi-layered structure of KATANA™ Zirconia Block with four gradient shades precisely imitating natural colour gradients found in anterior and posterior teeth leads to highly aesthetic outcomes.


In order to exploit the full potential of the cubic zirconia KATANA™ Zirconia Block, users of the CEREC system need to adopt slightly different automatic and manual processing strategies than for glass ceramic processing. The following answers to frequently asked questions provide information on the most important differences and tips and tricks that help achieve the best possible results.


COMPUTER-AIDED DESIGN


What is the best position of the restoration in the block to leverage all benefits related to the multi-layered structure?

Ideally, a restoration is positioned in the middle of the block. In addition, the selected block should be one shade darker than the determined shade. This will lead to a natural shade appearance of the resulting restoration. If the restoration is placed at the upper margin of the block, parts of the body shade – and with it chroma – are lost, which makes the restoration appear too light.


How are chipping effects in the area of the milling sprues (most often occurring in bridges) effectively prevented?

Marginal chipping in these areas might appear due to an uneven force distribution during milling. The problem is easily overcome by designing two milling sprues per crown or bridge unit.


COMPUTER-MANUFACTURING


Is wet or dry milling the best option to process KATANA™ Zirconia Block?

The best results are obtained with dry milling. This procedure also leads to time-savings, as there is no need for drying after processing.


When opting for wet milling: Are there any particularities that need to be respected for KATANA™ Zirconia Block?

Those users opting for wet milling and utilizing the same machine for the processing of zirconia and glass ceramics should implement a system utilizing three water tanks. One tank is filled with wash water, the tank used for processing of glass-based ceramics is filled with water and additives (such as Dentatec, Dentsply Sirona) and the one used for processing of zirconia contains purified/distilled water without any additives.


Moreover, a prerequisite for a high quality of the manufactured restorations is that the machine is cleaned thoroughly every time before a different material is processed.

The following components need to be cleaned:

  • the milling tools
  • the interior of the machine
  • the water tank(s)
  • all filters

Typically, zirconia reacts to milling additives (Dentatec) in the water with a reduced translucency, so that their use cannot be recommended. Residues of glass ceramic particles found on milling tools, in the water or in the interior of the machine might also have a negative impact on the aesthetic appearance of KATANA™ restorations (typical effect: white spots on the surface).


When is it necessary to replace milling tools used for the processing of KATANA™ Zirconia Block?

It is recommended to replace the tool sets every 10 to 15 units. At this time, the degree of tool wear amounts to approximately 50 percent. Those who continue using the tools accept an increased risk of weakening the oxide ceramic’s microstructure: worn milling tools are likely to produce micro cracks and micro chipping. When these defects occur between the different units of a bridge, they increase the risk for chipping and fractures.


MANUAL POST-PROCESSING


Are there any specific measures to be taken when removing the block from the machine?

When machining is completed, the restoration should be touched only by individuals wearing gloves. Even after thorough washing, bare hands will release fats, which may lead to smear formation and a reduced translucency of the oxide ceramic material.


How are the restorations cleaned after sprue removal?

Powder residues should be removed after processing with a gentle stream of air. Alternatively, a fine (and obviously clean) brush may be used for the removal of the zirconia dust. Powder residues remaining on the restoration surface might lead to the occurrence or white spots or to smear formation. Steam-cleaning of the restoration should be avoided as this measure dramatically increases the pores in the material and alters the material properties.


When is the right time to add fissures and texture to the surface of the restoration and how is this task accomplished?

Ideally, all those details that cannot be incorporated by a milling machine (surface texture, fissures etc.) are added in the restoration’s pre-sintered state, i.e. between milling and final sintering. Diamond milling tools for oxide ceramics should be used at a low speed (7,000 to 10,000 rpm) for this purpose.


TANK MANAGEMENT: CLEANING PROCEDURE AFTER USING GLASS CERAMICS


Be sure the glass ceramic cooling-water tank is installed. Press the Pump button on the touch panel to wash away any glass ceramic powder that is inside the milling chamber. Then, thoroughly flush milling debris from the milling chamber filter and milling powder from beneath the milling chamber filter.


FINAL SINTERING


What are the particularities to be respected during final sintering of restorations made of KATANA™ Zirconia Block material?

Zirconia restorations are subject to volumetric shrinkage (approximately 20 percent) during sintering. Therefore, it is essential to not place the restoration on a rigid carrier during sintering. If the volume of the restoration is reduced while the volume of the carrier is not, the risk of fracture is high. Ideally, the restoration is placed on its largest side.


What measures should be taken to avoid discoloration of a restoration during sintering?

Discoloration (usually leading to a green-yellowish appearance) might be the result of contamination of the sintering furnace with metal oxides. These metal oxides originate from other materials processed in the furnace. They are released during sintering and absorbed by the restoration. Running a decontamination programme on a regular basis is an effective measure that helps prevent discoloration. For this purpose, white zirconium oxide (either collected from odds and ends of non-shaded blanks or purchased) is placed in the furnace chamber and a sintering programme is started. As the furnace CEREC® SpeedFire does not offer a specific decontamination programme, there is no way around working a fiddle: the user simply creates two separate jobs for the sintering of two single crowns, but sinters them together. The second job is used for the decontamination cycle. During this procedure, the white zirconium oxide absorbs the metal oxides, which has a cleaning effect on the furnace.


CHARACTERISATION


Which techniques are best suited for an optical refinement of monolithic restorations made of KATANA™ Zirconia Block?

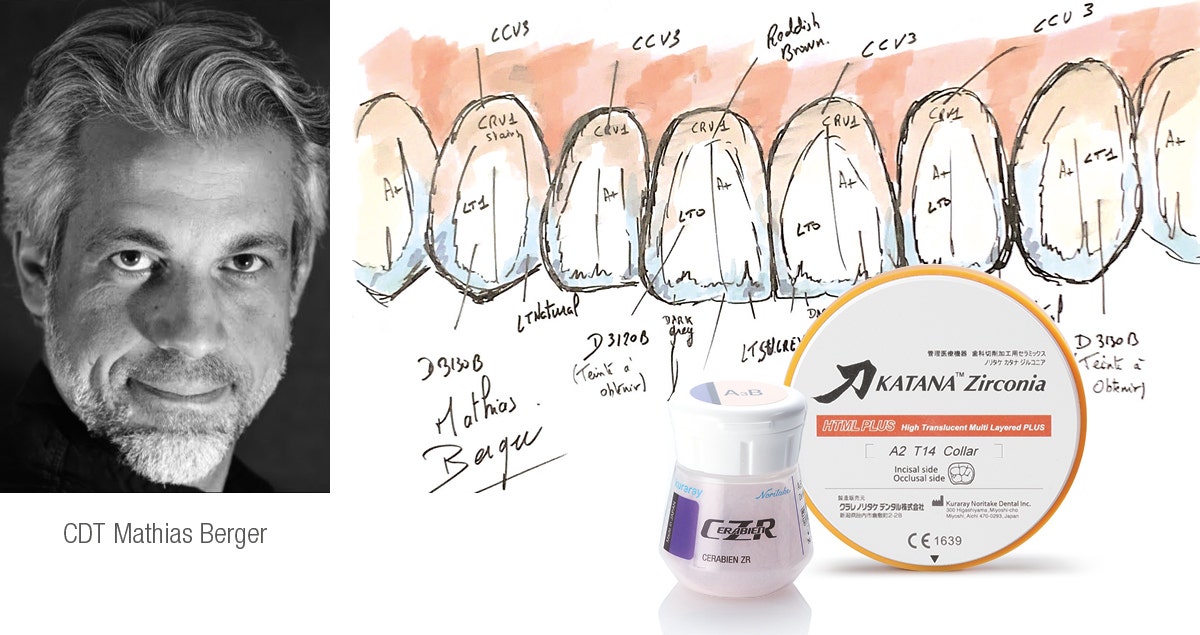
A material designed for this kind of refinement is CERABIEN™ ZR FC Paste Stain from Kuraray Noritake Dental. The paste-like shading solutions are filled with ceramic particles. Therefore, the optical effects achievable with these pastes are much more durable than those obtained with classical stains. As all pastes are fluorescent, it is possible to produce a natural long-term fluorescence effect without an additional work step. With just four shades of the liquid ceramic – A+, Grayish Blue, Value and Clear Glaze – it is possible to perfectly characterize 85 percent of all restorations made of KATANA™ Zirconia Block material. The firing temperature is 750 °C and the CTE values of CERABIEN™ ZR FC Paste Stain and KATANA™ Zirconia Block are precisely adjusted to each other. The product is also very well suited for glass ceramic characterization.


How is it possible to hold the restoration during characterization?

The easiest option is the use of putty material on a carrier. The crown is simply placed on the unset putty and then positioned on the carrier. The surface of the restoration should be cleaned with a gentle stream of air before applying the pastes. Thanks to the ceramic particles in CERABIEN™ ZR FC Paste Stain, the pastes stay put during processing and do not flow away.


POLISHING


How to ensure a low wear of the antagonist?

Zirconium oxide stands out due to its hardness, which makes careful polishing of the surface a prerequisite for clinical use. After characterization with CERABIEN™ ZR FC Paste Stain, polishing of all occlusal contact areas is mandatory as well. The polishing set Polierset KATANA™ Twist DIA even allows for intraoral use.


PLACEMENT


What kind of resin cement is recommended for the definitive placement of restorations made of KATANA™ Zirconia Block material?

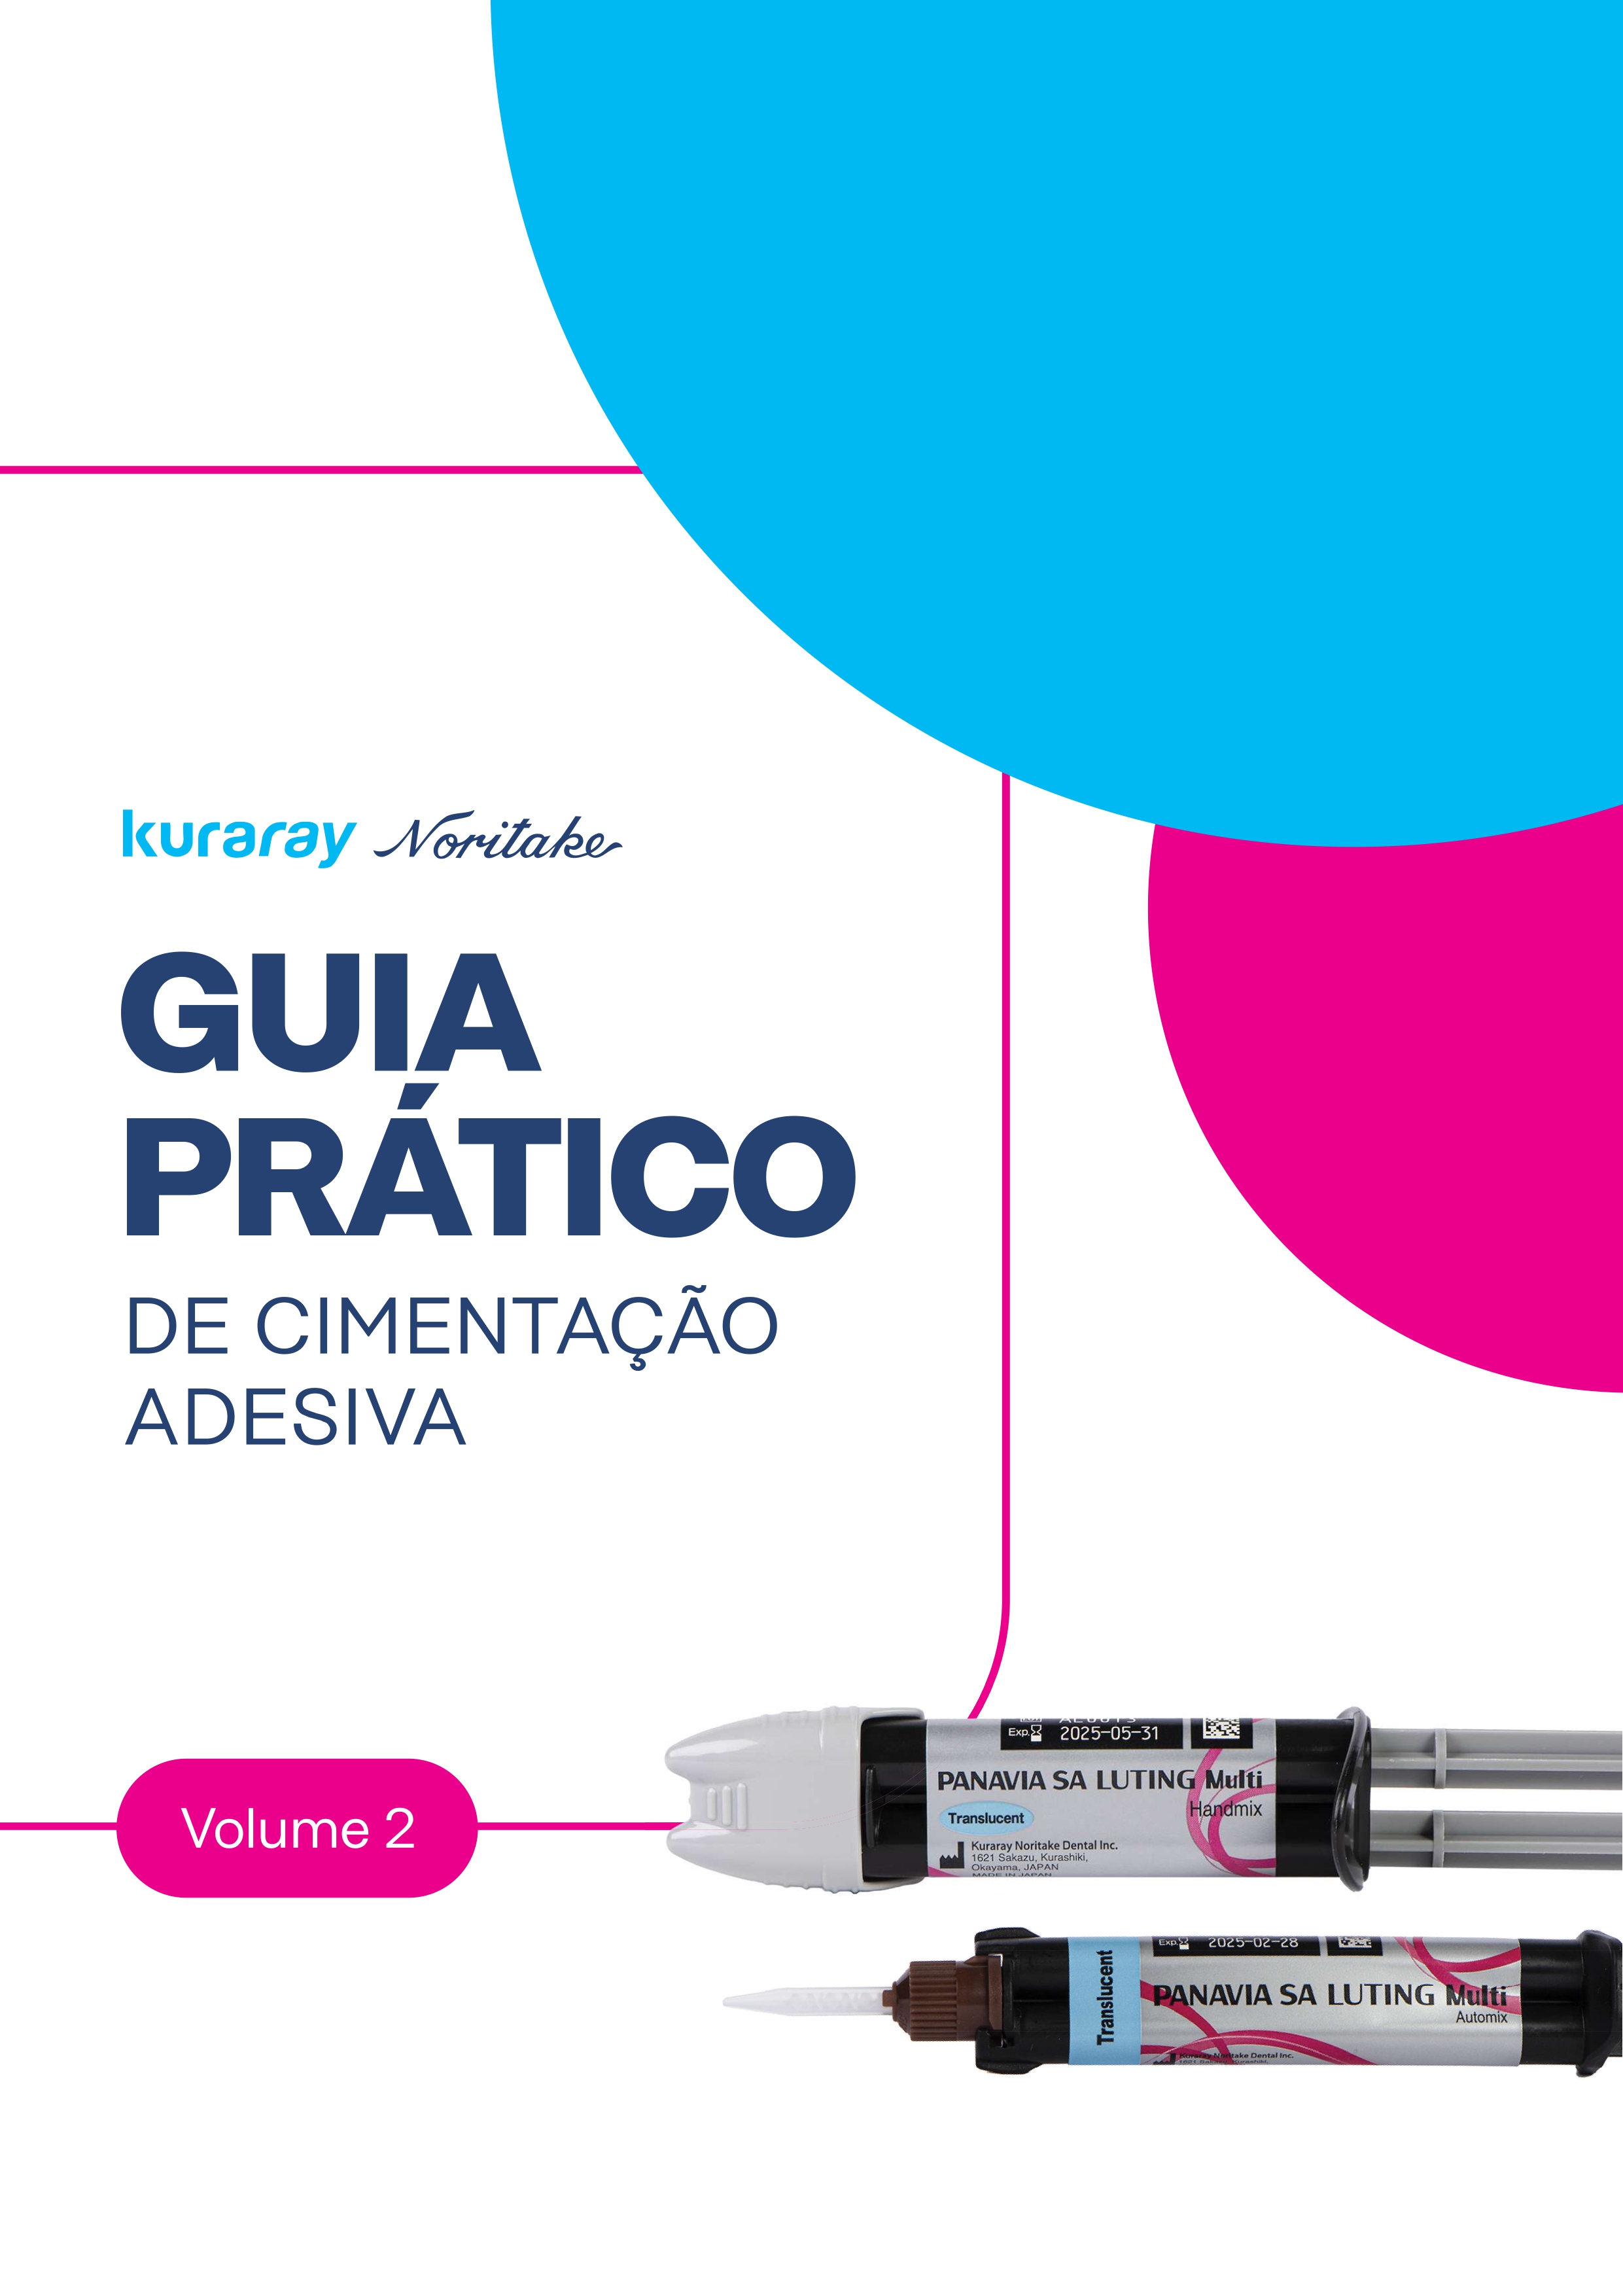
The best possible results are obtained with PANAVIA™ V5. This adhesive resin cement system is responsible for the development of a particularly strong bond between the tooth structure and the restoration, which also has a strengthening effect on the restoration.



KATANA™ Zirconia Block: Useful tips for processing

KATANA™ Zirconia Block has hardly any common features with the zirconium oxide that captured dental laboratories two decades ago and was used as a framework material. In many cases, the innovative zirconia serves as a functionally and aesthetically sensible alternative to high-strength glass ceramics. Its flexural strength is higher than that of lithium disilicate, its translucency on a level with the LT variant of the ceramic and its surface – if smoothly polished – antagonist-friendly causing low wear. Apart from its natural translucency, the multi-layered structure of KATANA™ Zirconia Block with four gradient shades precisely imitating natural colour gradients found in anterior and posterior teeth leads to highly aesthetic outcomes.


In order to exploit the full potential of the cubic zirconia KATANA™ Zirconia Block, users of the CEREC system need to adopt slightly different automatic and manual processing strategies than for glass ceramic processing. The following answers to frequently asked questions provide information on the most important differences and tips and tricks that help achieve the best possible results.


COMPUTER-AIDED DESIGN


What is the best position of the restoration in the block to leverage all benefits related to the multi-layered structure?

Ideally, a restoration is positioned in the middle of the block. In addition, the selected block should be one shade darker than the determined shade. This will lead to a natural shade appearance of the resulting restoration. If the restoration is placed at the upper margin of the block, parts of the body shade – and with it chroma – are lost, which makes the restoration appear too light.


How are chipping effects in the area of the milling sprues (most often occurring in bridges) effectively prevented?

Marginal chipping in these areas might appear due to an uneven force distribution during milling. The problem is easily overcome by designing two milling sprues per crown or bridge unit.


COMPUTER-MANUFACTURING


Is wet or dry milling the best option to process KATANA™ Zirconia Block?

The best results are obtained with dry milling. This procedure also leads to time-savings, as there is no need for drying after processing.


When opting for wet milling: Are there any particularities that need to be respected for KATANA™ Zirconia Block?

Those users opting for wet milling and utilizing the same machine for the processing of zirconia and glass ceramics should implement a system utilizing three water tanks. One tank is filled with wash water, the tank used for processing of glass-based ceramics is filled with water and additives (such as Dentatec, Dentsply Sirona) and the one used for processing of zirconia contains purified/distilled water without any additives.


Moreover, a prerequisite for a high quality of the manufactured restorations is that the machine is cleaned thoroughly every time before a different material is processed.

The following components need to be cleaned:

  • the milling tools
  • the interior of the machine
  • the water tank(s)
  • all filters

Typically, zirconia reacts to milling additives (Dentatec) in the water with a reduced translucency, so that their use cannot be recommended. Residues of glass ceramic particles found on milling tools, in the water or in the interior of the machine might also have a negative impact on the aesthetic appearance of KATANA™ restorations (typical effect: white spots on the surface).


When is it necessary to replace milling tools used for the processing of KATANA™ Zirconia Block?

It is recommended to replace the tool sets every 10 to 15 units. At this time, the degree of tool wear amounts to approximately 50 percent. Those who continue using the tools accept an increased risk of weakening the oxide ceramic’s microstructure: worn milling tools are likely to produce micro cracks and micro chipping. When these defects occur between the different units of a bridge, they increase the risk for chipping and fractures.


MANUAL POST-PROCESSING


Are there any specific measures to be taken when removing the block from the machine?

When machining is completed, the restoration should be touched only by individuals wearing gloves. Even after thorough washing, bare hands will release fats, which may lead to smear formation and a reduced translucency of the oxide ceramic material.


How are the restorations cleaned after sprue removal?

Powder residues should be removed after processing with a gentle stream of air. Alternatively, a fine (and obviously clean) brush may be used for the removal of the zirconia dust. Powder residues remaining on the restoration surface might lead to the occurrence or white spots or to smear formation. Steam-cleaning of the restoration should be avoided as this measure dramatically increases the pores in the material and alters the material properties.


When is the right time to add fissures and texture to the surface of the restoration and how is this task accomplished?

Ideally, all those details that cannot be incorporated by a milling machine (surface texture, fissures etc.) are added in the restoration’s pre-sintered state, i.e. between milling and final sintering. Diamond milling tools for oxide ceramics should be used at a low speed (7,000 to 10,000 rpm) for this purpose.


TANK MANAGEMENT: CLEANING PROCEDURE AFTER USING GLASS CERAMICS


Be sure the glass ceramic cooling-water tank is installed. Press the Pump button on the touch panel to wash away any glass ceramic powder that is inside the milling chamber. Then, thoroughly flush milling debris from the milling chamber filter and milling powder from beneath the milling chamber filter.


FINAL SINTERING


What are the particularities to be respected during final sintering of restorations made of KATANA™ Zirconia Block material?

Zirconia restorations are subject to volumetric shrinkage (approximately 20 percent) during sintering. Therefore, it is essential to not place the restoration on a rigid carrier during sintering. If the volume of the restoration is reduced while the volume of the carrier is not, the risk of fracture is high. Ideally, the restoration is placed on its largest side.


What measures should be taken to avoid discoloration of a restoration during sintering?

Discoloration (usually leading to a green-yellowish appearance) might be the result of contamination of the sintering furnace with metal oxides. These metal oxides originate from other materials processed in the furnace. They are released during sintering and absorbed by the restoration. Running a decontamination programme on a regular basis is an effective measure that helps prevent discoloration. For this purpose, white zirconium oxide (either collected from odds and ends of non-shaded blanks or purchased) is placed in the furnace chamber and a sintering programme is started. As the furnace CEREC® SpeedFire does not offer a specific decontamination programme, there is no way around working a fiddle: the user simply creates two separate jobs for the sintering of two single crowns, but sinters them together. The second job is used for the decontamination cycle. During this procedure, the white zirconium oxide absorbs the metal oxides, which has a cleaning effect on the furnace.


CHARACTERISATION


Which techniques are best suited for an optical refinement of monolithic restorations made of KATANA™ Zirconia Block?

A material designed for this kind of refinement is CERABIEN™ ZR FC Paste Stain from Kuraray Noritake Dental. The paste-like shading solutions are filled with ceramic particles. Therefore, the optical effects achievable with these pastes are much more durable than those obtained with classical stains. As all pastes are fluorescent, it is possible to produce a natural long-term fluorescence effect without an additional work step. With just four shades of the liquid ceramic – A+, Grayish Blue, Value and Clear Glaze – it is possible to perfectly characterize 85 percent of all restorations made of KATANA™ Zirconia Block material. The firing temperature is 750 °C and the CTE values of CERABIEN™ ZR FC Paste Stain and KATANA™ Zirconia Block are precisely adjusted to each other. The product is also very well suited for glass ceramic characterization.


How is it possible to hold the restoration during characterization?

The easiest option is the use of putty material on a carrier. The crown is simply placed on the unset putty and then positioned on the carrier. The surface of the restoration should be cleaned with a gentle stream of air before applying the pastes. Thanks to the ceramic particles in CERABIEN™ ZR FC Paste Stain, the pastes stay put during processing and do not flow away.


POLISHING


How to ensure a low wear of the antagonist?

Zirconium oxide stands out due to its hardness, which makes careful polishing of the surface a prerequisite for clinical use. After characterization with CERABIEN™ ZR FC Paste Stain, polishing of all occlusal contact areas is mandatory as well. The polishing set Polierset KATANA™ Twist DIA even allows for intraoral use.


PLACEMENT


What kind of resin cement is recommended for the definitive placement of restorations made of KATANA™ Zirconia Block material?

The best possible results are obtained with PANAVIA™ V5. This adhesive resin cement system is responsible for the development of a particularly strong bond between the tooth structure and the restoration, which also has a strengthening effect on the restoration.


Clinical case – Crowns on 11/21

By Dr Alessandro Devigus


Fig. 1. Initial situation with fractured PFM crown.


Fig. 2. Initial situation with fractured PFM crown – problem of deep bite.


Fig. 3. Situation after removal of old crowns and placement of retraction cord.


Fig. 4. Milled crowns before sintering with Speedfire.


Fig. 5. Crowns after sintering.


Fig. 6. Try-in of sintered crowns.


Fig. 7. Crowns after glaze and stain.

Fig. 8. Try-in of finished crowns.


Fig. 9. Crowns after adhesive cementation with PANAVIA™ V5 A2.


FINAL SITUATION


Clinical case – Crowns on 11/21

By Dr Alessandro Devigus


Fig. 1. Initial situation with fractured PFM crown.


Fig. 2. Initial situation with fractured PFM crown – problem of deep bite.


Fig. 3. Situation after removal of old crowns and placement of retraction cord.


Fig. 4. Milled crowns before sintering with Speedfire.


Fig. 5. Crowns after sintering.


Fig. 6. Try-in of sintered crowns.


Fig. 7. Crowns after glaze and stain.

Fig. 8. Try-in of finished crowns.


Fig. 9. Crowns after adhesive cementation with PANAVIA™ V5 A2.


FINAL SITUATION


Dentist:


DR. ALESSANDRO DEVIGUS


Dr. Alessandro Devigus received his degree from Zurich University, Switzerland, in 1987. Since 1990 his working in his own private practice with a focus on CAD CAM and Digital Dentistry. He is also CEREC Instructor at the Zurich Dental School.


Dr. Alessandro Devigus is an active member of the European Academy of Esthetic Dentistry (EAED), founder of the Swiss Society of Computerized Dentistry, Neue Gruppe member, ITI fellow and speaker.


Dr. Devigus is editor-in-chief of the International Journal of Esthetic Dentistry, author of various publications and an international lecturer.


Clinical case with CLEARFIL MAJESTY™ ES-2 Universal shades

By Dr Luca Dusi


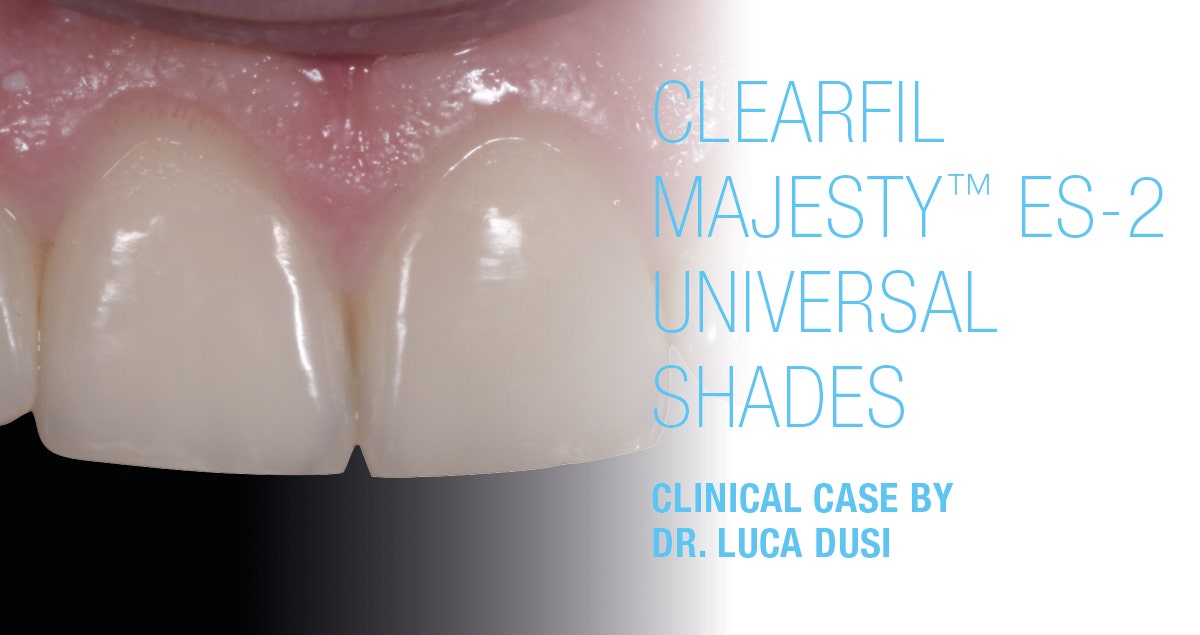
For purely aesthetic reasons, this patient asked for the reconstruction of her cone-shaped upper right lateral incisor (12). The patient was offered a treatment including a first phase of orthodontic therapy aimed at recovering the space necessary to be able to reconstruct the lateral incisor to its ideal size. As the patient refused to undergo this orthodontic therapy, it was decided to restore the tooth with resin composite and match its size to the space already available.


The adhesive system used was CLEARFIL™ SE BOND 2, while the restoration was created with the new composite CLEARFIL MAJESTY™ ES-2 Universal. Although this material is designed for the single-shade technique with only two shades matching the anterior tooth shades, I decided to combine both pastes to achieve the best possible outcome. The shade UD (Universal Dark) was used to reconstruct the cervical and central portion of the lateral incisor. The incisal portion was restored with UL (Universal Light).


Fig. 1. Initial situation with a cone-shaped upper right lateral incisor (12).


Fig. 2. Image of the initial situation taken with a polarising filter for shade evaluation purposes.


Fig. 3. The new CLEARFIL MAJESTY™ ES-2 Universal composite with only two shades for the anterior region was chosen. It offers a good optical integration thanks to Kuraray Noritake Dental’s Light Diffusion Technology.


Fig. 4. Shade determination with the aid of cured samples of CLEARFIL MAJESTY™ ES-2 Universal UL (Universal Light) and UD (Universal Dark) on the tooth surfaces.


Fig. 5. Isolation with rubber dam.


Fig. 6. CLEARFIL™ SE BOND 2 used for the establishment of a strong bond between the tooth structure and the composite material.


FINAL SITUATION

Fig. 7. The universal composite blends in well with the adjacent teeth regarding its colour and surface finish.


Clinical case with CLEARFIL MAJESTY™ ES-2 Universal shades

By Dr Luca Dusi


For purely aesthetic reasons, this patient asked for the reconstruction of her cone-shaped upper right lateral incisor (12). The patient was offered a treatment including a first phase of orthodontic therapy aimed at recovering the space necessary to be able to reconstruct the lateral incisor to its ideal size. As the patient refused to undergo this orthodontic therapy, it was decided to restore the tooth with resin composite and match its size to the space already available.


The adhesive system used was CLEARFIL™ SE BOND 2, while the restoration was created with the new composite CLEARFIL MAJESTY™ ES-2 Universal. Although this material is designed for the single-shade technique with only two shades matching the anterior tooth shades, I decided to combine both pastes to achieve the best possible outcome. The shade UD (Universal Dark) was used to reconstruct the cervical and central portion of the lateral incisor. The incisal portion was restored with UL (Universal Light).


Fig. 1. Initial situation with a cone-shaped upper right lateral incisor (12).


Fig. 2. Image of the initial situation taken with a polarising filter for shade evaluation purposes.


Fig. 3. The new CLEARFIL MAJESTY™ ES-2 Universal composite with only two shades for the anterior region was chosen. It offers a good optical integration thanks to Kuraray Noritake Dental’s Light Diffusion Technology.


Fig. 4. Shade determination with the aid of cured samples of CLEARFIL MAJESTY™ ES-2 Universal UL (Universal Light) and UD (Universal Dark) on the tooth surfaces.


Fig. 5. Isolation with rubber dam.


Fig. 6. CLEARFIL™ SE BOND 2 used for the establishment of a strong bond between the tooth structure and the composite material.


FINAL SITUATION

Fig. 7. The universal composite blends in well with the adjacent teeth regarding its colour and surface finish.


Dentist:


  • Graduated with honors in Dentistry and Dental Prosthetics at the University of Milan in 2010.
  • In 2011/2012 and 2012/2013 he held the position of Adjunct Professor for the teaching of Prosthetic Technologies at the University of Milan-Bicocca.
  • Member of SIdp (Italian Society of Periodontology) and AIC (Italian Academy of Conservation).


Efficient and aesthetic direct restorations with the new CLEARFIL MAJESTY™ ES-2 Universal shades concept

Time has always been limited in dental offices, and COVID-19 sanitisation requirements have constrained this even further. Streamlining procedures is a logical strategy for reducing chair time; however, this optimisation must still ensure a high treatment standard and aesthetic outcome.


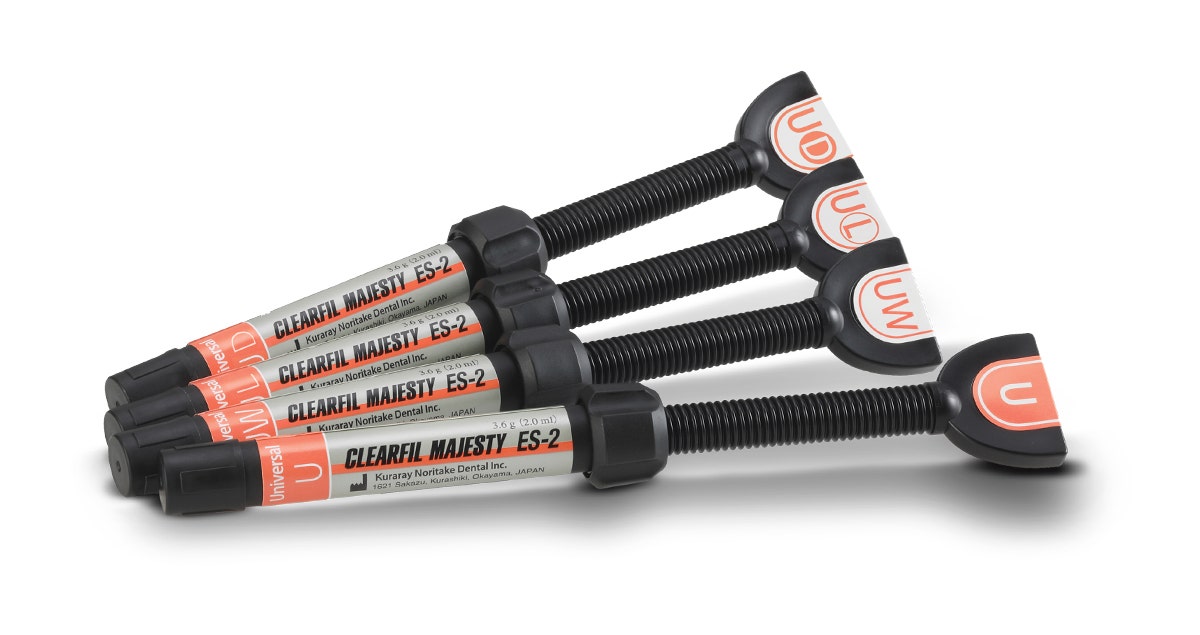
The CLEARFIL MAJESTY™ ES-2 Universal shades concept from Kuraray Noritake Dental enables this: fast shade determination and creation of aesthetic, long-lasting direct restorations with a single shade in your regular cases; an opaquer or blocker is no longer needed.


CLEARFIL MAJESTY™ ES-2 Universal shades concept consists of a compact shade range:

  • The universal (U) shade is for all posterior restorations.
  • For the aesthetically more demanding anterior, the user is given two shade options: universal light (UL) and universal dark (UD).
  • The universal white (UW) shade is employed for certain cases, such as the restoration of primary teeth.


This simplified shade concept works so well thanks to the integration of Kuraray Noritake Dental’s light diffusion technology, which makes restoration distort light in a similar way tooth structure does. Consequently, the applied material blends virtually invisibly into the surrounding tooth structure.


Convincing mechanical properties make CLEARFIL MAJESTY™ ES-2 Universal shades very well suited for posterior and anterior restorations alike. Just like other members of the CLEARFIL MAJESTY™ ES-2 family, this innovative product offers high strength, favourable wear and balanced shrinkage stress for reliable performance — even in load-bearing posterior areas. The material is easily polished and retains its gloss, yielding a natural-looking appearance that is particularly beneficial in the anterior region.


The CLEARFIL MAJESTY™ ES-2 Universal shades, available in preloaded-tip capsules and syringes, provide a time-saving and simplified means of realising aesthetic, strong and lasting restorations.


This is streamlining of direct composite procedures in optimum form - in short: intelligent simplification!


Clinical case by Dr Zorzin.


Efficient and aesthetic direct restorations with the new CLEARFIL MAJESTY™ ES-2 Universal shades concept

Time has always been limited in dental offices, and COVID-19 sanitisation requirements have constrained this even further. Streamlining procedures is a logical strategy for reducing chair time; however, this optimisation must still ensure a high treatment standard and aesthetic outcome.


The CLEARFIL MAJESTY™ ES-2 Universal shades concept from Kuraray Noritake Dental enables this: fast shade determination and creation of aesthetic, long-lasting direct restorations with a single shade in your regular cases; an opaquer or blocker is no longer needed.


CLEARFIL MAJESTY™ ES-2 Universal shades concept consists of a compact shade range:

  • The universal (U) shade is for all posterior restorations.
  • For the aesthetically more demanding anterior, the user is given two shade options: universal light (UL) and universal dark (UD).
  • The universal white (UW) shade is employed for certain cases, such as the restoration of primary teeth.


This simplified shade concept works so well thanks to the integration of Kuraray Noritake Dental’s light diffusion technology, which makes restoration distort light in a similar way tooth structure does. Consequently, the applied material blends virtually invisibly into the surrounding tooth structure.


Convincing mechanical properties make CLEARFIL MAJESTY™ ES-2 Universal shades very well suited for posterior and anterior restorations alike. Just like other members of the CLEARFIL MAJESTY™ ES-2 family, this innovative product offers high strength, favourable wear and balanced shrinkage stress for reliable performance — even in load-bearing posterior areas. The material is easily polished and retains its gloss, yielding a natural-looking appearance that is particularly beneficial in the anterior region.


The CLEARFIL MAJESTY™ ES-2 Universal shades, available in preloaded-tip capsules and syringes, provide a time-saving and simplified means of realising aesthetic, strong and lasting restorations.


This is streamlining of direct composite procedures in optimum form - in short: intelligent simplification!


Clinical case by Dr Zorzin.


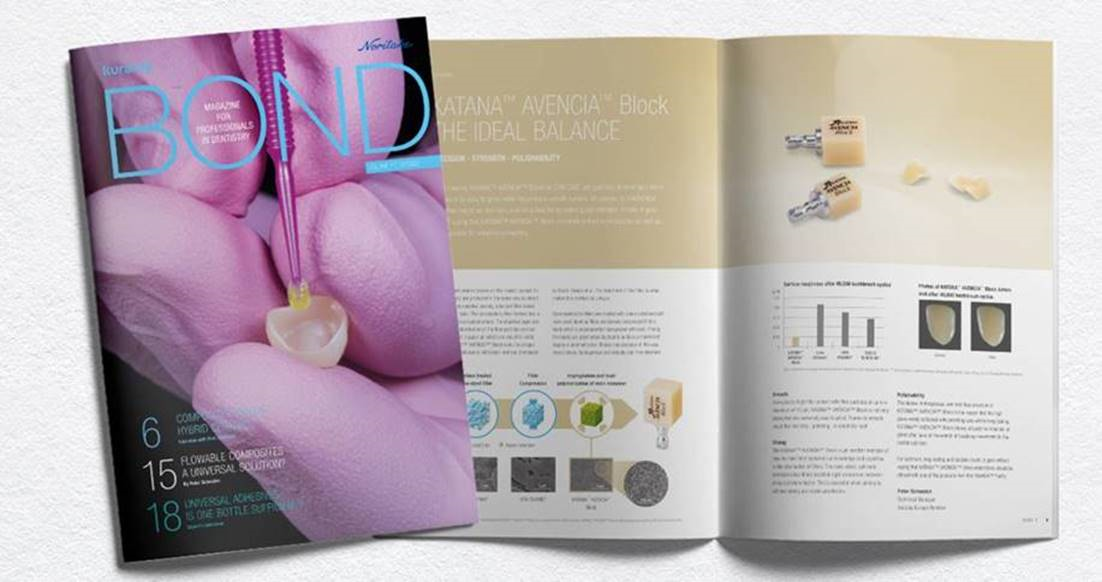
Our latest "BOND" magazine is available now!

Volume 7 of our "BOND" magazine is now published and ready to read!


Content Highlights:

  • Composites versus hybrid ceramics
  • Flowable composites a universal solution?
  • Universal adhesives, is one bottle sufficient?


Start Reading: BOND | VOLUME 7 | 10/2020


Our latest "BOND" magazine is available now!

Volume 7 of our "BOND" magazine is now published and ready to read!


Content Highlights:

  • Composites versus hybrid ceramics
  • Flowable composites a universal solution?
  • Universal adhesives, is one bottle sufficient?


Start Reading: BOND | VOLUME 7 | 10/2020


Previous versions:

BOND | VOLUME 6 | 03/2020

BOND | VOLUME 5 | 05/2019

BOND | VOLUME 4 | 06/2018

BOND | VOLUME 3 | 10/2017

BOND | VOLUME 2 | 04/2017

BOND | VOLUME 1 | 12/2016

Recording 14.10.2020 17:00 CEST - Dr Alessandro Devigus on Dental photography as valuable documentation aid

Dental photography as a valuable documentation aid

The main purpose of photography in dentistry is documentation. The aim is to collect as much information as possible under reproducible conditions. For this purpose, the camera used, its accessories and the format and lighting of the intra- and extra oral recordings relevant to dentistry must be standardized. Under standardized photographic conditions, the recordings made can be compared with one another, even if the later recordings are made only after a long period of time and by different photographers. Only in this form can dental photography be used as a valuable documentation aid. The standards described by Wolfgang Bengel in 1985 are still valid, but they have to be updated and adapted to technical innovations.


In this webinar, the current development in the field of dental photography and related areas will be briefly explained.


Dr. Alessandro Devigus has had his own practice with a focus on CEREC since 1990, editor-in-chief of the International Journal of Esthetic Dentistry.


Topic: Dental photography as a valuable documentation aid
Date: Wednesday. October 14, 2020 - 17:00 - 18:30 CEST
Time: approx. 90 min (including discussion and questions)


RECORDING 14.10.2020 17:00 CEST - Dr Alessandro Devigus on Dental photography as valuable documentation aid

Dental photography as a valuable documentation aid

The main purpose of photography in dentistry is documentation. The aim is to collect as much information as possible under reproducible conditions. For this purpose, the camera used, its accessories and the format and lighting of the intra- and extra oral recordings relevant to dentistry must be standardized. Under standardized photographic conditions, the recordings made can be compared with one another, even if the later recordings are made only after a long period of time and by different photographers. Only in this form can dental photography be used as a valuable documentation aid. The standards described by Wolfgang Bengel in 1985 are still valid, but they have to be updated and adapted to technical innovations.


In this webinar, the current development in the field of dental photography and related areas will be briefly explained.


Dr. Alessandro Devigus has had his own practice with a focus on CEREC since 1990, editor-in-chief of the International Journal of Esthetic Dentistry.


Topic: Dental photography as a valuable documentation aid
Date: Wednesday. October 14, 2020 - 17:00 - 18:30 CEST
Time: approx. 90 min (including discussion and questions)