Laminate veneer restoration
LAMINATE VENEER RESTORATION
USING LITHIUM DISILICATE
WITH PANAVIA™ Veneer LC (Clear)
Case by Yohei Sato (DMD, PhD) and Keisuke Ihara (CDT)
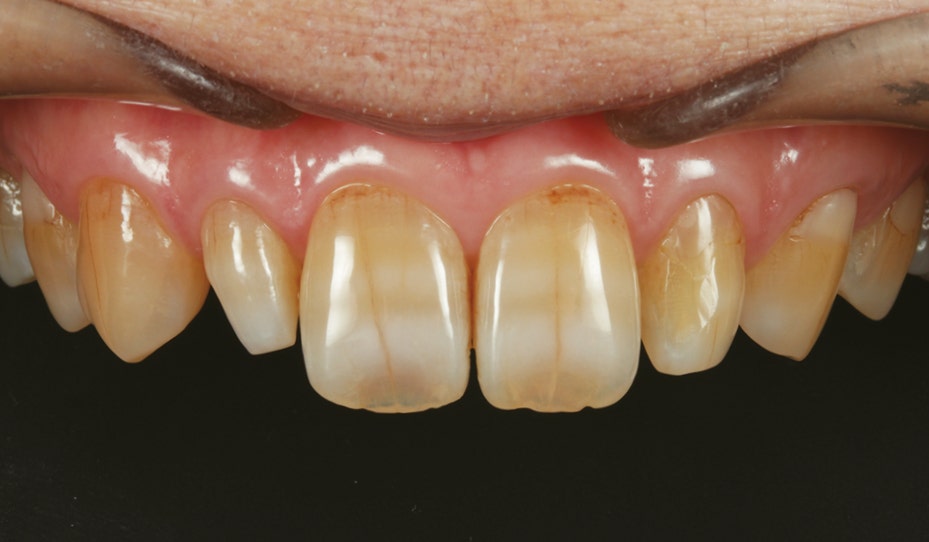
Fig. 1 The patient visited would like to have the a aesthetics
of the maxillary right and left lateral incisors improved.
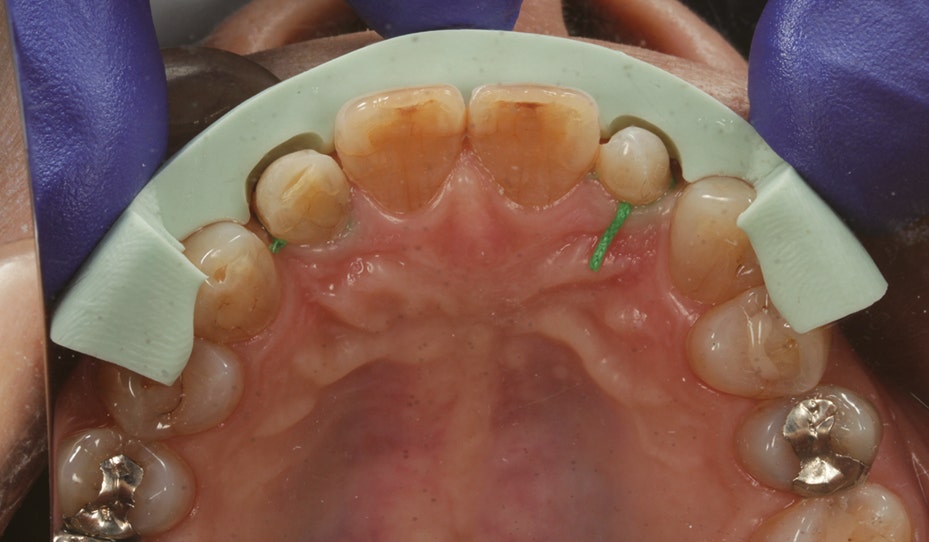
Fig. 2 A silicon guide fabricated from a diagnostic wax model
was applied and the necessary clearances were determined.

Fig. 3 Since the lateral teeth are microdonts, the
preparation of each abutment was completed by simply
exposing a fresh enamel surface to be covered with
laminate veneers.
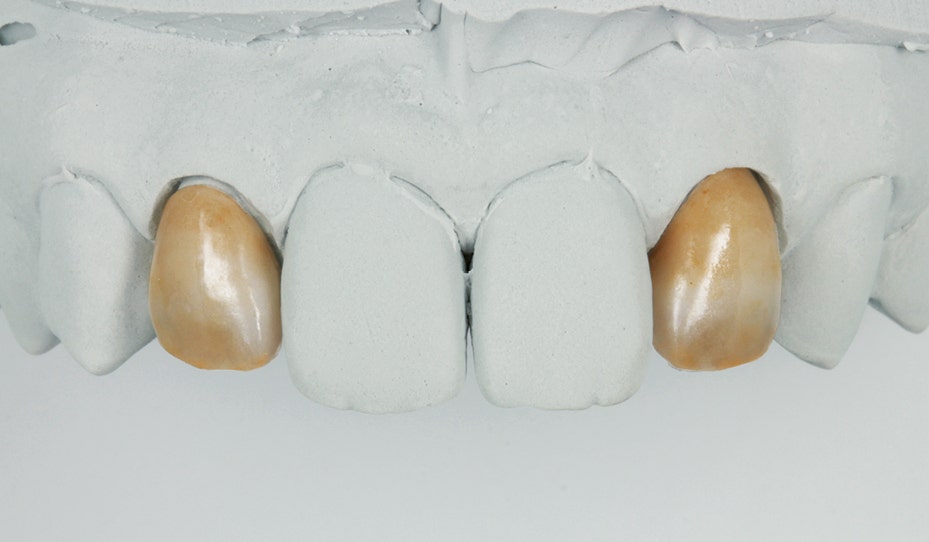
Fig. 4 A layer of porcelain was applied on the lithium
disilicate substrate, to complete the laminate veneers.
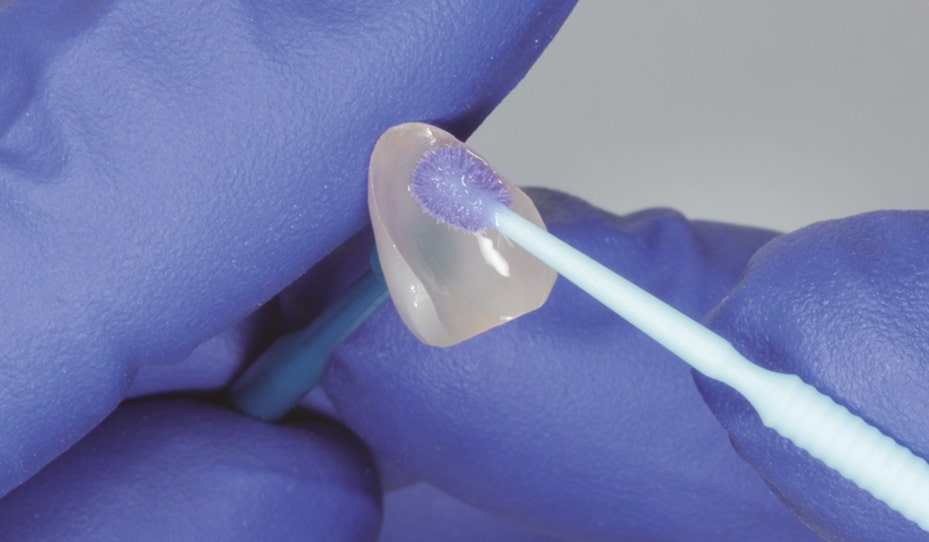
Fig. 5 The veneer was conditioned according to the
prosthesis‘ IFU. After trial fitting, the intaglio surface of the
laminate veneer was cleaned with KATANA™ Cleaner.
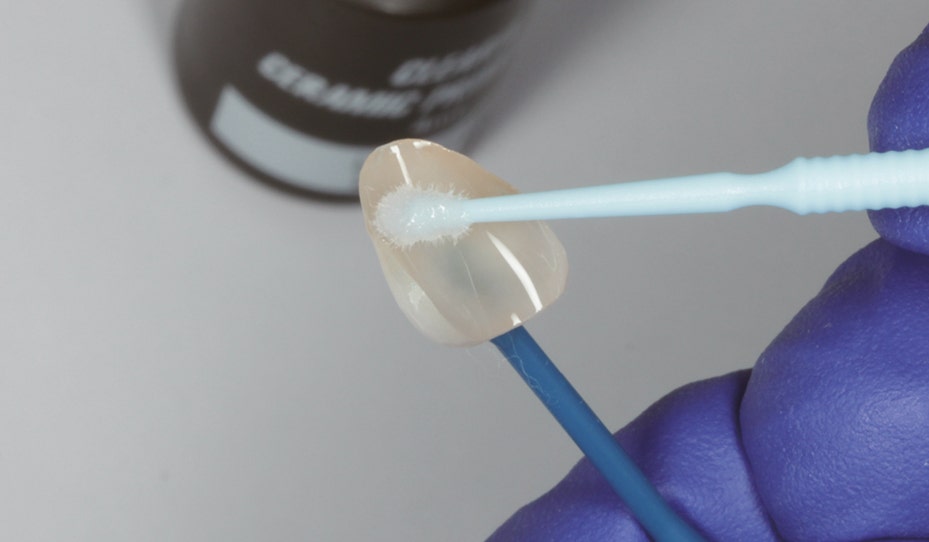
Fig. 6 CLEARFIL™ CERAMIC PRIMER PLUS was applied and
dried to prime the restoration.

Fig. 7 The preparation was cleaned with KATANA™ Cleaner.
Applied and rubbed for more than 10 seconds. Then, it
was washed off sufficiently (until the cleaner color had
completely disappeared), and dried with compressed air.

Fig. 8 K-ETCHANT Syringe was applied and left for 10
seconds before water-rinsing and compressed air-drying.
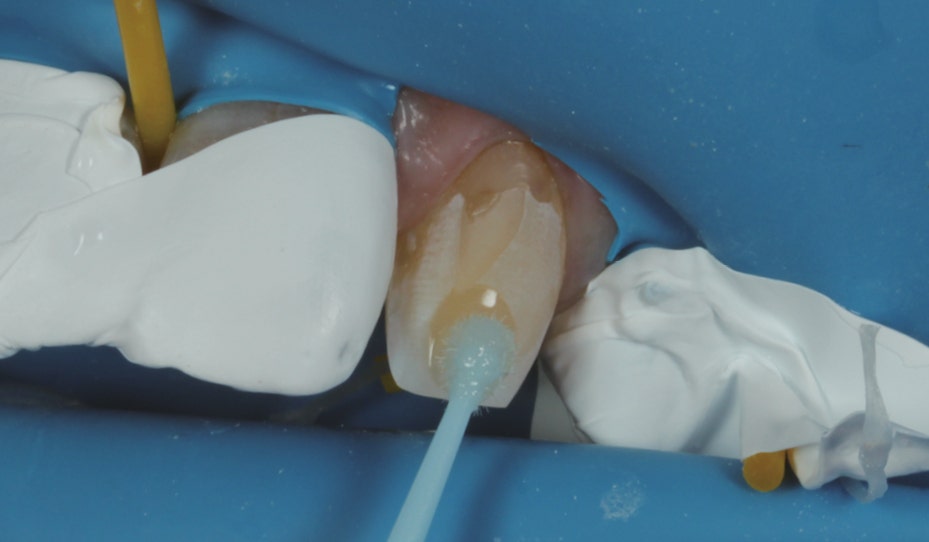
Fig. 9 PANAVIA™ V5 Tooth Primer was applied and left for 20
seconds before mild compressed-air drying.
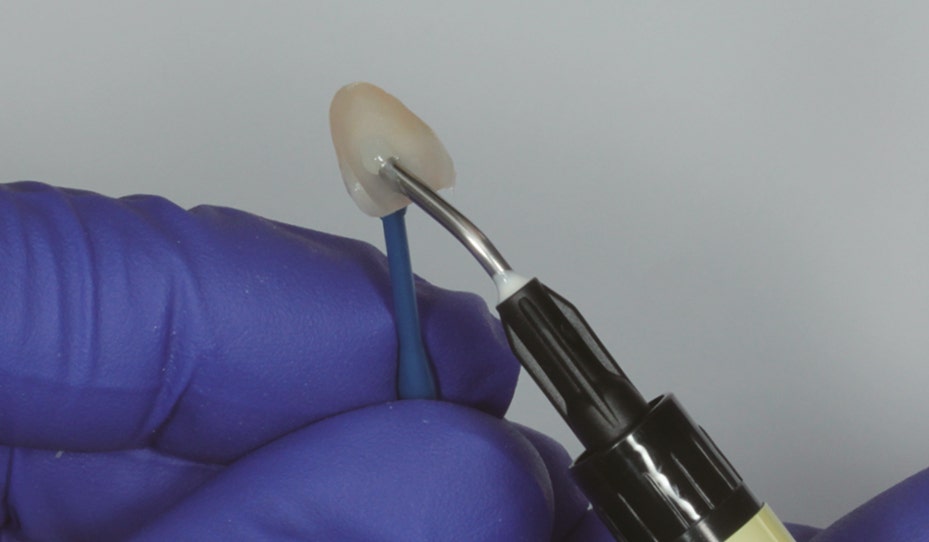
Fig. 10 PANAVIA™ Veneer LC Paste was applied to the
intaglio surface of the laminate veneer.
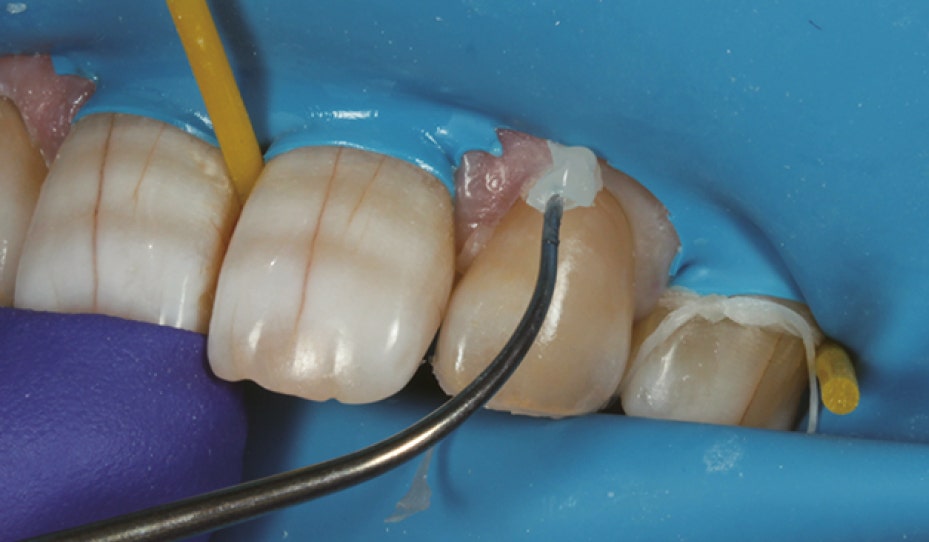
Fig. 11 The laminate veneer was seated and the fit
checked. Then, the excess cement was tack-cured (not
more than 1 second at each point) and removed. Finally,
the restoration was light-cured and finished.
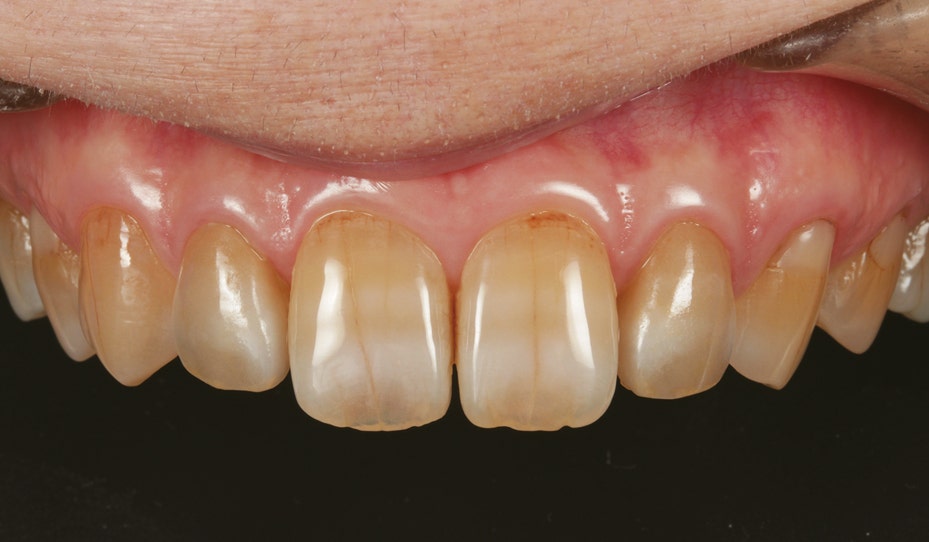
FINAL SITUATION
Fig. 12 The laminate veneer restorations one month after
placement. The morphology and color of the right and
left lateral incisors have been improved, providing a good
balance to the entire anterior dentition.
LAMINATE VENEER RESTORATION
USING KATANA™ Zirconia STML
WITH PANAVIA™ Veneer LC (Clear)
Case by Yohei Sato (DMD, PhD) and Keisuke Ihara (CDT)

Fig. 1 The patient was referred by an orthodontist. The main
complaints were improper aesthetics of the teeth due to dark
triangles betwen the teeth and incisal wear.
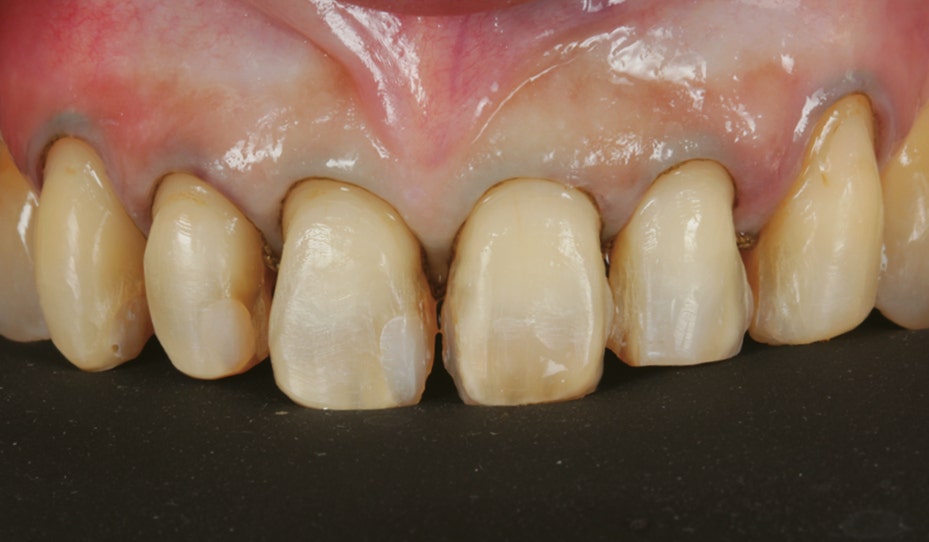
Fig. 2 On the basis of the pre-treatment diagnosis using
a mockup, the teeth were prepared, with keeping in mind
that the enamel should be preserved to the maximal extent
possible.
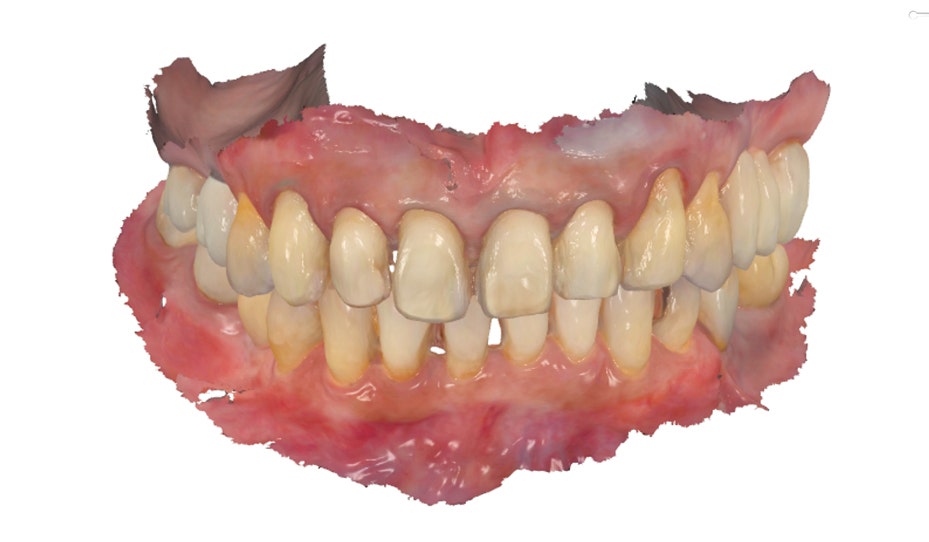
Fig. 3 A fixation retainer was present at the palatal side,
making it difficult to take coventional silicon impressions.
Therefore, an intraoral scanner was used.
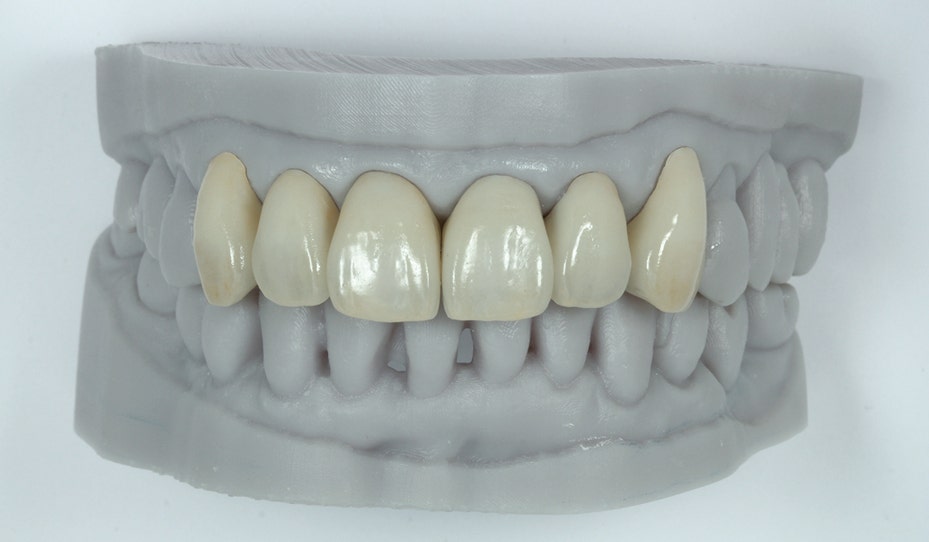
Fig. 4 A layer of porcelain was applied to each KATANA™
Zirconia STML laminate veneer to complete the restorations.
The inner surface of each restoration was sandblasted, being
careful to prevent chipping.
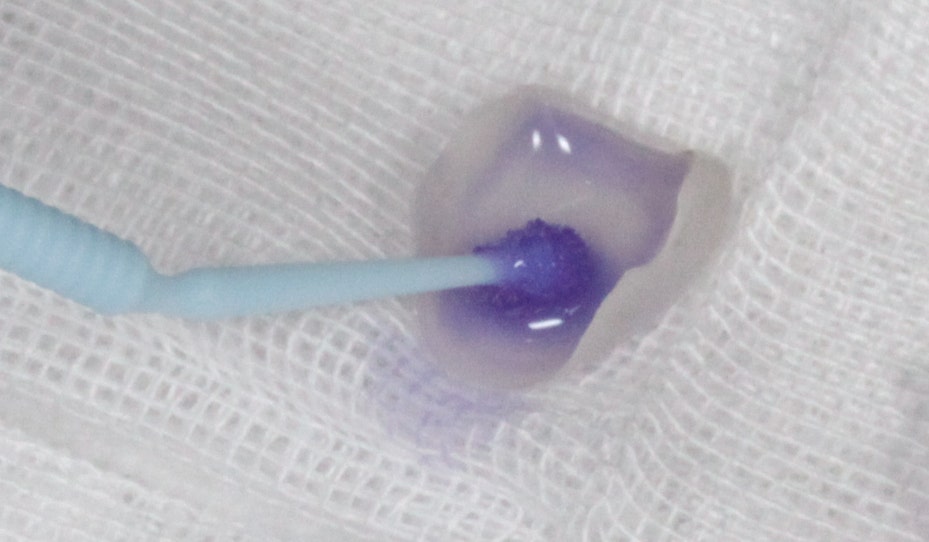
Fig. 5 After trial fitting, bonding inhibiting substances as
blood and saliva were removed using KATANA™ Cleaner.
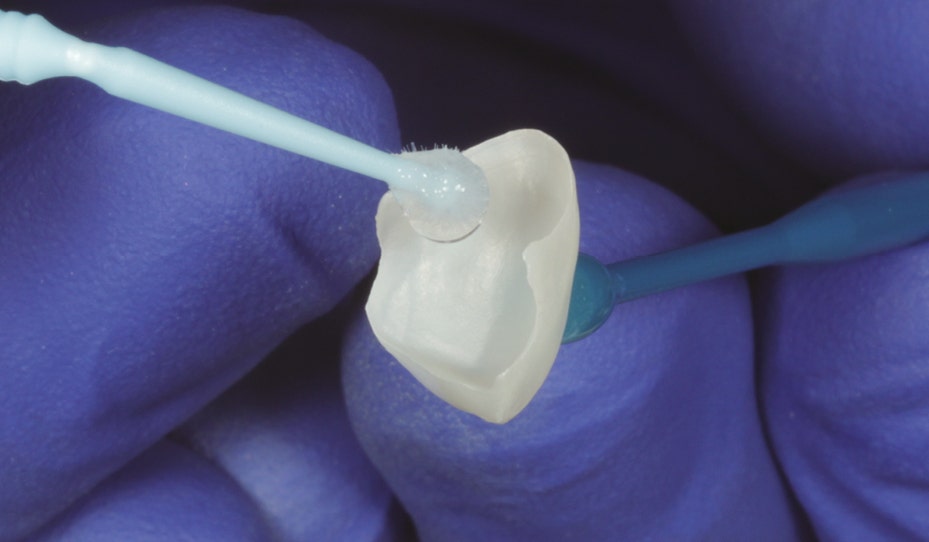
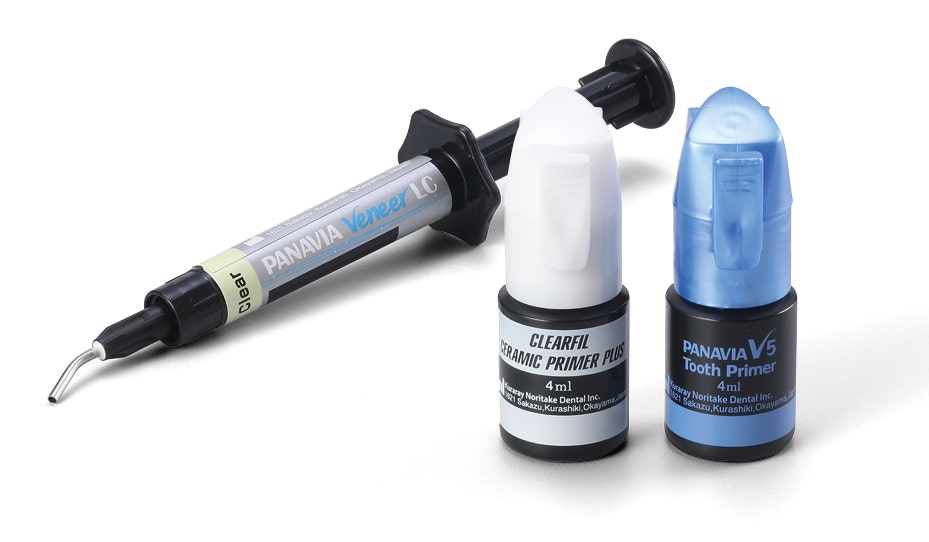
Fig. 6 CLEARFIL™ CERAMIC PRIMER PLUS was applied and
dried using compressed air.
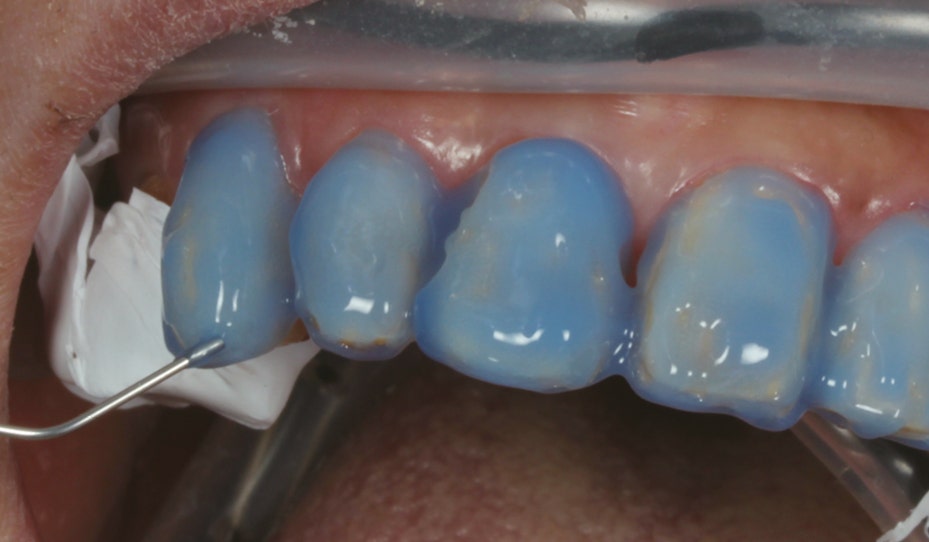
Fig. 7 The surface of each tooth was cleaned and treated
with K-ETCHANT Syringe for 10 seconds before washing it
away with water and drying with compressed air.
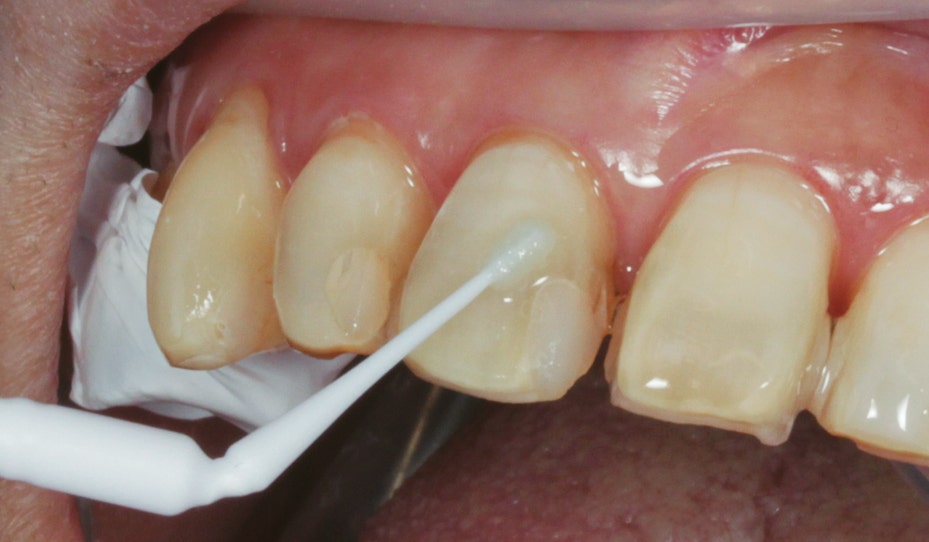
Fig. 8 PANAVIA™ V5 Tooth Primer was applied and left f
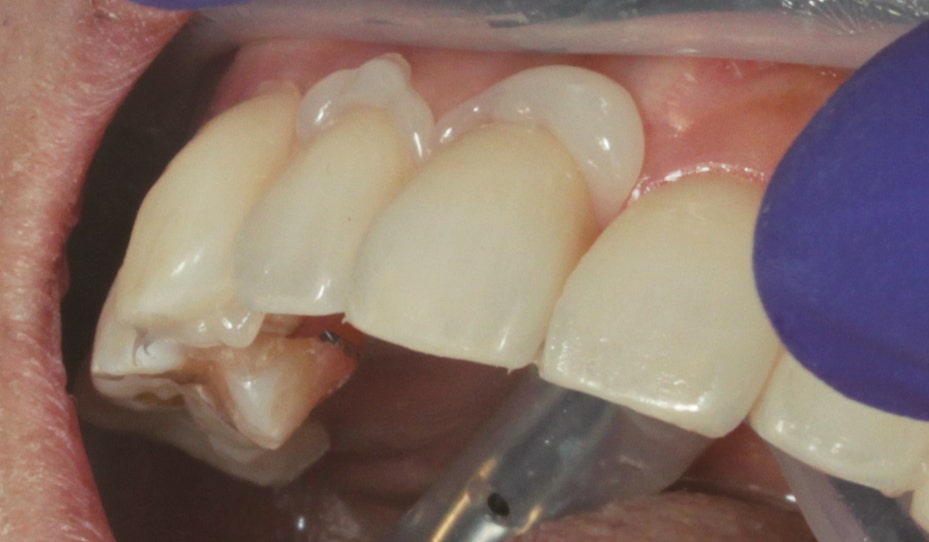
Fig. 9 PANAVIA™ Veneer LC Paste was applied and the
laminate veneers were seated. For this case, we placed six
veneers during one session.
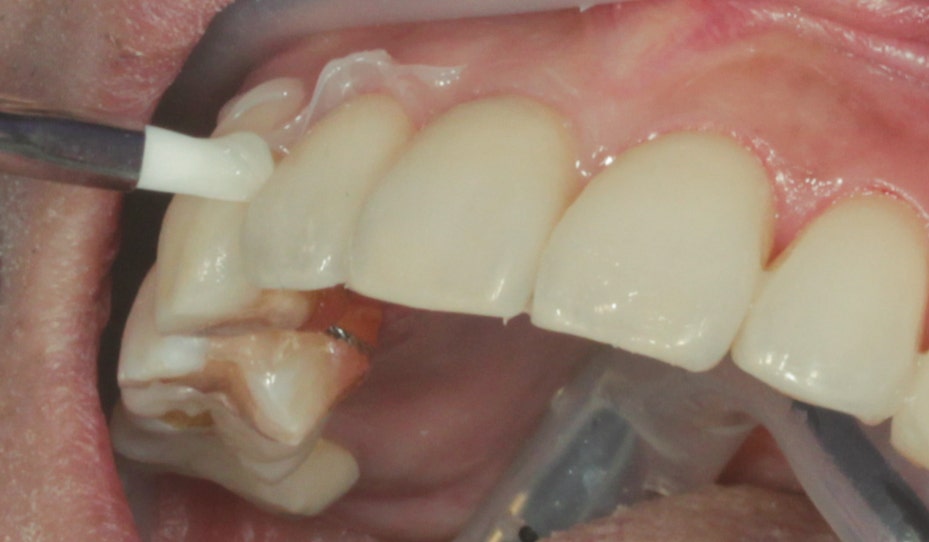
Fig. 10 The unpolymerized excess paste was removed with
a brush according to the wet clean-up technique.
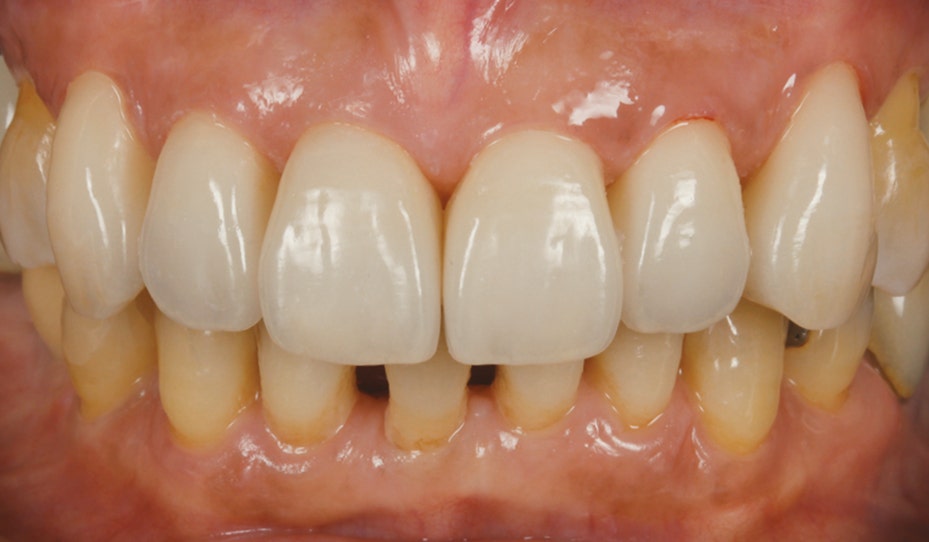
Fig. 11 The result after final light curing. Since the excess
cement was easily removed, there were almost no cement
residues.


FINAL SITUATION
Fig. 12 Result one month after placement of the laminate
veneer restorations. The marginal gingiva has been improved
thanks to the good fit of the laminate veneer restorations.
- 24 de ago. de 2022


